 |
VOOZH | about |
|
VOOZH | about |
Spring Boot is a framework that simplifies Java application development by eliminating complex XML configurations and providing built-in support for common tasks. One of the first steps to working with Spring Boot is creating a project. This article will guide you through different ways to set up a Spring Boot project.
Eclipse is a widely used IDE for Java development. The steps to create a Spring Boot project in Eclipse are listed below:
Prerequisite: Install the Eclipse IDE
Step 1: Create a Spring Boot Project in Spring Initializr
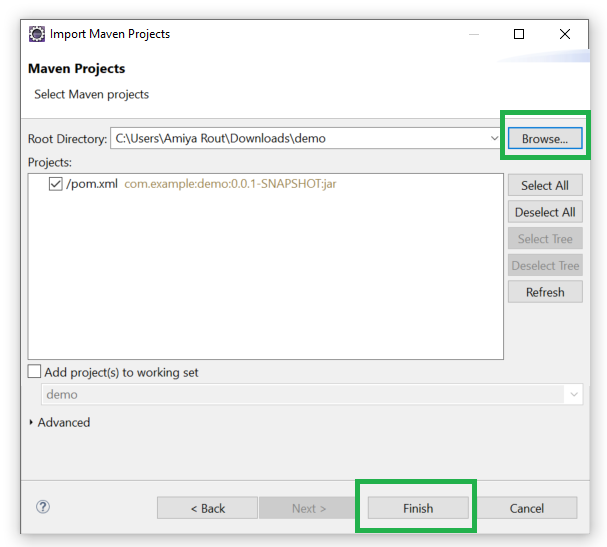
Step 2: Import Spring Boot Project in Eclipse IDE
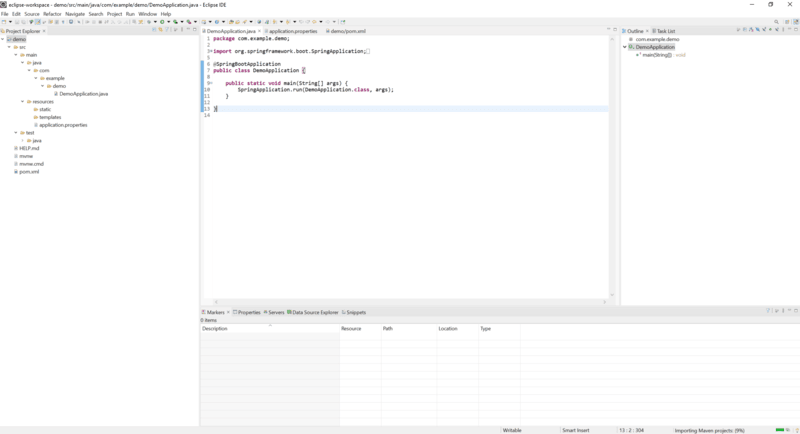
Note: By now, Spring Boot project has been created as depicted in the below media
Spring Tool Suite (STS) is a specialized Eclipse-based IDE designed for Spring applications. It comes with built-in support for Spring Boot, making the setup process faster and easier.
Prerequisite: Download and install STS
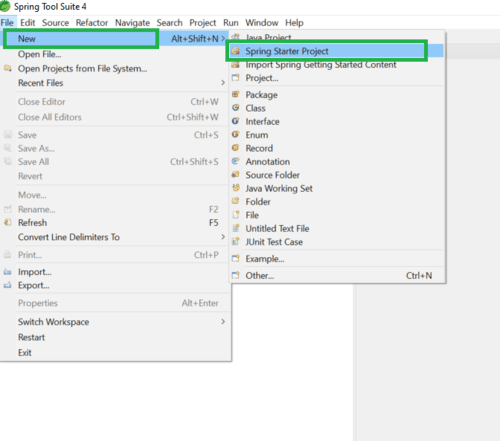
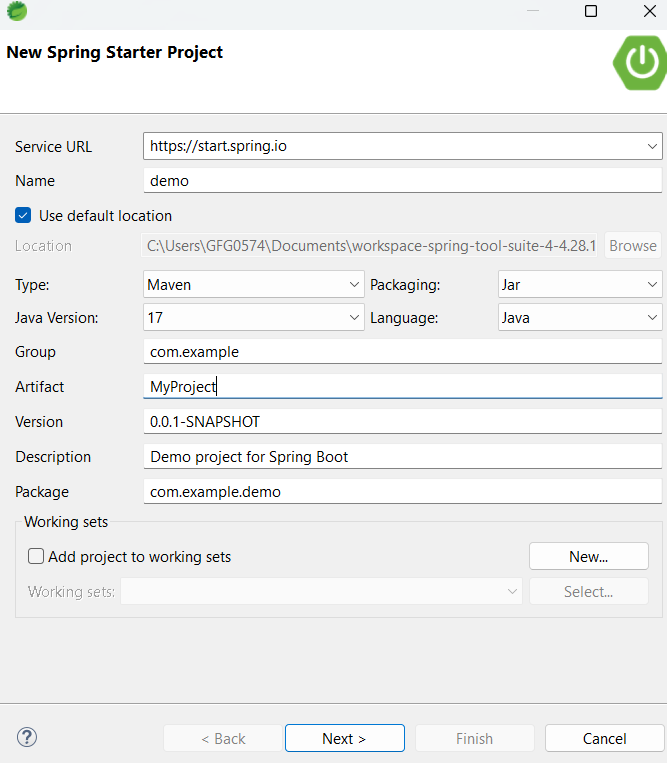
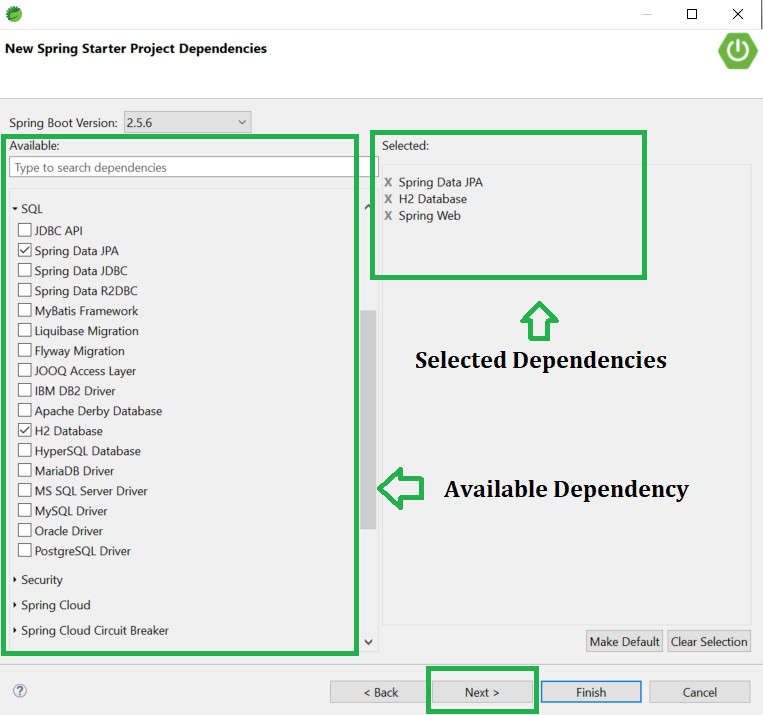
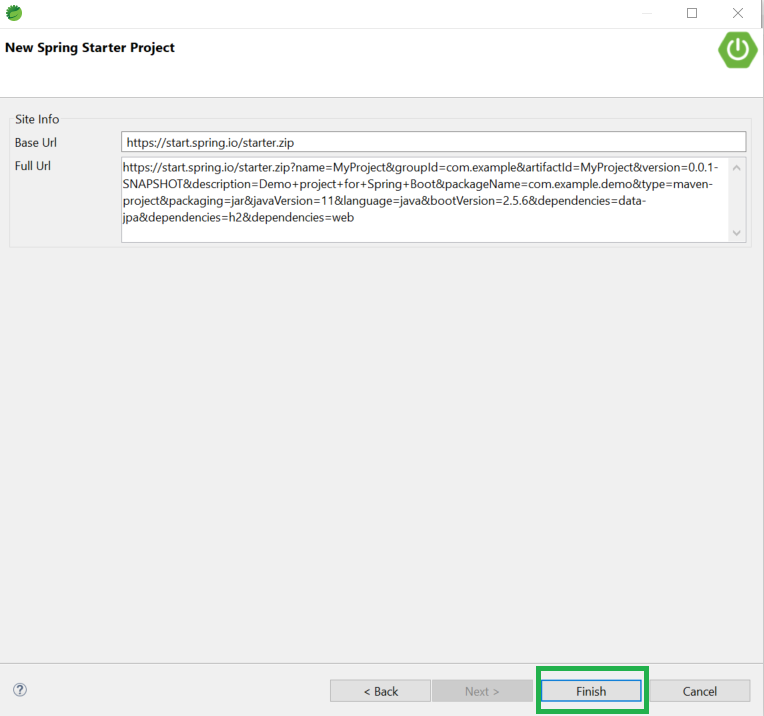
Step 1: Create a New Spring Starter Project.
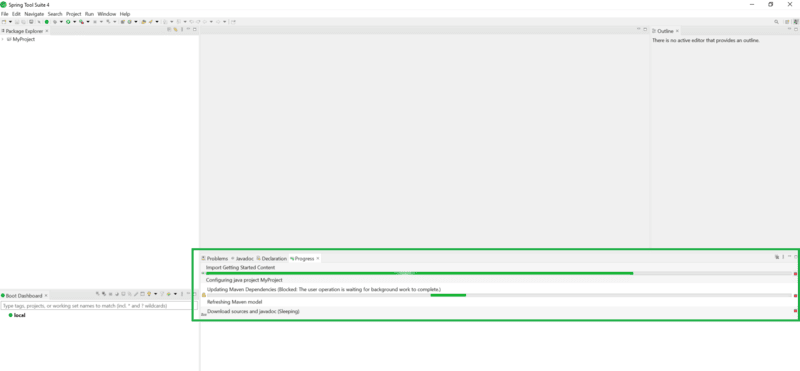
Here now, please wait for some time to download all the required files such as dependencies that you have selected in Step4 above.
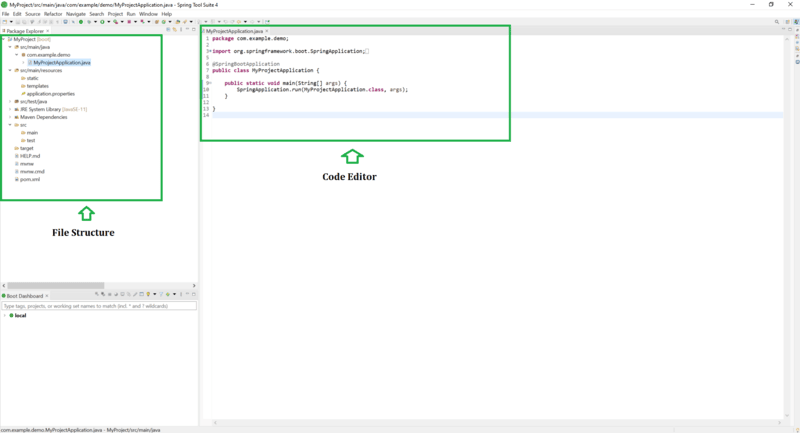
Note: Below is the Welcome screen after you have successfully Created and Setup Spring Boot Project in Spring Tool Suite
IntelliJ is an integrated development environment(IDE) written in Java. It is used for developing computer software. This IDE is developed by Jetbrains and is available as an Apache 2 Licensed community edition and a commercial edition.
Prerequisite: Download and install IntelliJ IDEA.
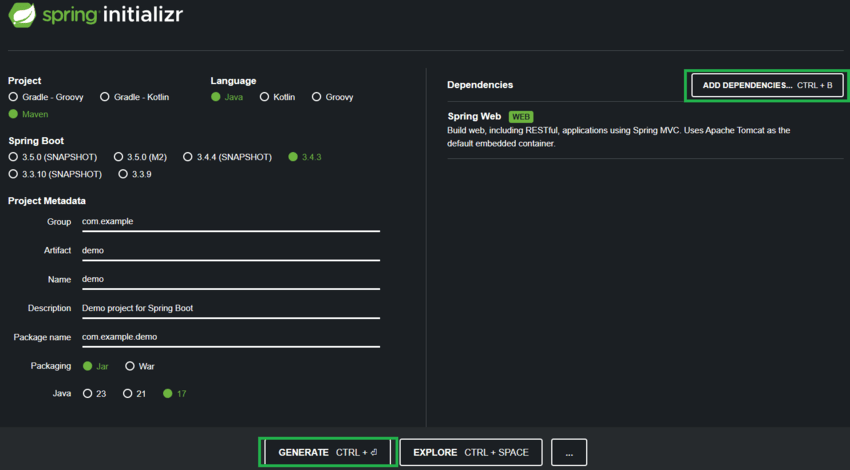
Step 1: Create a Spring Boot Project using Spring Initializr
1. Open a web browser and go to .
2. Fill in the project details:
3. Click the GENERATE button.
4. A ZIP file of the Spring Boot project will be downloaded.
5. Extract the ZIP file to a folder on your local machine.
👁 SpringInitalizrOnce IntelliJ IDEA is successfully installed, navigate to File -> Open as seen in the below image.
A pop-up window will appear where you need to select the Spring Boot project created in step 2 (e.g., "demo" in the Downloads folder). Finally, click OK, and IntelliJ IDEA will set up the project by downloading all the required files.
By now, the Spring Boot project has been created as depicted in the below media. The left side contains the Project file structure while in the middle you can see the Code Editor is present.