VOOZH about

URL: https://www.geeksforgeeks.org/springboot/how-to-make-a-simple-restcontroller-in-spring-boot/

⇱ How to Make a Simple RestController in Spring Boot? - GeeksforGeeks


  • Courses
  • Tutorials
  • Interview Prep

How to Make a Simple RestController in Spring Boot?

Last Updated : 16 Jan, 2026

In Spring Boot, a RestController is used to create RESTful web services that return JSON or XML responses. It combines the functionality of @Controller and @ResponseBody, making it easy to handle HTTP requests and send responses without writing boilerplate code.

  • @RestController eliminates the need to annotate each method with @ResponseBody.
  • It is ideal for building APIs for web or mobile applications.

Steps to Create a Simple RestController in Spring Boot

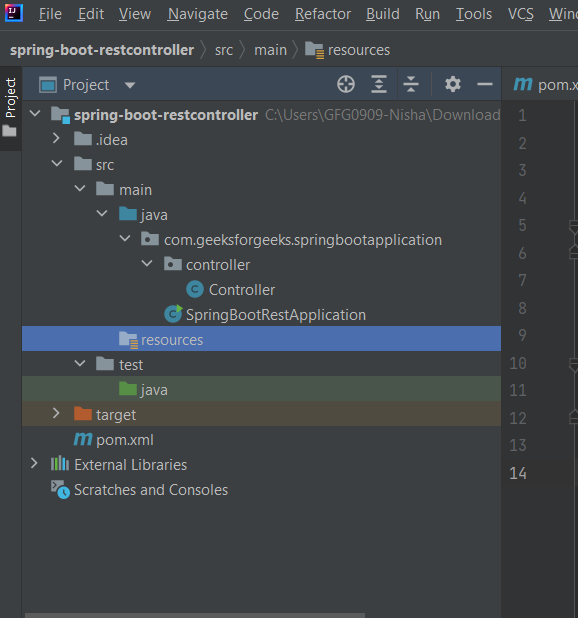
Step 1: Create a New Spring Boot Maven Project

  • Open IntelliJ IDEA.
  • Click on New Project.
  • Select Spring Initializr and click Next.
  • Enter the project details:
  • Group Id: com.geeksforgeeks
  • Artifact Id: springboot-restcontroller
  • Project Type: Maven
  • Packaging: jar
  • Java Version: 17
  • Click Next.
  • Select the required dependency:
  • Spring Web
  • Click Finish to create the project.

After completing these steps, IntelliJ IDEA will generate a Spring Boot Maven project with all required configurations.

Step 2: Project Structure

👁 -st
Project Structure

Step 3: Add pom.xml

Here is the pom.xml for your project:

Step 4: Create SpringBootApplication Class

Create SpringBootApplication.java inside src/main/java/com/geeksforgeeks/SpringBootApplication/:

Step 5: Create a Simple RestController

Create Controller.java inside src/main/java/com/geeksforgeeks/SpringBootApplication/controller/:

Explanation:

  • @RestController -> Marks this class as a RESTful controller.
  • @RequestMapping("/api") -> Sets the base URL for all endpoints.
  • @GetMapping("/hello/{name}/{age}") -> Handles HTTP GET requests and captures name and age from the URL.
  • The method returns a JSON string as a response.

Step 6: Run the Spring Boot Application

  • Open SpringBootApplicationDemo.java
  • Right-click -> Run as Java Application
  • Wait for the Spring Boot app to start on port 8080

Tip: Change the port in application.properties if needed.

Step 7: Test the API

  • Open a browser or Postman
  • Test the URL: http://localhost:8080/api/hello/Kadrun/24

Output:

👁 out
Output


Comment
Article Tags:

Explore