 |
VOOZH | about |
|
VOOZH | about |
JpaRepository is an interface in Spring Data JPA that makes working with databases much easier. It is built on top of the JPA (Java Persistence API) and provides all the basic methods you need for handling data.
With JpaRepository, you don’t need to write SQL queries for common operations like:
It also comes with built-in support for pagination (splitting data into pages) and sorting (arranging data in order).
Syntax:
public interface JpaRepository<T, ID>
extends PagingAndSortingRepository<T, ID>,
QueryByExampleExecutor<T>
Where:
Some of the most important methods that are available inside the JpaRepository are given below
1. saveAll(): Saves all given entities.
Syntax:
<S extends T> List<S> saveAll(Iterable<S> entities)
2. getById(): Returns a reference to the entity by its ID.
Syntax:
T getById(ID id)
3. flush(): Flushes all pending changes to the database.
Syntax:
void flush()
4. saveAndFlush(): Saves an entity and flushes changes instantly.
Syntax:
<S extends T> S saveAndFlush(S entity)
5. deleteAllInBatch(): Deletes multiple entities in a single batch query.
Syntax:
void deleteAllInBatch(Iterable<T> entities)
Use IntelliJ IDEA or Spring Initializr. Add the following dependencies:
Here is the complete code for the pom.xml file.
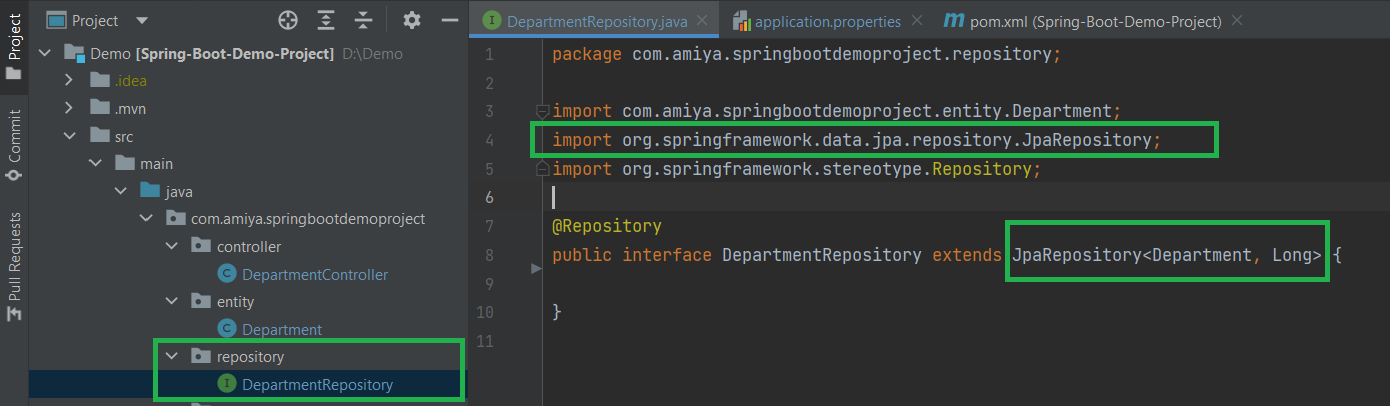
Create 4 packages as listed below and create some classes and interfaces inside these packages as seen in the below image
Inside the entity package create a simple POJO class inside the Department.java file.
Inside the repository package create a simple interface and name the interface as DepartmentRepository. This interface is going to extend the JpaRepository as we have discussed above.
👁 Inside repository packageExample:
Inside the service package create one interface named as DepartmentService and one class named as DepartmentServiceImpl.
Example A:
Example B:
Inside the controller package create one class named as DepartmentController.
Below is the code for the application.properties file
server.port=8082
# H2 Database
spring.h2.console.enabled=true
spring.datasource.url=jdbc:h2:mem:dcbapp
spring.datasource.driverClassName=org.h2.Driver
spring.datasource.username=sa
spring.datasource.password=password
spring.jpa.database-platform=org.hibernate.dialect.H2Dialect
Now run your application and let's test the endpoints in Postman and also refer to our H2 Database.
Testing the Endpoint in Postman
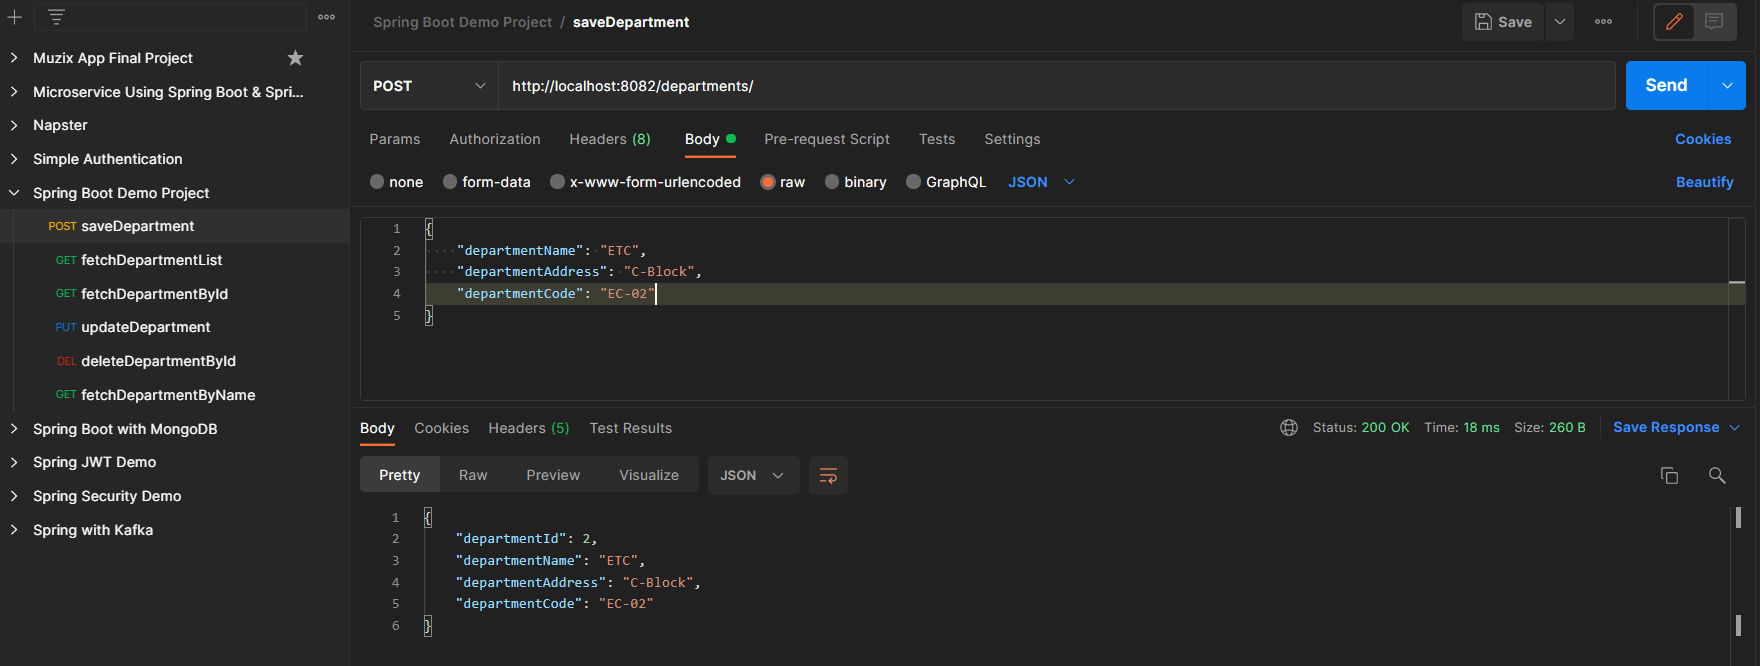
Endpoint 1: POST - http://localhost:8082/departments/
👁 POST request for departmentsEndpoint 2: GET - http://localhost:8082/departments/
👁 GET request for departmentsEndpoint 3: PUT - http://localhost:8082/departments/1
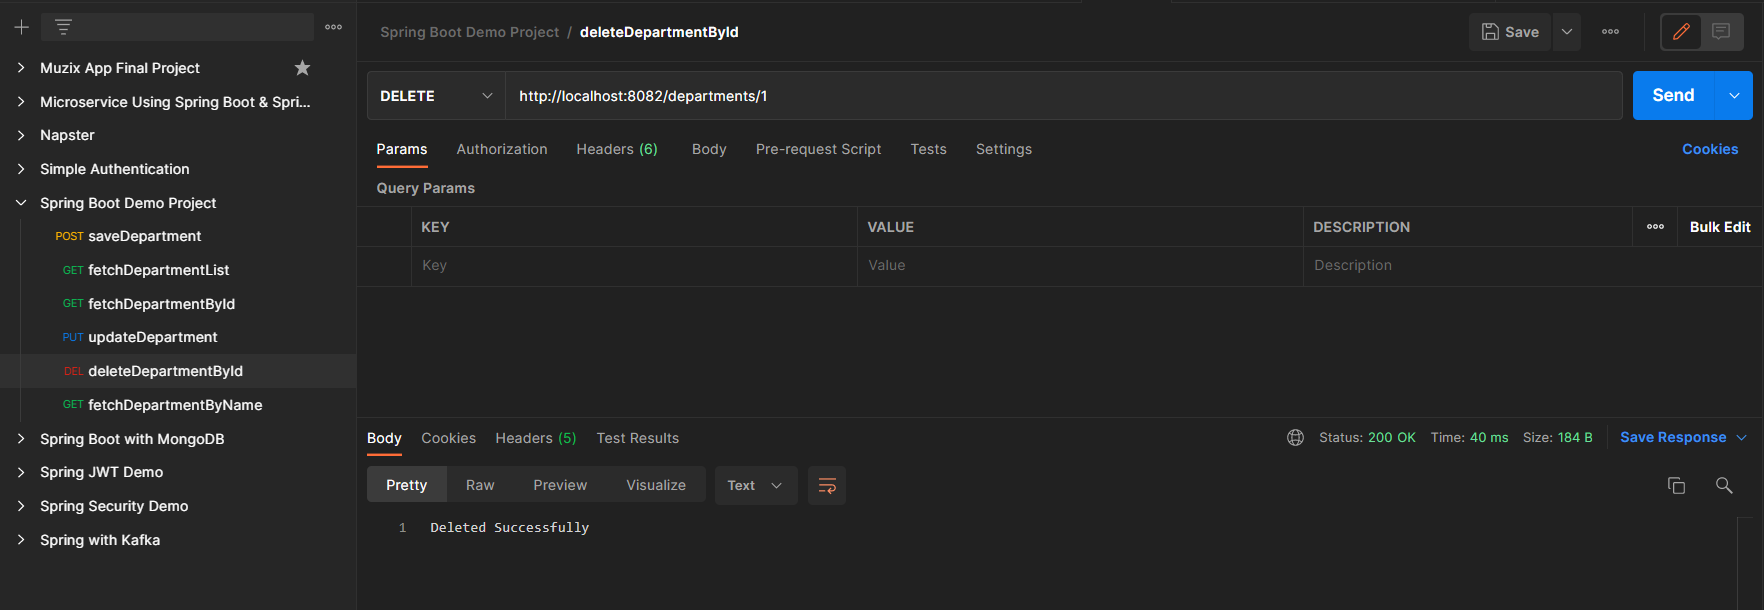
👁 PUT request for departmentsEndpoint 4: DELETE - http://localhost:8082/departments/1
👁 DELETE request for departmentsH2 Database is as follows:
👁 H2 Database