 |
VOOZH | about |
|
VOOZH | about |
A Convolutional Autoencoder (CAE) is a type of neural network that learns to compress and reconstruct images using convolutional layers. It consists of an encoder that reduces the image to a compact feature representation and a decoder that restores the image from this compressed form. CAEs are widely used for image denoising, compression and feature extraction due to their ability to preserve key visual patterns while reducing dimensionality.
Let's see the step-by-step implementation of a Convolutional Autoencoder (CAE) using PyTorch with CUDA/GPU support.
Import pytorch and matplotlib.
Uses GPU acceleration if available, speeding up training.
Output:
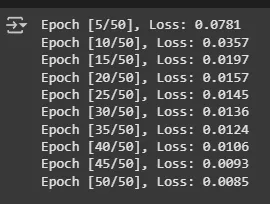
Output:
Here we can see that our Convolutional Autoencoder model is working fine.
You cann download source code from here.