 |
VOOZH | about |
|
VOOZH | about |
The following approach covers how to create a proxy server on Heroku using NodeJS. Heroku is a cloud application platform that is used as PaaS (Platform as a service) to build, operate and run applications on their cloud.
Prerequisites: To create a proxy server, you will need the following to be installed on your computer:
Follow these simple steps to create a proxy server on Heroku:
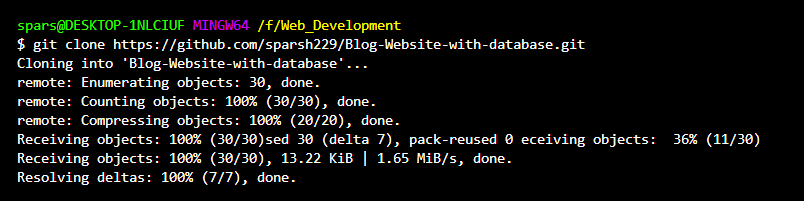
Step 1: Setting up a local repository. Clone your remote repository to the local directory.
👁 ImageNow cd into your cloned repository and run the command npm install to install all node dependencies into your project.
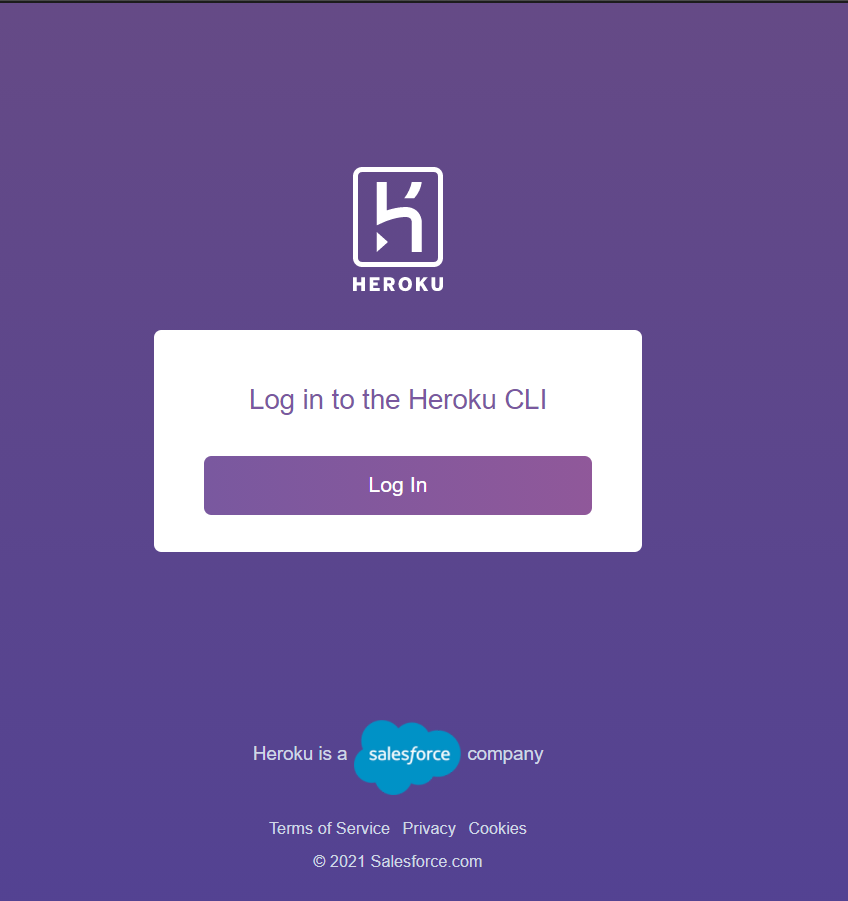
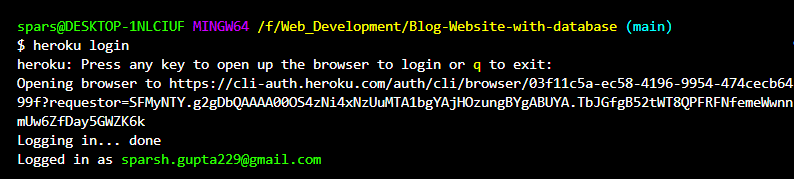
Step 2: Setting up the Heroku environment using the following approach:
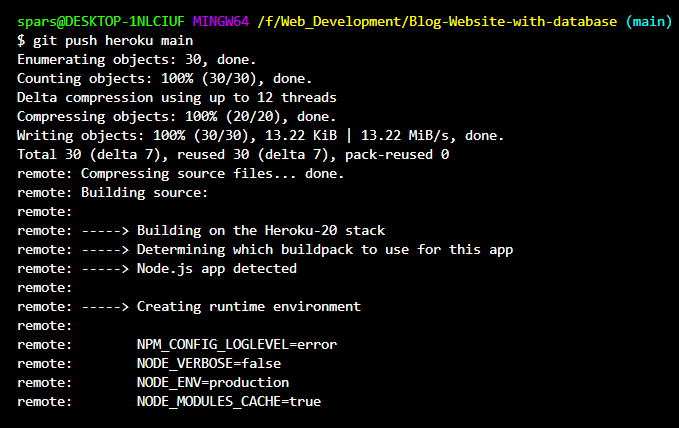
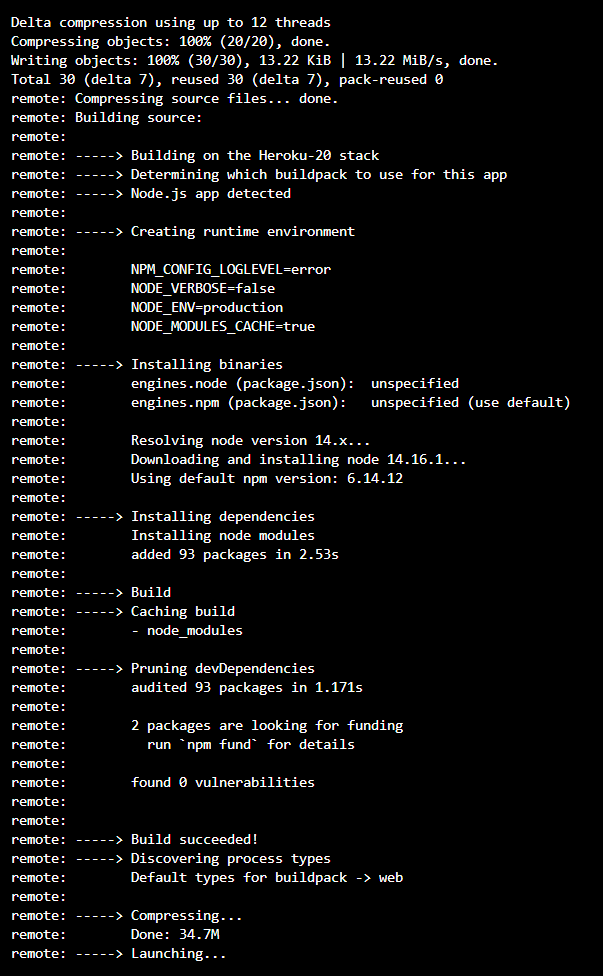
Step 3: Pushing our proxy server into the Heroku server. The final step is to push our proxy server to Heroku which can be done by using the following command.
git push heroku (branch-name)👁 Image
Now your proxy server is successfully created and deployed on Heroku.