 |
VOOZH | about |
|
VOOZH | about |
Environment variables are list of properties defined by key and value used for storing configurations data for instance the database credentials, api keys and so on. In the past, these values were directly coded into your applications’ code and were not flexible to change, but today we can store them in a. configuration file known as .env file which makes it secure and well organized manner in controlling the configurations settings.
Here, in this article, you have been initiated with the preparation of a node.js application that interacts with a MySQL database using environment variables put in a .env file. Further, in asymmetrical modes we will also describe how promises can be implemented with the mysql2 package.
Step 1: Create a Node.js application using the following command:
mkdir geeksforgeeks
cd geeksforgeeks
npm init -y
Step 2: Install the required modules using the following command:
npm install mysql2 dotenvStep 3: Once you have created a Node.js environment, create a .env file in the root directory of your project with the following content:
DB_HOST=localhost
DB_USER=root
DB_PASSWORD=password
DB_DATABASE=geeksforgeeks
This file defines environment parameters that will be used to connect database.
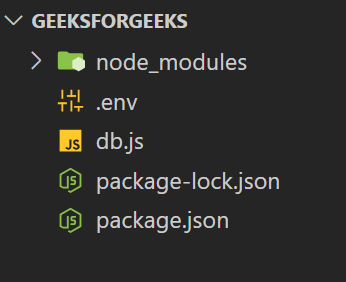
Step 4: Create a db.js file in your project directory to establish the MySQL connection:
{
 "name": "geeksforgeeks",
 "version": "1.0.0",
 "main": "db.js",
 "scripts": {
 "start": "node db.js"
 },
 "license": "ISC",
 "dependencies": {
 "dotenv": "^16.4.5",
 "mysql2": "^3.11.0"
 }
}
Step 5: Run the Project
To start the application and connect to the MySQL database use the below command
npm start
or
node db.js
Example 1: Connecting to MySQL Database using .env file
To illustrate, in this example, let us show you how to connect to a MySQL database based on the environment variables set in a .env file.
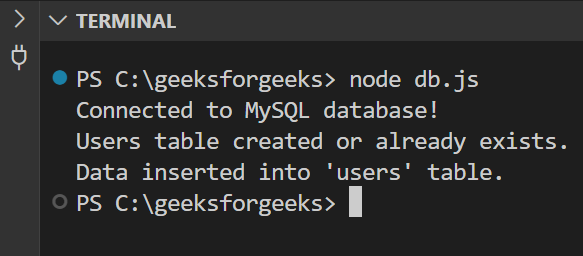
Output: That is when the console will display the message:
Connected to MySQL database!
Users table created or already exists.
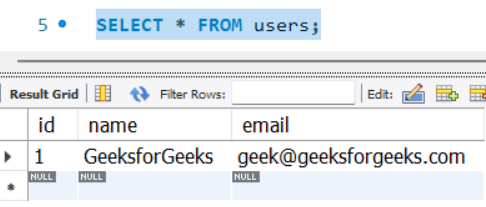
Data inserted into 'users' table.
This is to ensure that indeed we are connected to the MySQL database and all the environment variables set were as required.
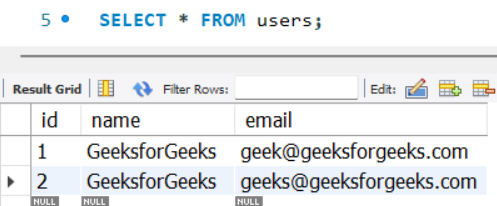
Example 2: Promises with mysql2
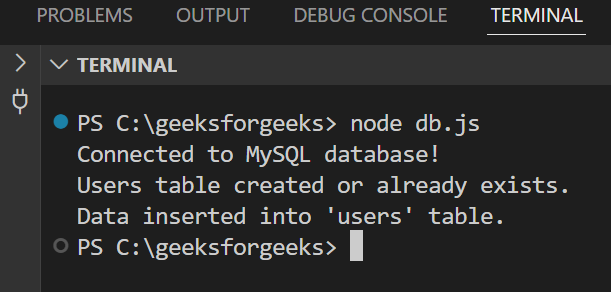
Output: On successfully executing the console will show the day of the event as follows.
Connected to MySQL database!
Users table created or already exists.
Data inserted into 'users' table.
To use promises with mysql2 makes the code more maintainable and easier to comprehend, especially when handling several concurrent operations.
Utilizing a .env file in Node.js and mysql2, the process of the configuration of environment-specific variables, for example, database credentials, is more manageable. The dotenv package, together with the promise-based nature of mysql2, avoids using raw queries and complexities and simplifies the creation of the tables and insertion of data.