 |
VOOZH | about |
|
VOOZH | about |
In this article, we will create a Login Authentication application. This application basically displays a login/register form interface and authenticate the user. All this logic of login/register authentication is implemented using express, mongodb, passport and bcrypt and frontend is created using ejs.
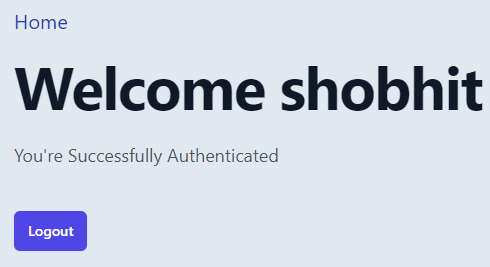
Preview of Final Output:
Prerequisites and Technologies:
Approach: Our project contains two sections server and client. In client we will take the user inputs such as the username, password and then use the form action property to sent to the server. After that, we will build the required API's to call the authentication routes in server section. In the server section, we will use mongo express passport and bcrypt to make Authentication routes for client section we will use view engine ejs.
Steps to create the application: To create a login authentication we will work on Server Section first then Client section.
Creating the Server Section:
Step 1: Create a folder name LoginAuth using the following command:
mkdir LoginAuthStep 2: Intialize package.json using the following command
npm init -y Step 3: create a file in server.js using following command
touch ./server.jsStep 4: Install the required modules:
npm install ejs express mongoose passport passport-local bcrypt express-session cookie-parser body-parser
concurrently is used to run both the server aand client simultaneouly
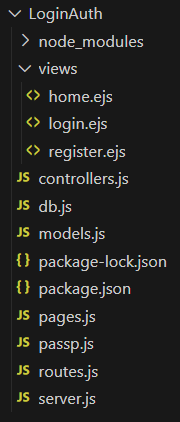
Step 5: Create necessary server files controllers.js db.js models.js passp.js routes.js pages.js :
The updated dependencies in package.json will look like:
{
 "name": "loginauth",
 "version": "1.0.0",
 "description": "",
 "main": "server.js",
 "scripts": {
 "server": "nodemon run server.js",
 },
 "author": "",
 "license": "ISC",
 "dependencies": {
 "bcrypt": "^5.1.0",
 "body-parser": "^1.20.2",
 "cookie-parser": "^1.4.6",
 "ejs": "^3.1.9",
 "express": "^4.18.2",
 "express-session": "^1.17.3",
 "mongoose": "^7.4.0",
 "passport": "^0.6.0",
 "passport-local": "^1.0.0"
 }
}
Creating Client Section:
Step 1: In LoginAuth create a folder name views to store our ejs files
mkdir viewsStep 2: Create necessary files for client:
cd viewsStep 3: Inside this folder create files home.ejs register.ejs login.ejs
Step 3: Import Tailwind by addind this line in every ejs file:
<script src="https://cdn.tailwindcss.com/3.4.16"></script>Project Structure:
Example: Write the following code in respective files in server and client section
Server section:
Client section:
Steps to run the application:
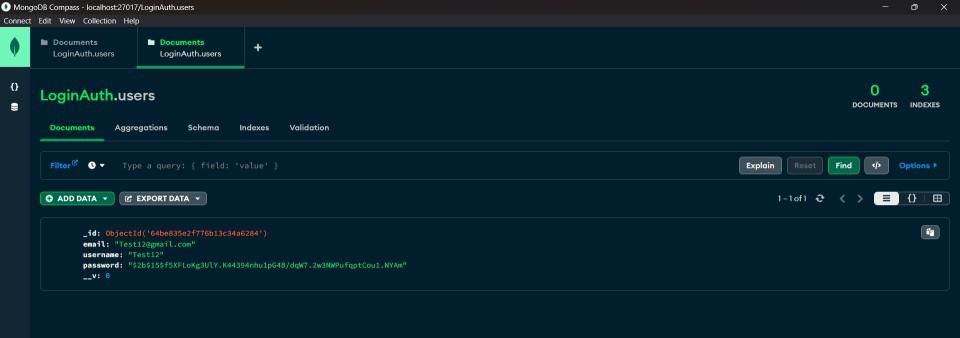
Step 1 : Start the mongodb server by typing the following command in terminal
mongodStep 2: Inside the loginAuth folder.
npm run serverStep 3: Both the server and client will run simultaneously open the url
http://localhost:3000/Output: