 |
VOOZH | about |
|
VOOZH | about |
Our task is to build a simple blogging platform using Django. We will learn how to create, display, edit, and delete blog posts with images using Django’s models, views, templates, and admin panel. Step-by-step, we’ll set up the project, connect it to a database, and run it locally.
Prerequisites:
Start by creating your Django project and app:
django-admin startproject blogsite
cd blogsite
python manage.py startapp gallery
The Product model represents a blog post with an image and timestamps.
gallery/models.py:
gallery/admin.py:
gallery/forms.py:
gallery/views.py:
gallery/urls.py:
blogsite/urls.py:
In blogsite/settings.py, add:
Create a templates/myapp/ directory inside the gallery app and add the following:
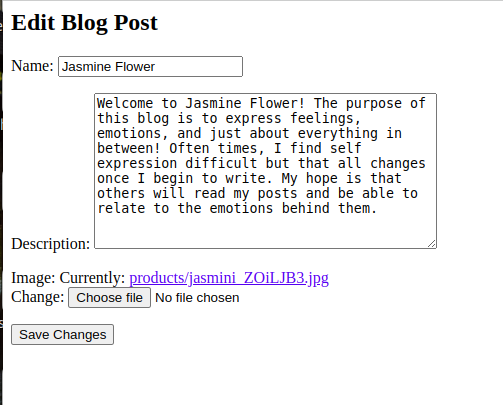
edit.html: HTML file to edit the Blog.
delete.html: HTML file to delete the Blog.
index.html: HTML file to show all the list of the Blog.
index2.html: HTML file to show the full details of the Blog.
Make sure to install Pillow for image handling:
pip install Pillow
python manage.py makemigrations
python manage.py migrate
python manage.py createsuperuser
You will be prompted to enter a username, email, and password.
Once done, run:
python manage.py runserver
Visit: http://127.0.0.1:8000/admin/
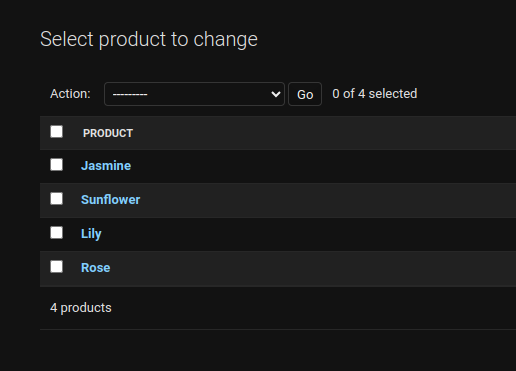
Login using the superuser credentials and add blog entries with images via the admin interface.
👁 Screenshot-from-2023-10-01-14-26-49
Output:
👁 Screenshot-from-2023-10-02-17-09-25-(1)
👁 Screenshot-from-2023-10-02-17-10-22
.png)