 |
VOOZH | about |
|
VOOZH | about |
Deploying an application using Render involves hosting project on a cloud platform so it becomes accessible over the internet. It allows to run backend services without managing servers manually. With simple configuration, one can take the application from local development to a live environment.
Below is the step-by-step process for Deploying FastAPI Applications in Python Using Render:
DockerFile: uses a pre-configured environment tailored for FastAPI applications. It copies the application code into the container for isolation and portability, simplifying deployment and ensuring consistent performance across different environments.
FROM tiangolo/uvicorn-gunicorn-fastapi:python3.8
COPY ./app /app
render.yaml: In this file configuration defines a service named app using Python environment, where pip install -r requirements.txt is the build command and uvicorn main:app --host 0.0.0.0 --port 80 is the start command, launching the FastAPI app on host 0.0.0.0 and port 80.
services:
- name: app
env: python
buildCommand: pip install -r requirements.txt
startCommand: uvicorn main:app --host 0.0.0.0 --port 80
To generate the requirements.txtfile, execute the following command:
pip freeze > requirements.txt
main.py: In this example, below code establishes endpoints for managing student records in a MongoDB database. It connects to the database, defines models for student data and implements CRUD operations (create, read, update, delete) via HTTP endpoints. Each endpoint handles requests, interacts with the database and returns responses or error messages accordingly.
Run the server using below command:
uvicorn main:app --reload
Output
First Push the code in github by creating new repository on your github account.
To know how to create a Github repository Click Here.
To know how to Push the code in Github Click Here .
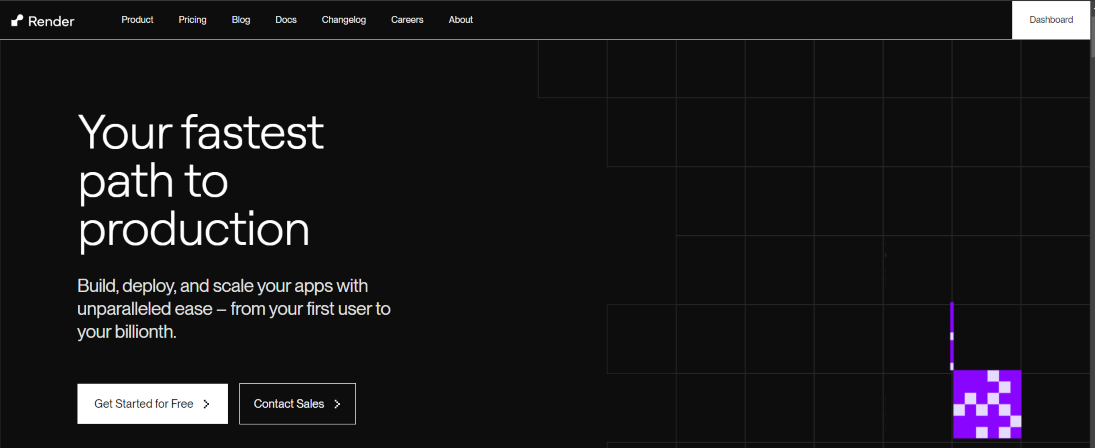
First we need to go on render website by click here and then create the account on Render. click on the get started for free for create the account on render.
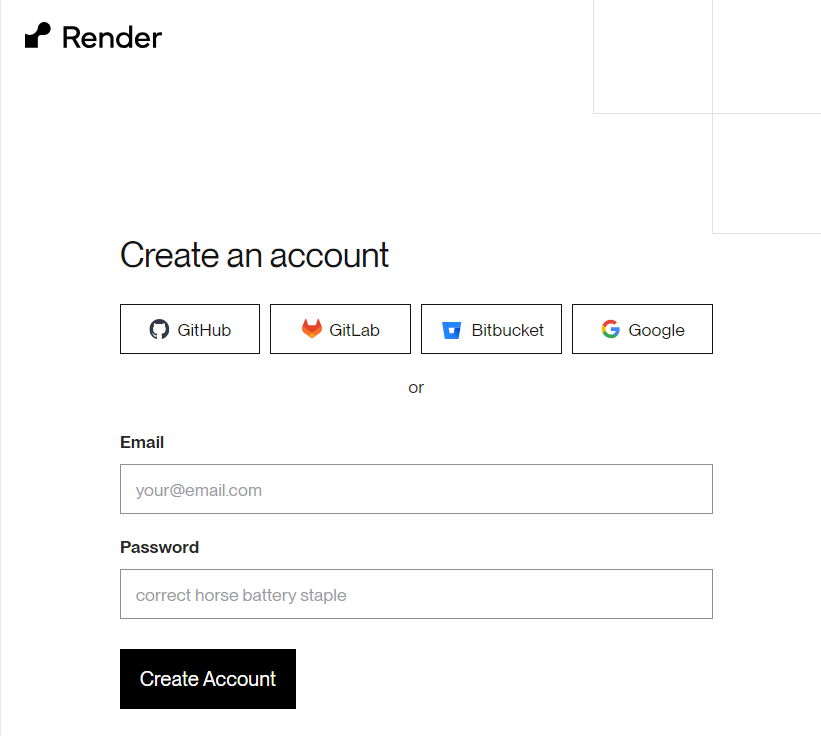
After Creating the account on Render login/register on Render website via through google or by registration and login.
After Creating the account and successfully login we can see a option of new when we click on new button then we will see the option of web service click on the web service option for hosting the API as API is run on web platform.
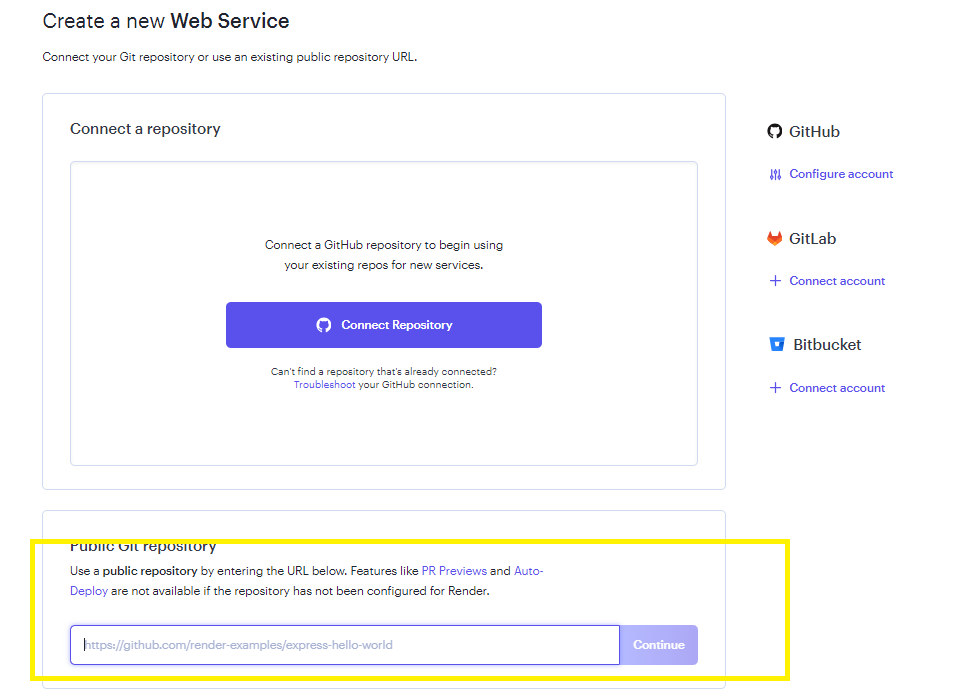
After select web service we can see two option first is the build and deploy from git repo and next is the deploy an existing image as we are deploying from github so we select the First option and click on next button.
After that we can see two option first is the we can connect our API repository directly by verify the Github account or we can enter the our github repo link in the bottom of the input field we can choose any option as per our conveniences.
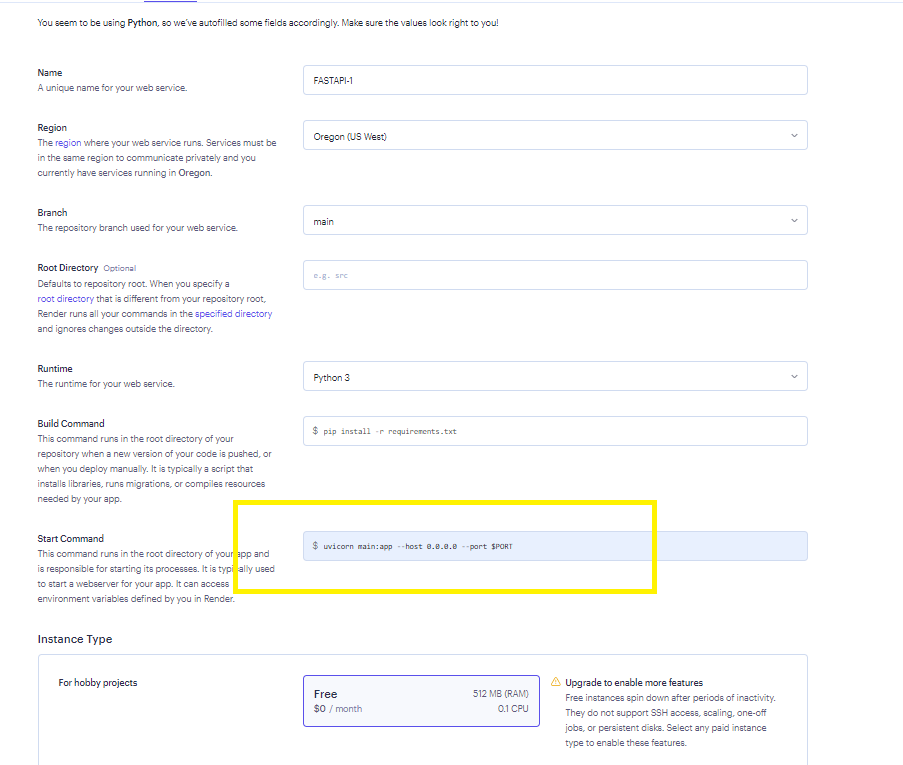
After connecting/ fill the repo link click on continue button then our repo details will automatically fetch by the server. We need to only write the start command as we start the FastAPI using below command
uvicorn main:app --host 0.0.0.0 --port $PORT
Enter this command on start command input filed and select free and then click on next button.
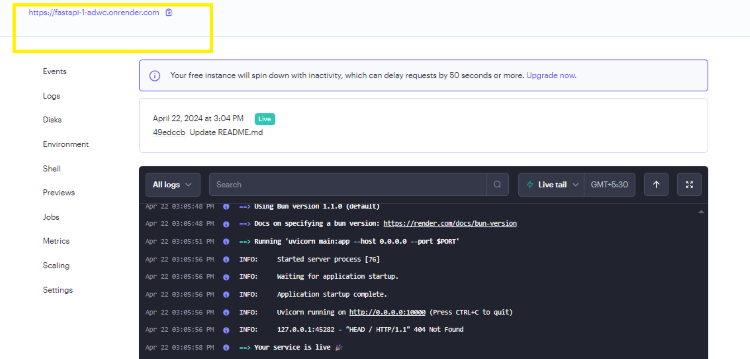
After clicking on the next button if you follow the all steps correctly your API deploy successfully and the link of the API shown at the left top corner of the web page. Our deployed API link is https://fastapi-1-adwc.onrender.com/.