 |
VOOZH | about |
|
VOOZH | about |
In web development, carousels are widely used to showcase a dynamic set of images or content interactively. They prove popular for displaying products, portfolios, or any content that benefits from an engaging visual presentation. This tutorial will guide you through the process of creating an API-based carousel using Django—a robust web framework for Python—and Bootstrap, a front-end framework known for crafting responsive and visually appealing web pages.
A carousel, also referred to as an image slider or image carousel, is a web component that enables the sequential display of multiple images or content items. Users can manually navigate through these items or opt for automatic cycling. Navigation controls such as arrows or dots are typically provided for users to move through the items.
Below is the step-by-step implementation of an API-based carousel using Django In Python.
To install Django follow these steps.
To start the project, and app use this command
django-admin startproject carousel
cd carousel
python manage.py startapp carousel_project
Now add this app to the ‘settings.py’
INSTALLED_APPS = [
 "django.contrib.admin",
 "django.contrib.auth",
 "django.contrib.contenttypes",
 "django.contrib.sessions",
 "django.contrib.messages",
 "django.contrib.staticfiles",
 "carousel",
]
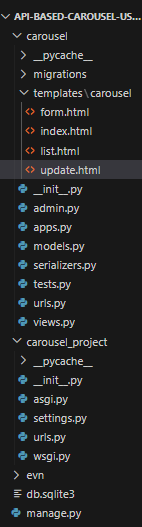
File Structure
models.py: Below, code creates a Django model, `CarouselItem`, representing carousel items with title, image URL, and description fields. The `__str__` method defines the string representation as the item's title.
serializers.py : Below, code creates a Django REST Framework serializer, `CarouselItemSerializer`, for the `CarouselItem` model with specified fields, enabling easy conversion between JSON and model instances for API interactions.
views.py : Below, code defines Django views for rendering HTML templates and two Django REST Framework API views (`CarouselItemList` and `CarouselItemDetail`). The views handle list and creation operations as well as retrieve, update, and delete operations for the `CarouselItem` model. The corresponding HTML templates are for carousel display, form submission, and item list/update.
carousel/urls.py :Below, code sets up Django URL patterns linking specific URLs to corresponding views for a carousel application. It includes paths for index, form, list, update, and API endpoints for item retrieval and details.
carousel_project/urls.py : The code configures Django URL patterns, linking 'admin/' to the admin interface and including URLs from the 'carousel.urls' module at the root level ('').
form.html : Below, HTML code is a Bootstrap-styled form for creating a new carousel item. It uses JavaScript for client-side validation and includes a `postData` function to send a POST request to the API endpoint ('http://127.0.0.1:8000/api/') with entered data. The CSRF token is included for security, and there's a 'See Carousel' button to reload the page after form submission.
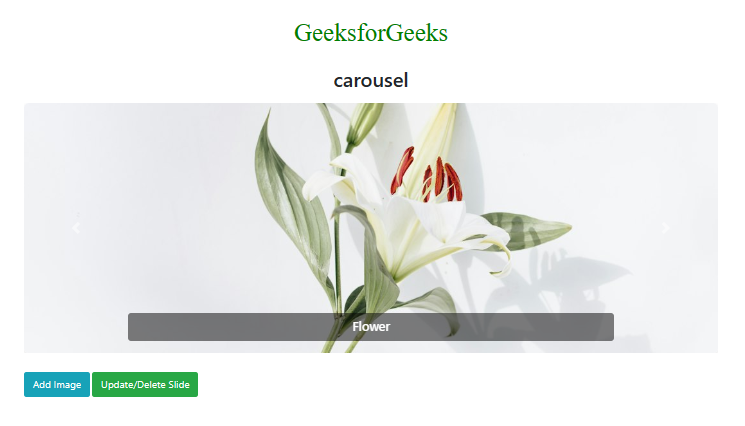
index.html : Below HTML template utilizes Bootstrap to create a visually appealing image carousel. It includes JavaScript to fetch data from an API ('http://127.0.0.1:8000/api/') and dynamically updates the carousel with the retrieved items. The template also features buttons for adding images and updating/deleting slides, with links to specific URLs. Custom styles are applied to the carousel, images, and buttons for a polished appearance.
list.html : Below, HTML template displays a table of carousel items with titles. It fetches data from the '/api' endpoint using JavaScript and dynamically populates the table. Each row includes buttons for updating and deleting the respective item. The 'Back' button links to the 'index' URL. The JavaScript functions handle item deletion and navigation to the update form.
update.html : Below, HTML template serves as an update form for a carousel item. It uses Bootstrap for styling and JavaScript to fetch the item data from the API, pre-fill the form fields, and handle form submission with a PUT request to update the item. Upon successful update, it displays an alert and redirects to the 'list' page.
admin.py : In admin we register the model.
Run these commands to apply the migrations:
python3 manage.py makemigrations
python3 manage.py migrate
Run the server with the help of following command:
python3 manage.py runserver
Output