WebSockets allow continuous, two-way communication between a client and a server, enabling real-time data exchange.
- Unlike HTTP, WebSockets keep the connection open for real-time updates.
- Commonly used for chat applications, live notifications, and dashboards.
- Django does not support WebSockets directly with WSGI.
- Django Channels enables WebSocket support using ASGI for asynchronous communication.
Steps to create websockets
1. Setting Up the Django Project and Installing Dependencies
Consider a project named 'websocket_project' having an app named 'chat'. Install the required dependencies:
pip install channels daphne
- Channels: Adds WebSocket support
- Daphne: ASGI server required for WebSockets
2. Add Channels to INSTALLED_APPS and ASGI application in settings.py:
INSTALLED_APPS = [
...
'channels',
'chat',
]
ASGI_APPLICATION = 'websocket_project.asgi.application'
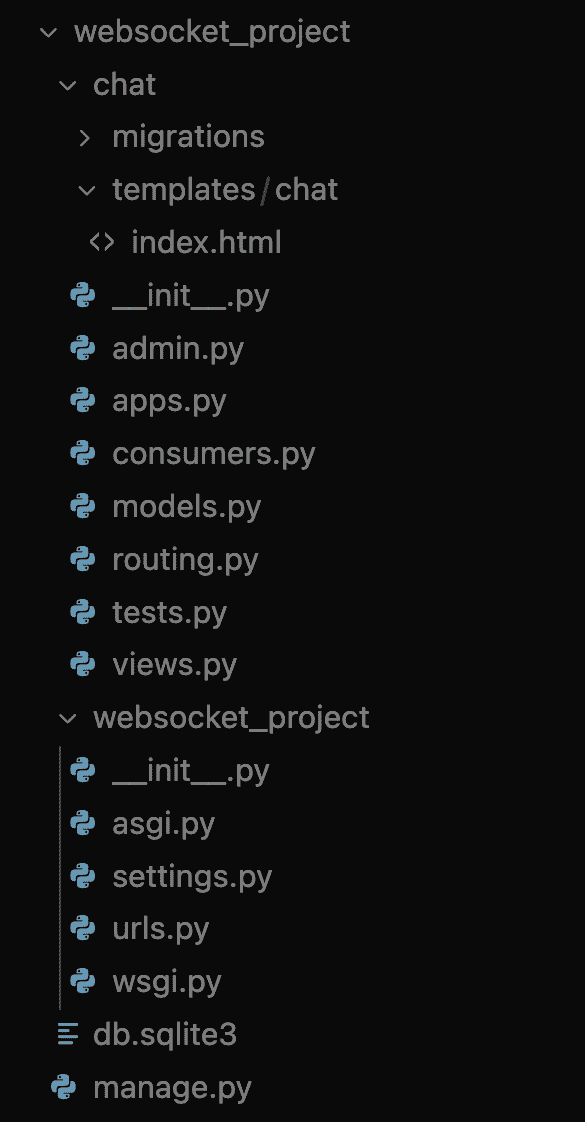
👁 FileDir
Folder and File structureConfigure ASGI
In websocket_project/asgi.py:
This configuration enables Django to handle both HTTP and WebSocket protocols.
Create WebSocket Consumer
Create chat/consumers.py:
Define WebSocket Routing
Create chat/routing.py:
Create Django View
Edit chat/views.py:
Create Templates
Create chat/templates/chat/index.html:
Configure URLs
Edit websocket_project/urls.py:
Apply Migrations
python manage.py migrate
Run the ASGI Server
Start the server using Daphne:
daphne websocket_project.asgi:application
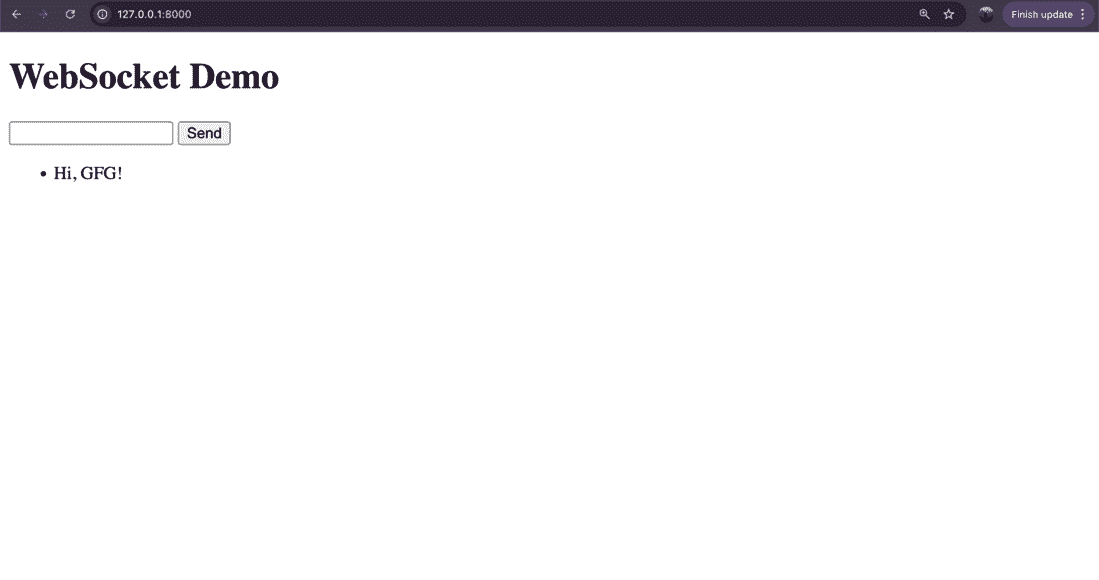
Visit: http://127.0.0.1:8000/
- Enter a message
- Click Send
- The message appears instantly without page reload
This confirms that WebSockets are working successfully.
👁 websocket
Snapshot of WebSocket demoInspecting WebSocket Connection
Open Developer Tools:
- Open your web browser (e.g., Google Chrome).
- Navigate to http://127.0.0.1:8000 where your Django application is running.
- Right-click on the page and select Inspect or press Ctrl+Shift+I (Windows/Linux) or Cmd+Option+I (Mac) to open the Developer Tools.
Go to the Network Tab:
- In the Developer Tools, click on the Network tab.
- This tab displays all network requests made by the page.
Filter for WebSocket:
- In the Network tab, you will see a list of network requests.
- To filter and see only WebSocket connections, click on the WS button which stands for WebSockets.
Inspect the WebSocket Connection:
- You should see a connection to your WebSocket URL (ws://127.0.0.1:8000/ws/chat/).
- Click on this connection to inspect its details.
- Inside, you can see frames that show the messages being sent and received through the WebSocket.
