 |
VOOZH | about |
|
VOOZH | about |
The Django Admin Interface is a built-in feature that provides a web-based dashboard to manage project data through models. It enables developers and administrators to handle data efficiently without writing SQL or extra backend code.
Note: While the Django admin is included in the standard library, it is not "preinstalled" in the sense of being automatically active in every project. You must verify that the following configurations are present in your settings.py to avoid ImportError or TemplateDoesNotExist errors:
To access the admin interface:
1. Start the development server
python manage.py runserver
2. Open the admin URL
http://127.0.0.1:8000/admin/
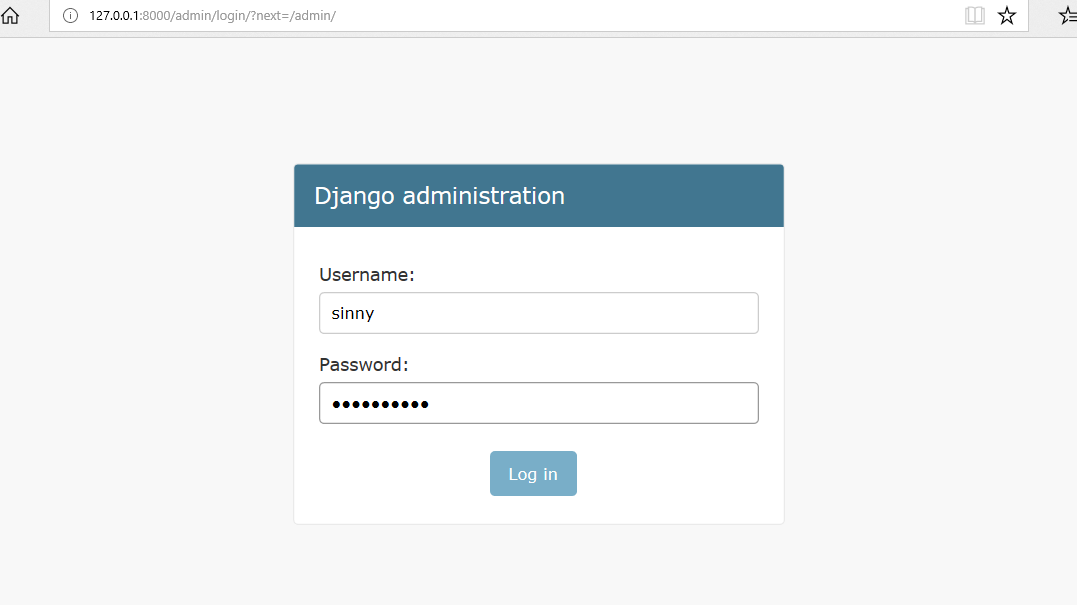
3. Log in using valid admin credentials.
There are basically two ways to access the Django admin panel:
The admin app (django.contrib.admin) is enabled by default and already added to the INSTALLED_APPS list present in the settings.py file. If you don’t have a user yet, the quickest way to log in is by creating a superuser.
1. Run the following command in terminal:
python manage.py createsuperuser
2. Provide the required information:
3. Then start the development server:
python manage.py runserver
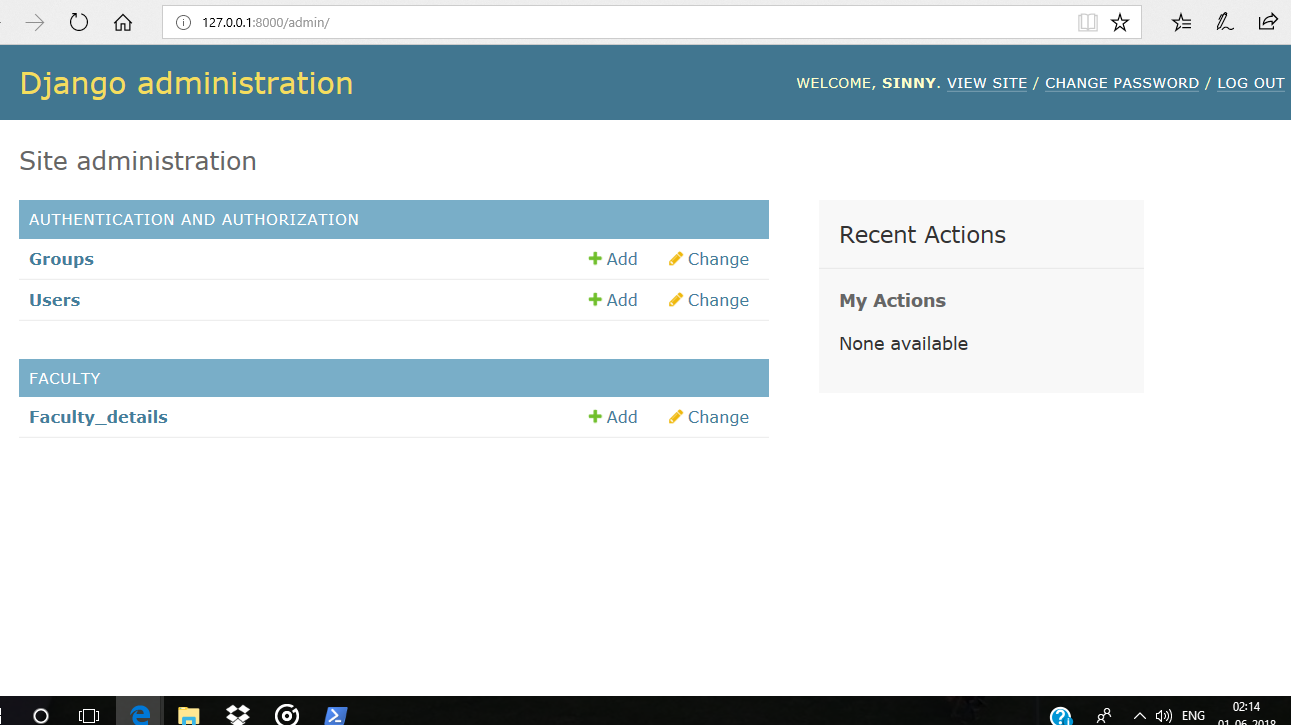
Go to http://127.0.0.1:8000/admin/, log in with your superuser credentials, and you’ll see the Django Admin Dashboard. From here, we can manage all registered models, users, and site data:
👁 loginAfter logging in successfully, it shows the interface as shown below:
👁 Django Admin InterfaceBy default, only Django’s built-in models appear in the admin panel. To manage our own app models via the admin interface, we need to register them. Before proceeding further, ensure that the Django project and app are already created.
python manage.py makemigrations
python manage.py migrate
Once registered and migrated, our model will appear on the Django admin dashboard, ready for data manipulation. Now the admin page will have the model FacultyDetails but make sure the server is up and running.
👁 Django Admin Interface