 |
VOOZH | about |
|
VOOZH | about |
In this article, We will cover the basics of connection pooling using connection pooling in Python applications, and provide step-by-step instructions on how to implement connection pooling using Psycopg2. Whether you are building a small-scale application or a large-scale enterprise application, understanding how to implement connection pooling with Psycopg2 can help you optimize the performance and scalability of your Python PostgreSQL applications.
Required Modules:
Installing Postgresql, Run the below command in the terminal in Ubuntu:
sudo apt-get install postgresql postgresql-contrib
Installing psycopg2 in the terminal:
pip install psycopg2
If it does not work, try this:
pip install psycopg2-binary
Cached database connections were generated and maintained for PostgreSQL connection pools so that they could be utilized for future requests rather than having to establish a new connection each time. Implementing and utilizing a connection pool for your PostgreSQL-using Python program has a number of benefits. Improvements in time and performance are the main advantages. Database-centric Python applications' request and response times can be slashed via Connection Pooling.
Psycopg2’s Connection Connection Pooling Classes:
The Psycopg2 module has the following classes:
After successful installation, we start using PostgreSQL with a user in the terminal.
sudo su postgres
[sudo] password for username:**enter your password here**
After this type command "psql" to enter the interface, here our username is "postgres". Now create a database. \ l command shows a list of all databases.
psql
postgres=# CREATE DATABASE test;
postgres=# \l
Here, we created a database named "test". After we start testing the database on a server with localhost as the host address, 5432 as the port number, and "postgres" as the username. This is done using the command as shown below:
psql -h localhost -p 5432 -U postgres test
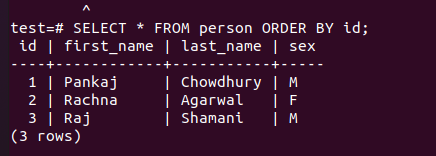
Suppose, In the database, we create a table person and insert the following data:
Person | ||
|---|---|---|
First_Name | Last_Name | Sex |
Pankaj | Chowdhury | M |
Rachna | Agarwal | F |
Raj | Shamanic | M |
Tables can be easily seen with PostgreSQL as shown below:
Post to understand PostgresSQL Basic Commands.
Step 1: This line imports the psycopg2.pool module, which provides the SimpleConnectionPool class for creating a connection pool in Python. Create a connection pool: This section creates a connection pool using the SimpleConnectionPool class. It sets the minimum and maximum number of connections to be maintained in the pool as 2 and 3, respectively. It also provides the necessary database connection details such as the username, password, host, port, and database name.
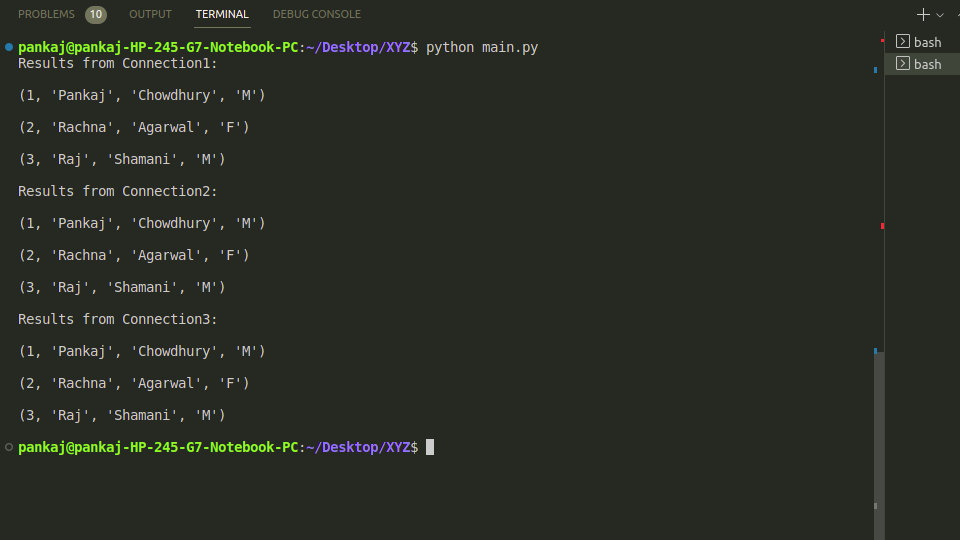
Step 2: This section obtains a connection from the pool using the pool.getconn() method. It assigns the returned connection object to connection1. This connection can be used to interact with the database. Execute a query with the first connection: This section creates a cursor using the cursor() method on connection1 and uses it to execute a query on the database. The results are fetched using the fetchall() method and printed to the console.
Step 3: This section follows a similar pattern as the previous section, but this time it obtains two more connections from the pool using pool. get conn () and assigns them to connection2 and connection3, respectively. It then uses each connection to execute a query on the database and prints the results to the console.
Step 4: After using the connections, it is important to release them back to the pool using the pool.putconn() method. This section releases connection1, connection2, and connection3 back to the pool, making them available for reuse by other parts of the application.
Output:
What if the number of Connections exceeds the maximum limit of the pool? :
Note that the three connections are not released yet and the maximum number of connections is 3. So if another connection is requested from the pool (sat Connection4), it gives an exception.