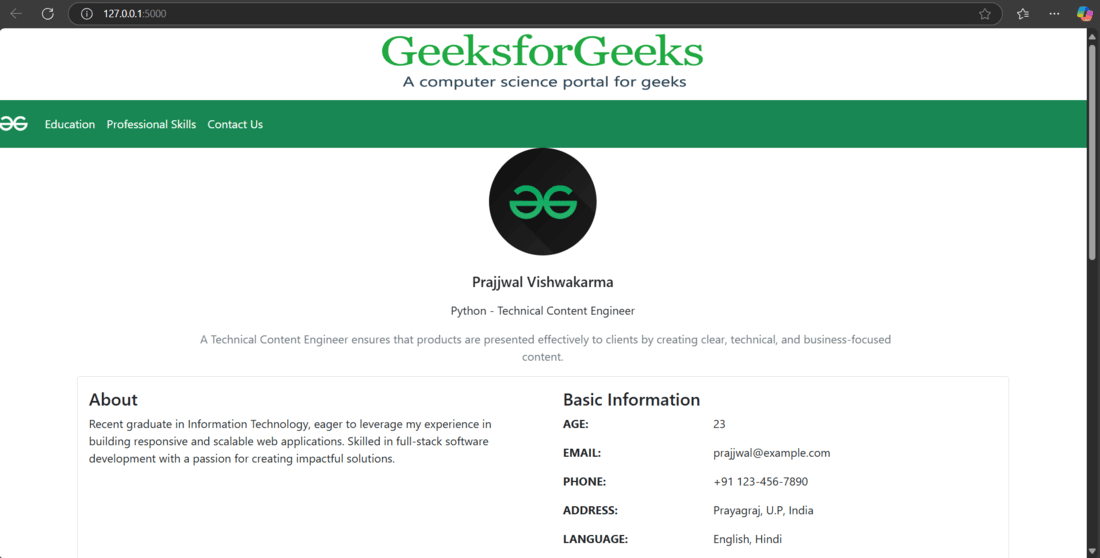
In this article, we’ll discuss how to create a single-page portfolio webpage using the Flask framework. This project demonstrates how to build an impressive portfolio to showcase your skills and experience to HR professionals, colleagues, or potential employers.
Key features of this portfolio are-
Download CV button: allowing visitors to download your CV.
Contact Me: its a form that sends messages directly to your Gmail account.
Create a project folder and then inside that folder create and activate a virtual environment to install flask and other necessary modules in it. Use these commands to create and activate a new virtual environment-
python -m venv venv .venv\Scripts\activate
And after that install flask using this command-
pip install Flask
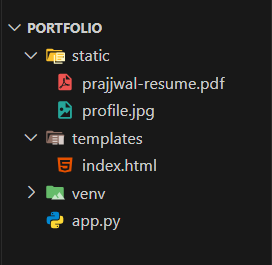
Create two folders- templates and static in our app folder. They both serve a specific purpose in flask-
static: Store images, CSS files, and other static assets here.
The app.py file contains our main flask app. It connects the front-end with the back-end, handling tasks like displaying the portfolio and managing the contact form. This script makes the site dynamic and interactive by processing user input and sending emails.
Other than basic flask libraries, we are going to use these libraries in this project-
EmailMessage: A Python class from the email.message module used to create structured email messages with headers (e.g., To, From, Subject) and content.
smtplib: A Python library that enables sending emails via the Simple Mail Transfer Protocol (SMTP), connecting to email servers like Gmail’s.
Code Explanation:
Route for Home Page: The root route ("/") renders an HTML template (index.html) to display the main page.
Route to Send Email: The /sendemail/ route handles POST requests. It extracts form data (name, subject, email, message) and uses the SMTP protocol (with Gmail settings) to send an email containing this information.
SMTP Configuration and Email Sending: It sets up the SMTP server with Gmail credentials, creates an email message using EmailMessage, and attempts to send the message. Any errors during sending are caught and printed.
App Execution: Finally, the Flask app runs in debug mode when executed directly.
Note: Before running your code please set your Gmail to receive Incoming messages by your portfolio. You can go directly by clicking here, and turn it ON otherwise you will show an SMTP authentication error.
