 |
VOOZH | about |
|
VOOZH | about |
Running out of Disk space? Well, that's not a good sign because it might create a slowdown of your PC. Fortunately, Windows came up with its built-in Disk Cleanup feature that allows users to clear all unwanted files, junk, and system logs that make the computer slow down.
In this article, we're going to discuss the Disk Cleanup, When to Use, How to Use, Features, Common Issues while freeing up space and much more.
Table of Content
Disk Cleanup is Microsoft's in-built feature that is used to remove any unnecessary files from the system. It has been designed in such a way that no important data or files will be hampered (only the junk will get cleared) of your system. Microsoft designed its Disk Cleanup application utility tool to free up disc space so that you can enjoy working seamlessly.
The best method to keep your system clean is by performing a regular disk cleanup. Below are some key highlighters that will explain when exactly you need to perform the Windows Disk Cleanup.
Case I: If your Windows PC is running out of Storage
Case II: If you upgrade your Windows PC to a newer version
Case III: When you uninstall any games or software, some additional files remain in the system logs.
Case IV: To keep your Windows system running up and smooth.
The primary function of disk cleanup is to identify and delete unnecessary files such as temporary files, system files, and cached files.
Below are some functions of disk cleanup.
Disk Cleanup works by scanning the system's storage drive (hard drive) to identify the files that are no longer needed and can be deleted without any problem.
Performing a Disk Cleanup in Windows 10 or 11 is a very seamless task and can be performed in just a few steps. Let's break-down the steps to perform this action and free up some space.
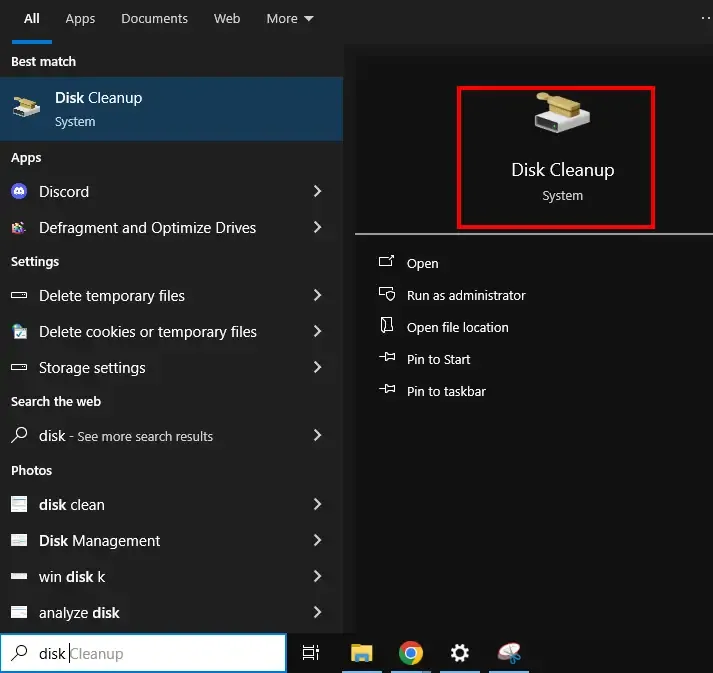
Step 1: Open the search bar type Disk cleanup press enter.
Search for the Disk Cleanup in the Start Menu and click to open it.
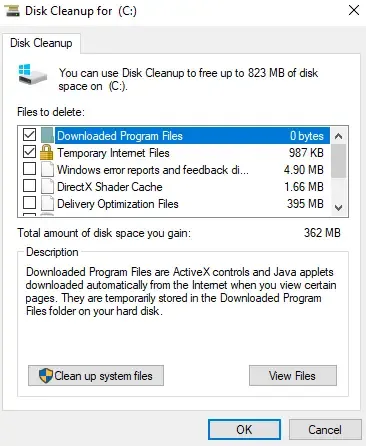
Select any drive that you wish to perform disk cleanup (e.g. C:)
Ensure to check boxes to perform the disk cleanup:
Once, you’ve made the selection, click OK to confirm.
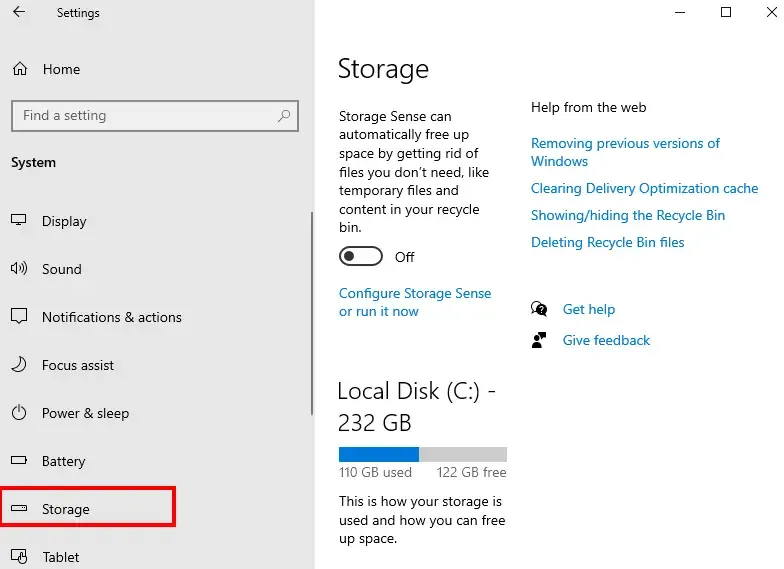
You can use the Windows built-in tool that will help you in removing temp file, empty recycle bin and remove the unused files automatically.
Navigate to Settings > System > Storage
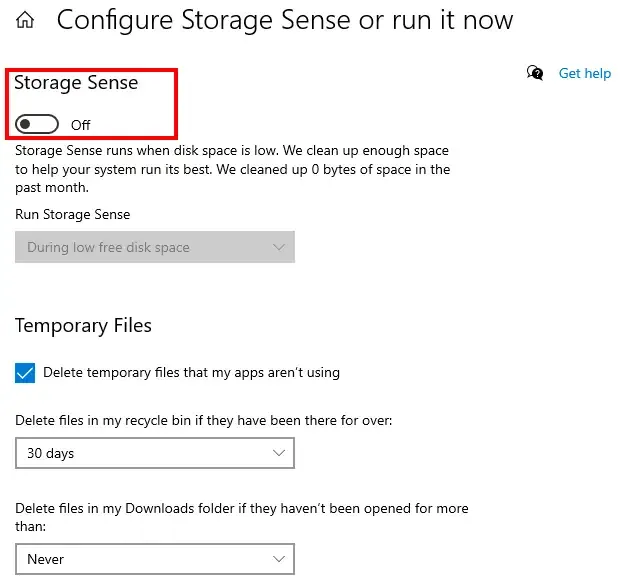
On the top mid section, you’ll find an option for Storage Sense (along with a TOGGLE button). Click to Toggle ON.
Click Configure Storage Sense or run it now to customize:
For Read More Additional Disk Cleanup methods, refer to this - How To Free up Drive Space in Windows
Disk Cleanup | Disk Defragmentation |
|---|---|
Free up disk space by removing unnecessary and temporary files | Arrange your computer's files, making them easier to access and freeing up space. |
Scan the disk for the files that can be removed safely like - temporary files, system files, old window updates | Arranges scattered data into neat, continuous blocks for better performance. |
Free up disk space improving system performance by removing unnecessary files | By reducing read and write time, especially fragmented files. |
It's recommended to run periodically, especially when running low on disk storage | It's automatically running in the background but manual defragmentation may be necessary |
Some of the most common issues that might arise during Disk Cleanup are:
Disk Cleanup is one of the best practice to follow to ensure that your Windows 10, Windows 11 or any other system is running smoothly. It helps in keeping your system optimized. Whether you want to clean up temp files, or enable Storage Sense, it all can be done within a few clicks. Ensure to perform regular system maintenance, keep your system junk free for a smooth seamless experience.