 |
VOOZH | about |
|
VOOZH | about |
A chatbot is a computer program designed to simulate human conversation, usually through text or voice interactions. They use natural language processing (NLP) and machine learning algorithms to understand and respond to user queries, providing a personalized experience.
Gemini is an AI model made by the Google Deepmind team. It is a very capable model which is a multimodal type. That means we can generate text, analyze images, audio, video, etc. We can make text generators, chatbots, image analyzers, etc.
In this tutorial, we will build a QnA ChatBot using Gemini Pro API and Flask in Python. The API is available for free with which we will create a web application.
Below are the steps to create an API for Gemini Pro:
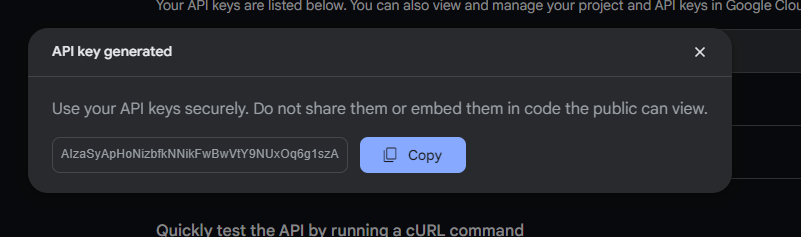
Navigate to Google AI Studio and click on Get API key.
Create API Key in new project button, and copy the generated API key. Copy the API Key and use in generating the chatbot.
Below are the step by step procedure to build a QnA Chatbot using Gemini Pro and Flask in Python:
Before starting, we will have to install the following things to progress further:
Project Structure should be as follows:
In this Python code, a Flask web application is initialized with an instance named app. A route decorator directs the root URL to render the index.html template. When executed, the Flask application runs in debug mode, facilitating development with real-time error feedback.
app.py
Inside the templates folder, create "index.html" file and start writing this code. In this HTML code, a chatbot interface is structured with a title, message display area, and input field. External libraries, Tailwind CSS for styling and Showdown for markdown conversion, are imported. Additionally, Google's Generative AI is integrated, and a JavaScript module (main.js) is included to manage chatbot interactions.
index.html
Output
👁 Build a QnA ChatBot using Gemini
Inside the static folder, create a "main.js" file and start writing this code. In this JavaScript code, the GoogleGenerativeAI module is initialized with an API key to establish a chat instance with the "gemini-pro" model. The chatGemini function manages user interactions, sending messages for processing and displaying the chatbot's responses. Utility functions render messages on the webpage, and event listeners capture user inputs for chat interactions.
In Depth Explaination
To start a chat session, we first need to import the Google GenerativeAI module
import { GoogleGenerativeAI } from "@google/generative-ai";
Then, we need to create a model for chat sessions called gemini-pro.
const genAI = new GoogleGenerativeAI("API_KEY_HERE");
const gen_model = genAI.getGenerativeModel({ model: "gemini-pro" });
After creating the model, we need to start a chat session using the startChat() method and pass parameters accordingly.
const chat = gen_model.startChat({
 generationConfig: {
 maxOutputTokens: 1000,
 },
});
To send a message and receive response, we use sendMessage and text methods.
let res = await chat.sendMessage(message);
res = await res.response;
let text= res.text();
The text returned is in markdown format and we will convert it into HTML for our purpose.
To run this Flask application, just write the following command in your terminal:
python app.py
Access the application in your web browser at http://127.0.0.1:5000
.png)
.png)
-660.jpg)