 |
VOOZH | about |
|
VOOZH | about |
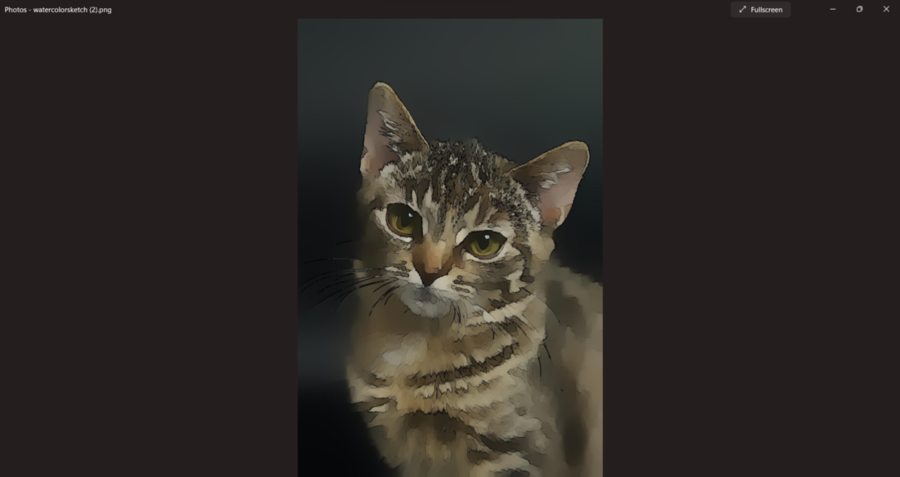
In this article, we will cover how to convert images to watercolor sketches and pencil sketch Linux.
Sketching and painting are used by artists of many disciplines to preserve ideas, recollections, and thoughts. Experiencing art from painting and sculpting to visiting an art museum—provides a variety of well-being advantages, including reduced stress and improved critical thinking abilities. Drawing, sketching, and painting in particular, have been linked to increased creativity, memory, and stress alleviation, and are utilized in art therapy.
Through this article, we can now build a web application to directly convert an image to a sketch using a python framework Streamlit. The user can upload an image to convert it to either a watercolor sketch or a pencil sketch. The user can further download the converted image, before that let us understand some of the definitions that we will use in this article.
pip install streamlit
pip install opencv-python
pip install numpy
pip install Pillow
Step 1: Install Streamlit
Similarly, we will install PIL, Numpy, and cv2.
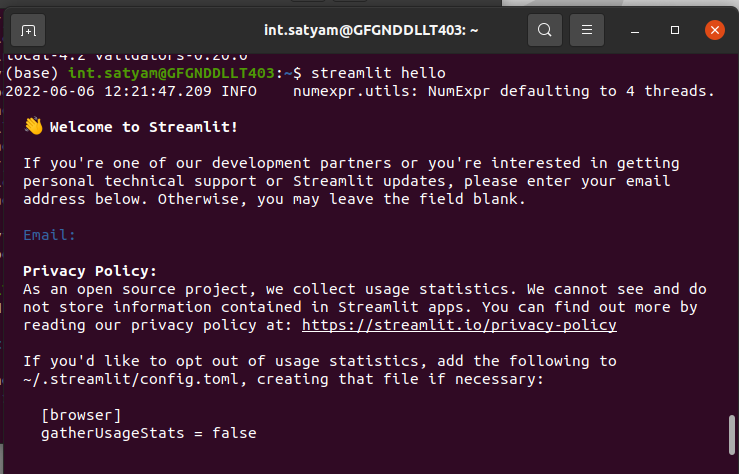
Step 2: Test that the installation worked
streamlit hello
Step 3: Now run the streamlit web application. We need to type the following command
streamlit run app.py
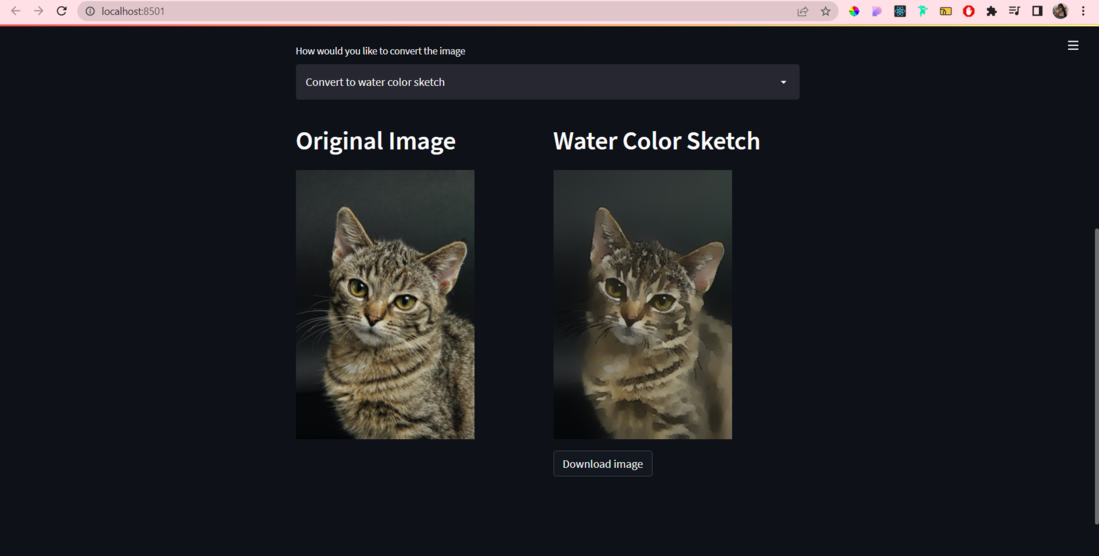
Step 4: Now the web application has been launched successfully. You can access the web application through the local URL or the Network URL.
Step 5: Create a new folder named - Web Application to convert images to sketches.
Step 6: Paste the code of the web application in the file 'app.py' and save the file.
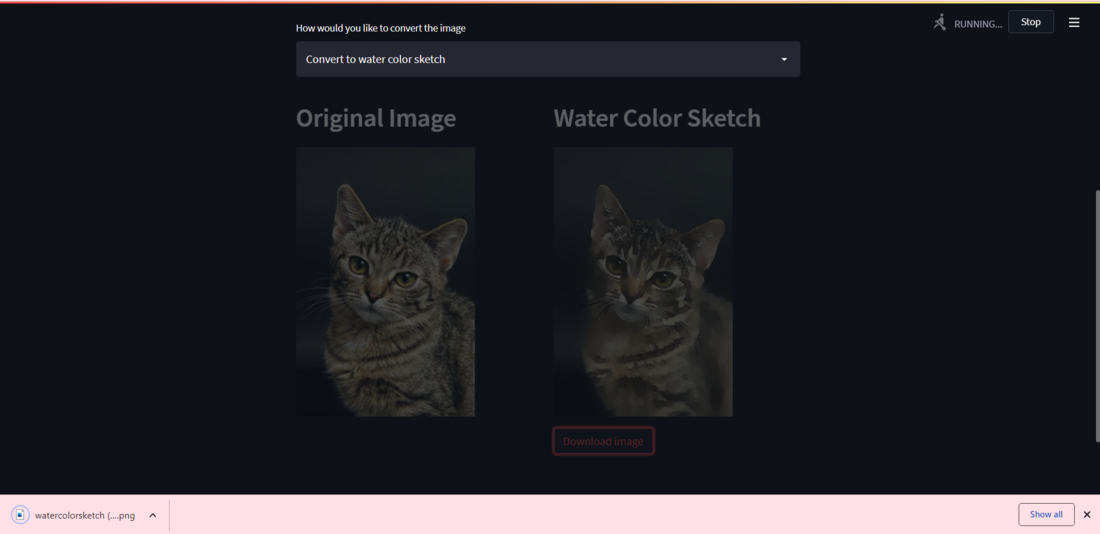
Initially in the code, we import all the required frameworks, packages, libraries, and modules that we will utilize to build the web application. Further, we have to use user-defined functions utilized to convert an image to a watercolor sketch and to convert an image to a pencil sketch. There is also a function to load an image utilizing the PIL library. The main function has the code for the web application. Initially, we have some headings and subheadings to guide the user to upload an image. For uploading the image we have utilized streamlit's file uploader. We are also providing a drop-down menu for the user to choose between producing a watercolor sketch / producing a pencil sketch and then based on their choice, we render the results. Both the original image and the image after applying the filter are rendered side by side such that the user can compare both images to see the results. Finally, the user can also download the image to their local machine. This is done by utilizing the streamlit's download button.
Output: