 |
VOOZH | about |
|
VOOZH | about |
In Django, permissions are used to control access to views and resources. When working with function-based views (FBVs), decorators like @permission_required are commonly used to restrict access based on user permissions. But what happens when we use class-based views (CBVs)?
Django offers flexibility to apply the same permission checks to CBVs as well. In this article, we will explore how to use the permission_required decorator on Django Class-Based Views. We'll build a small project to demonstrate how to implement these permission checks effectively.
The permission_required decorator checks if the user has the required permission(s) to access a particular view. If the user doesn't have the necessary permission, they are redirected to the login page or denied access with a 403 (Forbidden) error.
While applying decorators is straightforward for FBVs, using them with CBVs requires the method_decorator utility, which allows us to wrap specific HTTP methods or the entire class in decorators.
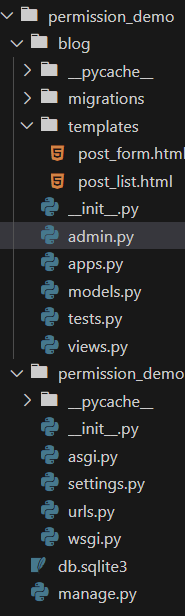
To start, create a new Django project and an app to demonstrate the use of the permission_required decorator. Open your terminal and run the following commands:
django-admin startproject permission_demo
cd permission_demo
python manage.py startapp blog
Add the blog app to the INSTALLED_APPS section in permission_demo/settings.py:
Next, create a simple model in blog/models.py:
Run the following command to create the necessary database tables:
python manage.py makemigrations
python manage.py migrate
Createsuperuser using below command
python manage.py createsuperuserIn blog/views.py, create the class-based views for listing and creating posts. We'll add permissions for the CreateView.
In blog/urls.py, configure the URLs for listing posts and creating new posts:
Create a directory called templates/blog/ in your app folder and add the following templates.
post_list.html:
post_form.html:
Start the development server:
python manage.py runserverNow, visit the following URLs:
Output:
In this article, we covered how to use the permission_required decorator on Django class-based views. We demonstrated how to apply it using the method_decorator utility for class-based views and built a small project to see it in action. This pattern allows us to manage user permissions effectively, ensuring that only authorized users can access certain views or perform specific actions like creating new posts.
By extending this concept, we can add more permission checks for other actions like updating or deleting records, offering granular control over who can interact with our app's resources.