 |
VOOZH | about |
|
VOOZH | about |
JUnit 5 is a widely used testing framework in the Java ecosystem. It is the successor of JUnit 4 and is designed to address its limitations. JUnit framework allows the developers to write and run the tests for their Java code. These tests help ensure that the code functions correctly and continues to work as expected as changes are made. JUnit 5 provides a variety of annotations and one such annotation is `@AfterAll`. In this article, let us understand about @AfterAll annotation in JUnit 5.
@AfterAll annotation in JUnit 5 is used to mark a method that should run once after all the test methods in a test class have been executed. This annotation is typically used to perform cleanup or teardown operations. We will see the demonstration with a sample project below.
Note: The @AfterAll method in JUnit must be declared as both static and public. This ensures it executes only once after all tests in the class are complete, without requiring an instance of the test class. Declaring it as static is essential because JUnit does not create an instance specifically for @AfterAll methods.
Import Statement: For assertions, ensure the correct import of assertEquals by adding:
import org.junit.jupiter.api.Assertions.assertEquals;
Prerequisites:
To understand this, we need to have some prerequisites. They are:
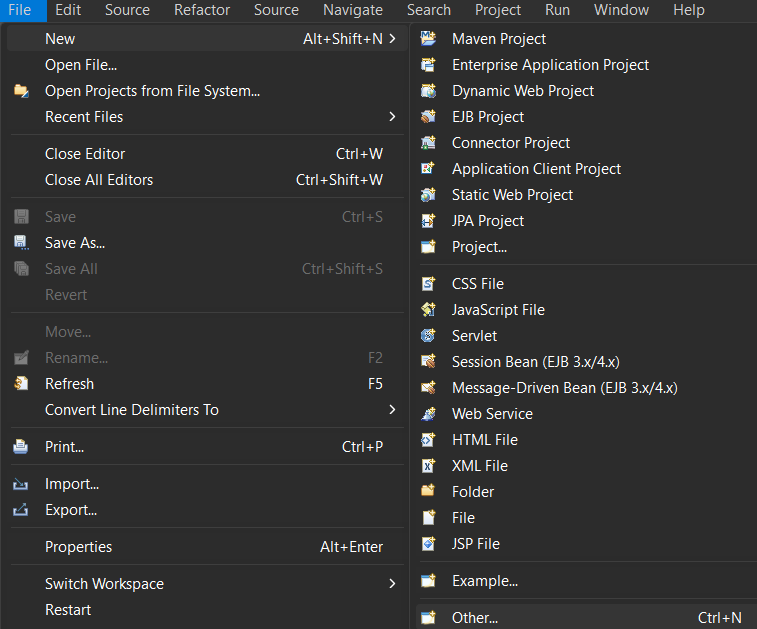
Here, we are using Eclipse IDE for Java and Web Developers 2023-06. You may also use other platforms like IntelliJ, Spring suite tool, Spring Initializer, etc.
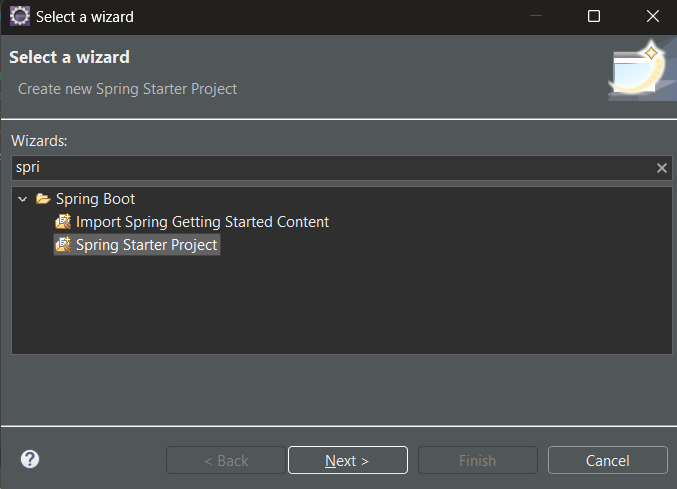
Click on Next.
👁 Creating Spring Stater Project
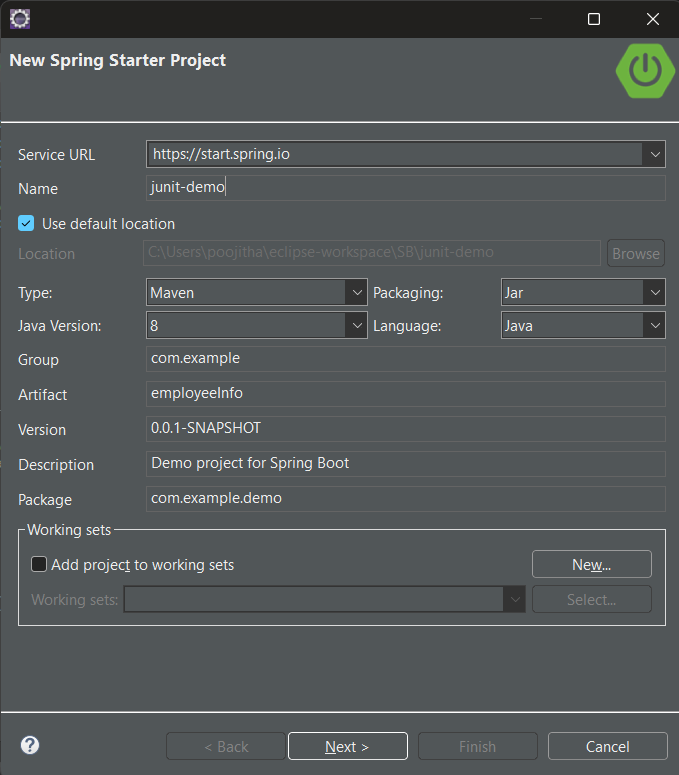
Name your project and configure the default options given if necessary.
👁 Giving Artifact Name and Project Name
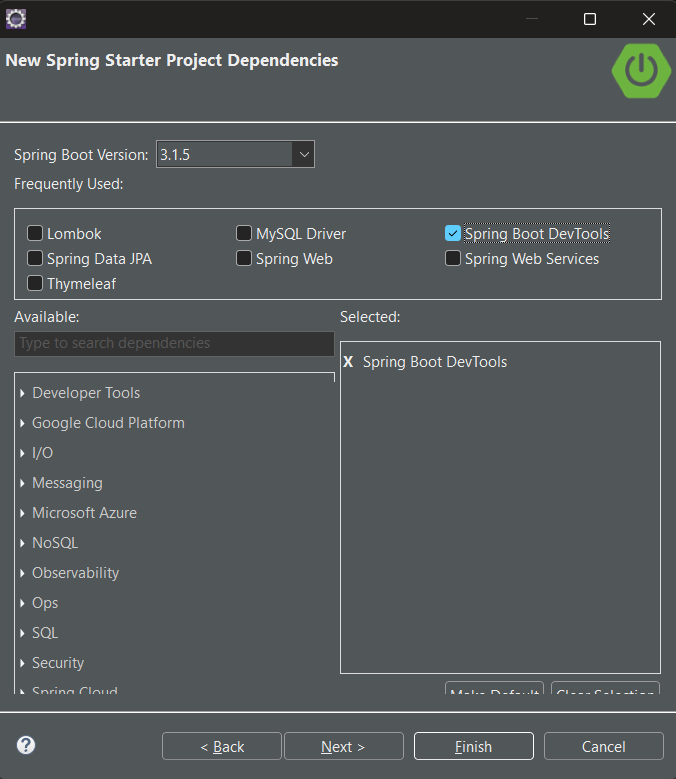
Make sure that, you have chosen the type as 'Maven' and the version of Java should be at least 8. Add dependencies If you need any, otherwise, click `finish`.
Let us configure our pom.xml file with the following dependencies:
JUnit Jupiter API:
The JUnit Jupiter API is the part of JUnit 5 framework which provides annotations, assertions, and other features for defining and running test cases and serves as a programming model for writing tests in Java. To add the JUnit Jupiter API in pom.xml file, copy and paste the following code.
<dependency>
<groupId>org.junit.jupiter</groupId>
<artifactId>junit-jupiter-api</artifactId>
<version>5.10.0</version> <!-- Updated to the latest stable version -->
<scope>test</scope>
</dependency>
Now, that the project setup is ready, let us look into an example to understand how to write and run test cases of JUnit using the Maven tool.
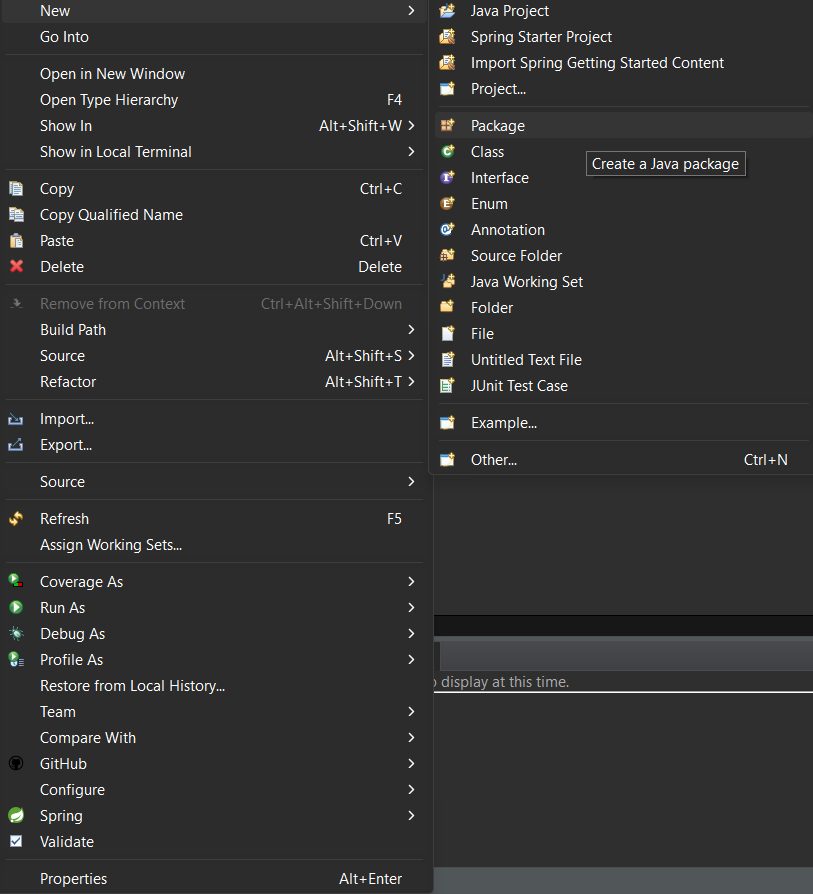
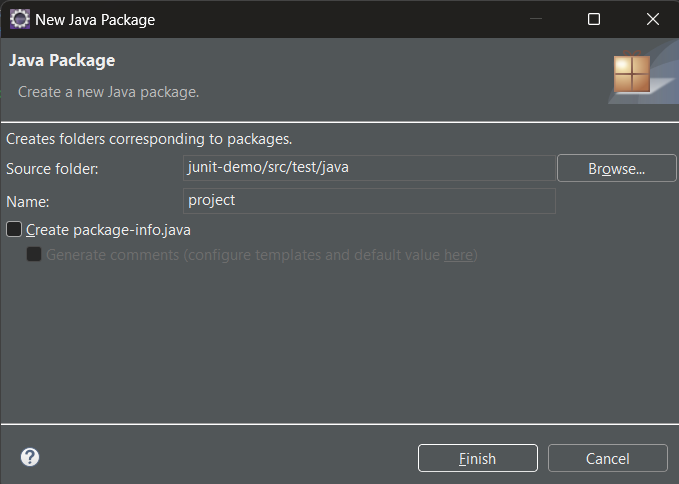
Step 1: Create a new package in the `src/test/java`, right-click on `src/test/java` > new > package.
Click on Finish:
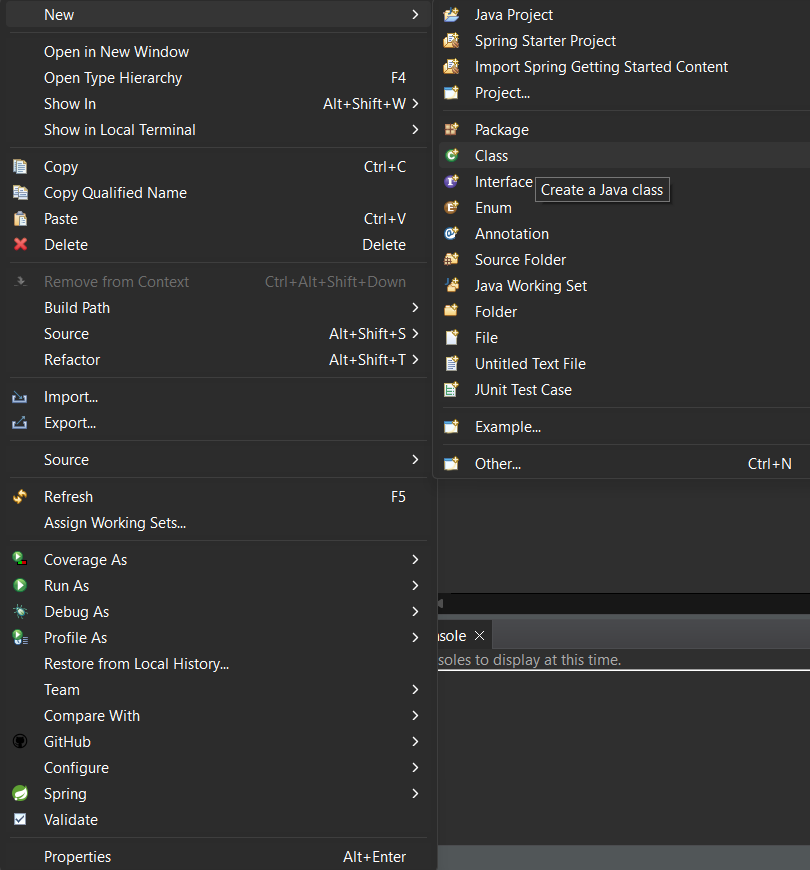
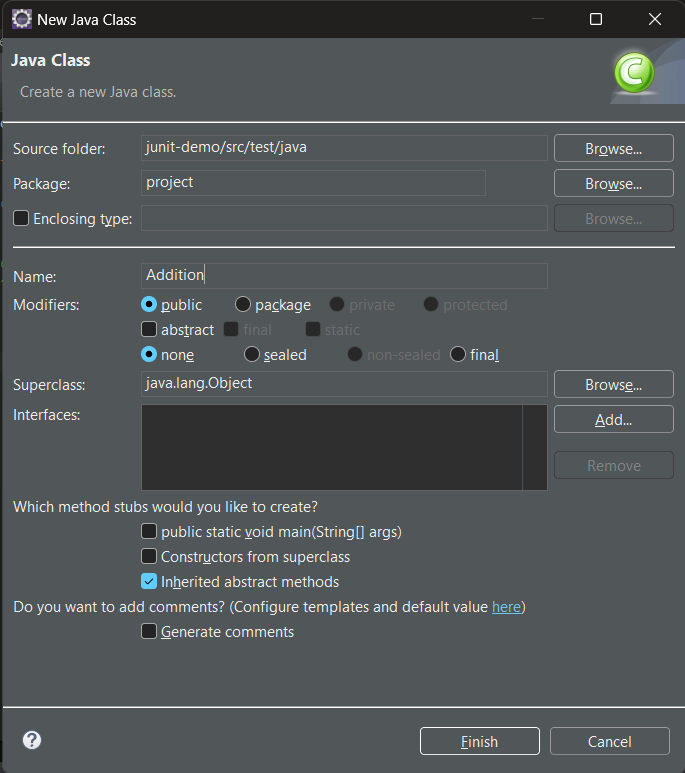
Step 2: Create a class in the package and name it as per your requirement. i.e. `Addition`. To create a class, right-click on package > new > class
Click on finish:
Step 3: write the logic which you want to test in `Addition.java`.
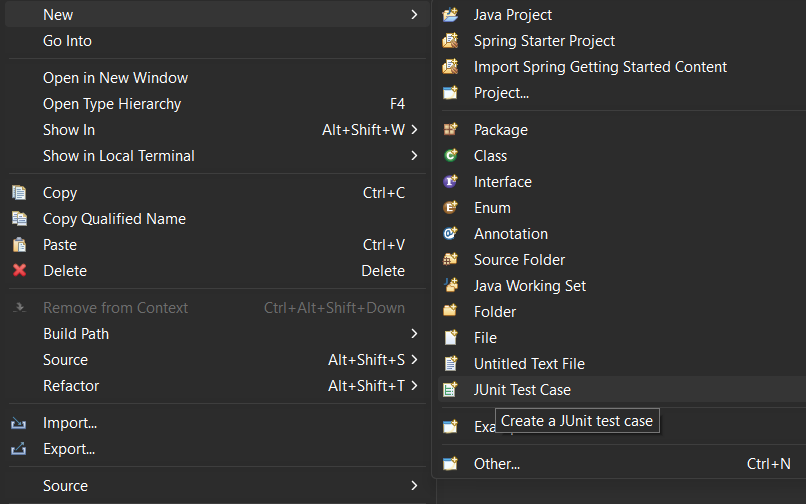
Step 4: Now, create a test case inside the package by right click on the package > new > others > java > JUnit > JUnit test case
👁 Main Window to set JUnit test cases
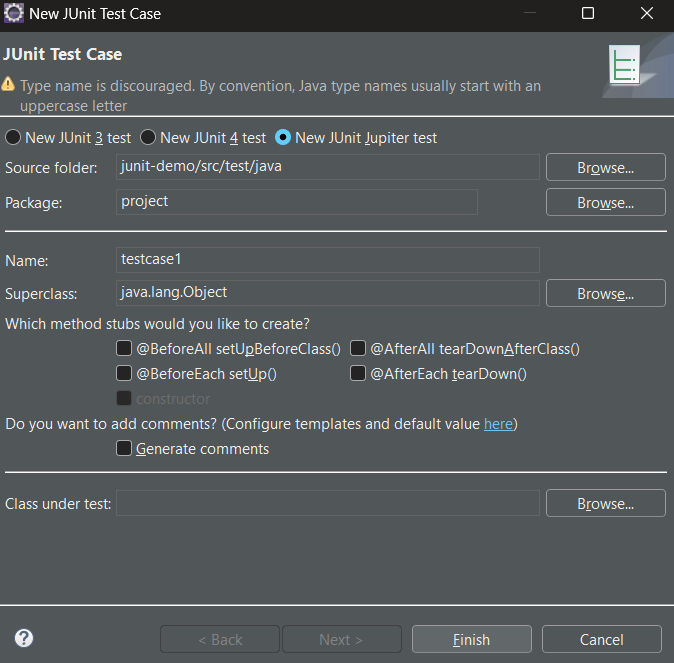
Click on Finish:
👁 Setting Test cases for JUnit
Test Script: Let us write the first test case i.e. `testcase1`.
To run the test case, right-click on the file click on the run as option, and select JUnit test.
👁 Executing the Java Spring Application
We can see the output of the test case in the JUnit tab of the terminal.
Even though the result of the tests are success or fail, irrespective of the status of tests, the method which is annotated with @Afterall is executed.
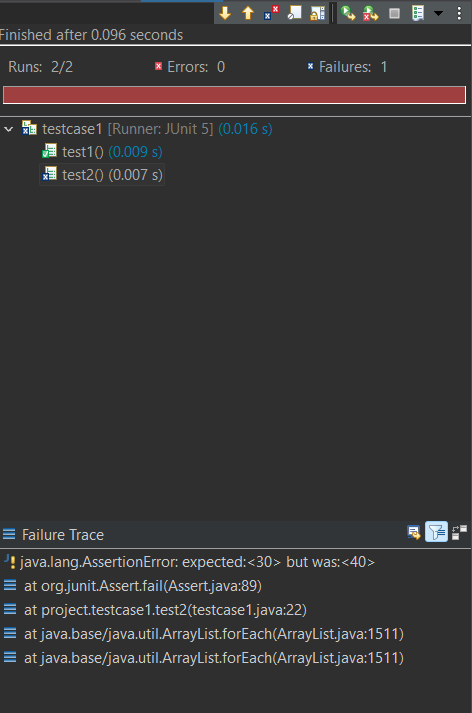
In the JUnit tab, test results are displayed with a color-coded bar:
The above output represents that in the defined two tests, there is a failure test and the Failure trace of the test2 is provided.
The above output represent the console view in the terminal, which refers to the successful execution of cleanUp method after the execution of all the tests.
In the above script, we have created two tests namely `test1` method and `test2` method annotated with `@Test`. Followed by that we have defined `cleanUp` method annotated with `@AfterAll`, which refers that the `cleanUp` method will be executed only after execution of the tests.