 |
VOOZH | about |
|
VOOZH | about |
The "Chat Website" project is a dynamic web application that is used for real-time communication. The MERN stack, comprised of MongoDB, Express.js, React.js, and Node.js, is a powerful combination of technologies for developing robust and scalable web applications. In this article, we'll explore the process of building a real-time chat website using the MERN stack, allowing users to do instant conversations.
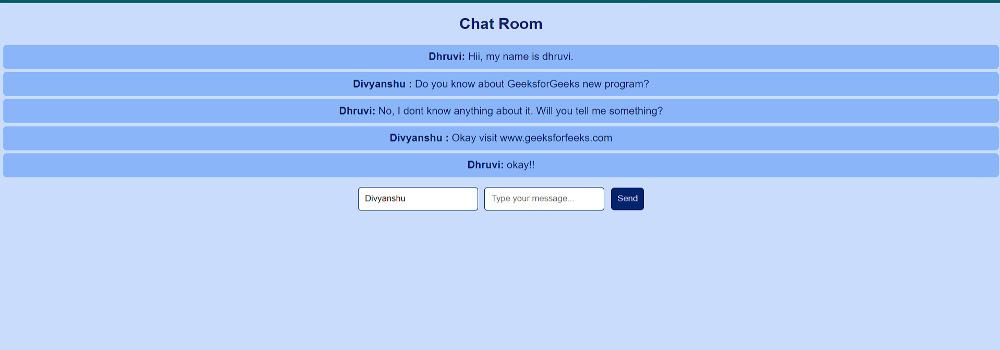
Preview of final output: Let us have a look at how the final output will look like.
Step 1: Create a new project folder and navigate to it:
mkdir chat-backend
cd chat-backend
Step 2: Initialize a Node application and install required dependencies:
npm init -y
npm install express mongoose cors socket.io
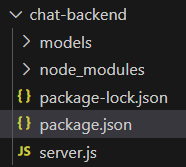
Folder Structure (Backend):
👁 Screenshot-2024-01-11-195107Dependencies (Backend):
"dependencies": {
 "cors": "^2.8.5",
 "express": "^4.18.2",
 "mongoose": "^8.0.4",
 "socket.io": "^4.7.3"
}
Example: Create the respective files and add the following code.
Step 3: To start the server run the following command.
node server.jsStep 4: Creating the frontend of the app by using the following command
cd ..
npx create-react-app chat-frontend
cd chat-frontend
Step 5: Install the required dependencies.
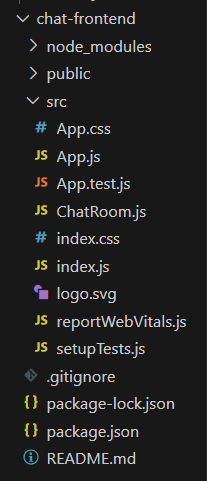
npm install axios react-router-dom socket.io-clientFolder Structure(Frontend):
👁 wqDependencies(Frontend):
"dependencies": {
 "@testing-library/jest-dom": "^5.17.0",
 "@testing-library/react": "^13.4.0",
 "@testing-library/user-event": "^13.5.0",
 "axios": "^1.6.5",
 "react": "^18.2.0",
 "react-dom": "^18.2.0",
 "react-router-dom": "^6.21.1",
 "react-scripts": "5.0.1",
 "socket.io-client": "^4.7.3",
 "styled-components": "^6.1.8",
 "web-vitals": "^2.1.4"
}
Example: Create the required files and add the following code.
Step 6: To start the frontend run the following command.
npm startOutput: