 |
VOOZH | about |
|
VOOZH | about |
This article will guide you through creating a Multi-Factor Authentication (MFA) project using the MERN. This project aims to enhance security by implementing a multi-step authentication process. Users will be required to provide multiple forms of identification for access, adding an extra layer of protection.
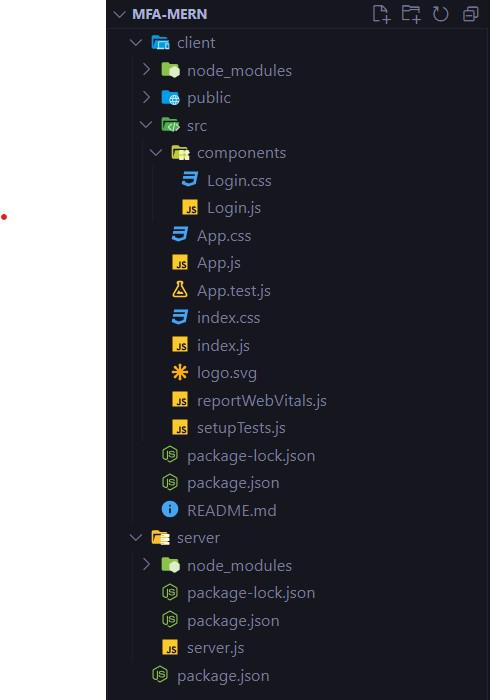
The project will include:
package.json:
Frontend
"dependencies": {
 "react": "^18.2.0",
 "react-dom": "^18.2.0",
 "react-scripts": "5.0.1",
 "web-vitals": "^2.1.4",
}
Backend
package.json:
"dependencies": {
 "body-parser": "^1.20.2",
 "cors": "^2.8.5",
 "express": "^4.18.2",
 "mongoose": "^7.6.5",
 "nodemailer": "^6.9.7",
 "randomatic": "^3.1.1",
}Step 1: Create a new project directory:
mkdir mfa-mern
cd mfa-mern
Step 2: Initialize the project and set up the client and server directories:
npm init -y
mkdir client server
Step 3: Set Up the Backend (Node.js, Express.js, MongoDB)
cd server
npm init -y
Step 4: Install necessary dependencies:
npm install express mongoose nodemailer cors body-parser randomaticStep 5: Set Up the Frontend (React)
cd ../client
npx create-react-app .
Step 6: Install necessary dependencies:
npm install react-router-domStep 7: Set Up MongoDB
Make sure you have MongoDB installed on your system. Start MongoDB and create a database named mfa-mern.
frontend:
Backend:
Step to Run Application: Run the application using the following command from the root directory of the project.
Start the server:
cd server
node server.js
Start the client:
cd client
npm start
Output: Open your browser and go to http://localhost:3000 to view the application.