 |
VOOZH | about |
|
VOOZH | about |
Task Manager is very crucial to manage your tasks. In this article, we are going to develop a task manager application using the MERN stack. This application helps users to manage their tasks efficiently, offering essential features like creating new tasks, editing existing ones, and deleting tasks as needed. We'll walk through the step-by-step process of creating this application.
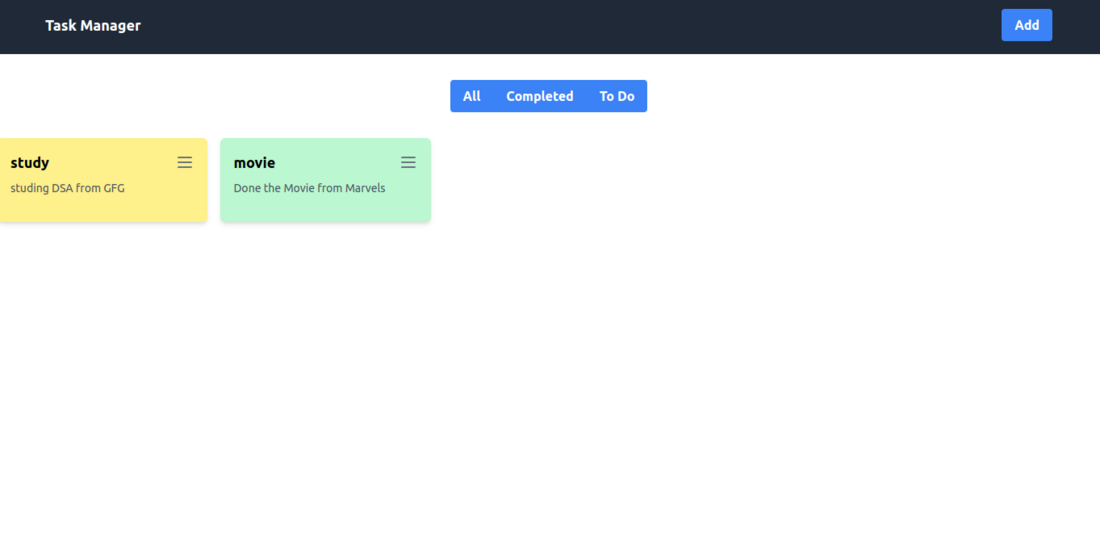
Output Preview: Let us have a look at how the final output will look like.
Step 1: Set up React frontend and get into it using the command
npx create-react-app client
cd client
Step 2: Install the required dependencies(axios, tailwindcss).
npm install axios
npm install -D tailwindcss
npx tailwindcss init
Step 3: Configure the tailwind.config.js file
/** @type {import('tailwindcss').Config} */
module.exports = {
 content: ["./src/**/*.{html,js,jsx}"],
 theme: {
 extend: {},
 },
 plugins: [],
}
Step 4: Add the Tailwind directives to your CSS in index.css
@tailwind base;
@tailwind components;
@tailwind utilities;
Step 5: Start Tailwind CLI
npx tailwindcss -i ./src/index.css -o ./src/output.css --watchThe updated dependencies in package.json file will look like:
"dependencies": {
 "@testing-library/jest-dom": "^5.17.0",
 "@testing-library/react": "^13.4.0",
 "@testing-library/user-event": "^13.5.0",
 "axios": "^1.6.7",
 "react": "^18.2.0",
 "react-dom": "^18.2.0",
 "react-scripts": "5.0.1",
 "web-vitals": "^2.1.4"
},
"devDependencies": {
 "tailwindcss": "^3.4.1"
}
Example Code: Create the required files and write the following code.
To Start the frontend run the following command:
npm startStep 1: Create a directory for project
mkdir server
cd server
Step 2: Initialized the Express app and installing the required packages
npm init -y
npm i express mongoose cors dotenv
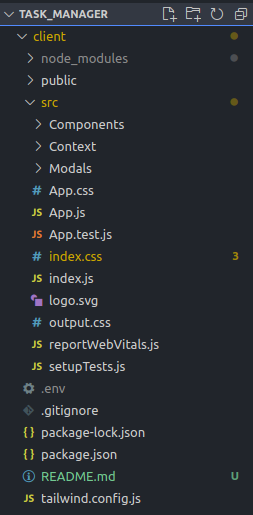
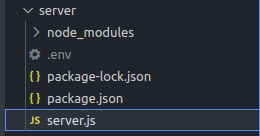
Project Structure:
The updated dependencies in package.json file will look like:
"dependencies": {
 "cors": "^2.8.5",
 "dotenv": "^16.4.5",
 "express": "^4.18.2",
 "mongoose": "^8.2.0"
}
Example: Create 'server.js' and write the below code.
To start the application run the following command:
node server.jsOutput:
Output of data saved in Database:
Browser Output: