 |
VOOZH | about |
|
VOOZH | about |
Setting up a virtual environment in Django is essential for isolating your project's dependencies and ensuring consistent behavior across different environments. A virtual environment allows you to install packages locally without affecting the global Python installation. Here's how to set up a virtual environment for your Django project.
Below, is a step-by-step explanation of how to set up a virtual environment in Django in Python:
We will install the following dependencies and modules before starting our setup:
If you haven't installed virtualenv yet, you can do so using pip:
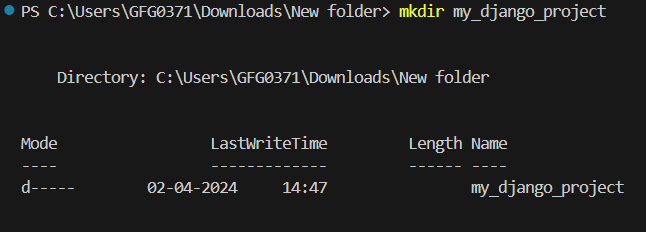
pip install virtualenvNavigate to the directory where you want to create your Django project and create a new directory for it
mkdir my_django_project
cd my_django_project
Inside your project directory, create a new virtual environment using virtualenv. You can name your virtual environment whatever you like (e.g., 'venv', 'env', 'myenv').
python -m venv envOn Windows, type the following command to activate the virtual environment:
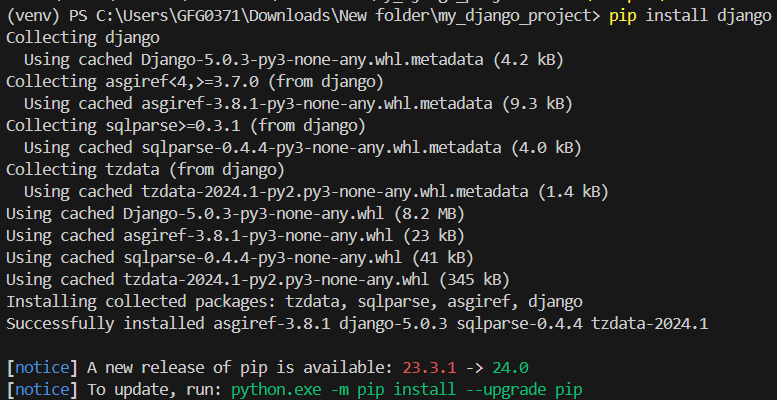
venv\Scripts\activate👁 thirdOnce the virtual environment is activated, you can install Django and any other dependencies your project requires using pip.
pip install djangoNow that your virtual environment is set up and activated, you can create a new Django project using the django-admin command.
django-admin startproject myprojectReplace 'myproject' with the name of your project.
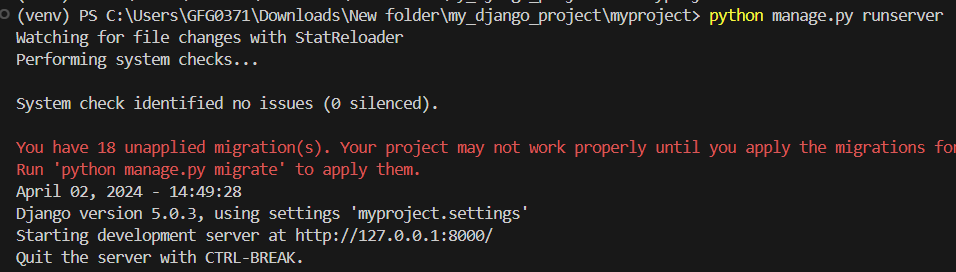
You can verify that Django is installed correctly by running the development server.
cd myproject
python manage.py runserver
Open your web browser and navigate to http://127.0.0.1:8000/. If you see the Django welcome page, your installation was successful.
Setting up virtual environments is a fundamental step in Django development. Once you're comfortable with these basics, the Complete Django Web Development Coursewill help you dive deeper into more advanced concepts.