 |
VOOZH | about |
|
VOOZH | about |
Spring MVC provides built-in multipart handling via the Jakarta Servlet API, so you can upload files using MultipartFile and StandardServletMultipartResolver. This article walks through enabling multipart in web.xml (or Java config), registering StandardServletMultipartResolver, building a controller to accept uploads, and managing files efficiently (images, documents, large files) with limits, validation, and storage options.
Pre-requisites:
Spring MVC framework provides support for CommonsMultipartResolver for uploading any kind of file for a web-based application. Here we will be creating a Spring MVC web application and configuring MultipartResolver to upload files (image) and also show them on the web.
Open Eclipse IDE and create a new Maven project. Select the maven-archetype-webapp archetype. Enter the Group Id (e.g., com.gfg) and Artifact Id (e.g., SpringMVCFileUpload). Click Finish to create the project.
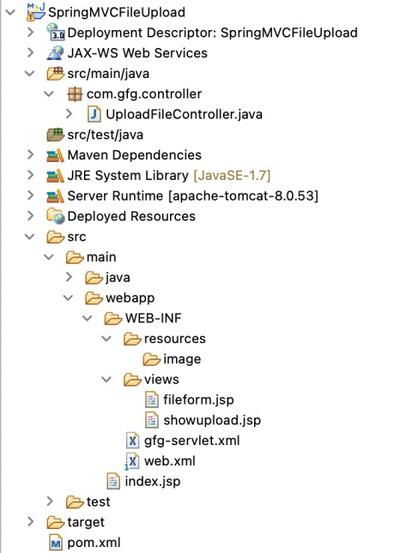
The project structure would look something like this:
Let's start by adding some dependencies into the pom.xml already created after creating a maven project. The pom.xml defines all the dependencies that maven has to get and manage for you. We are going to add dependencies for Spring MVC, jakarta EE and file upload libraries.
The web.xml file in the WEB-INF folder defines mapping with different URLs and servlets to handle requests for those URLs. In this configuration file, we have used Jakarta EE namespace and configure the DispatcherServlet.
This is the gfg-servlet.xml file located in "/src/main/webapp/WEB-INF/gfg.servlet.xml". This file handles all HTTP requests for web applications. The annotation-driven enable the spring @Controller function, resource-mapping helps in handling HTTP requests for all resources. The bean configuration helps in identifying and scanning the jsp located in the views folder. The component-scan locates and allocated beans according to the mentioned annotation. Also added a resource mapping to map all the resources to the view a page.
A bean with id as multipartResolver will help in instantiating the CommonsMultipartResolver.
The UploadFileController class in the com.gfg.controller has was methods for two requests to be mapped. The upload method is a get mapping and simple redirects to the fileform.jsp view page. The fileUpload method sends a Post request and redirects the showupload page. This class has three parameters CommonsMultipartFile gets the uploaded file. The file is converted into a bytes array and saved into a file using FileOutputStream, the model param is used to add the file name as an attribute in the showupload.jsp file.
UploadFileController:
The fileform.jsp in the views folder defines the upload form with enctype as multipart/form-data. We've used bootstrap for the proper styling of the page.
fileform.jsp:
The showupload.jsp page displays the uploaded image using jsp to map the image URL.
Note: After adding all the classes and configuration file, the project structure should look something like this:
Note: Before running the application, you need to manually create a folder named image inside the WEB-INF/resources directory. This folder will be used to store the uploaded files (e.g., images). If the folder does not exist, the application will throw an error when trying to save the uploaded file.
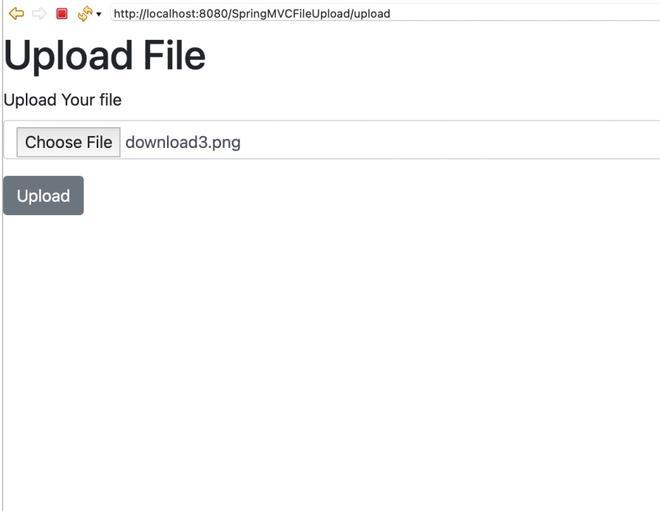
Now it's time to run your project, start the Tomcat Server and run your application, now type "http://localhost:8080/SpringMVCFileUpload/upload" in any browser.
Output:
The below image demonstrates a file upload form in a Spring MVC application where users can select and upload a file.
Upload the image and click on upload this will redirect you to the showupload page
Now, you will see your uploaded image.
So we have created a Spring MVC web application with an upload form and displayed the uploaded image on the web.