 |
VOOZH | about |
|
VOOZH | about |
Form-Based Authentication in Spring Security provides a secure and customizable way to authenticate users using a custom login page instead of the default browser login prompt. It allows better control over authentication flow, user experience, and security configurations.
In this article, we will learn how to set up a Spring Boot application with Spring Security to implement a custom login page.
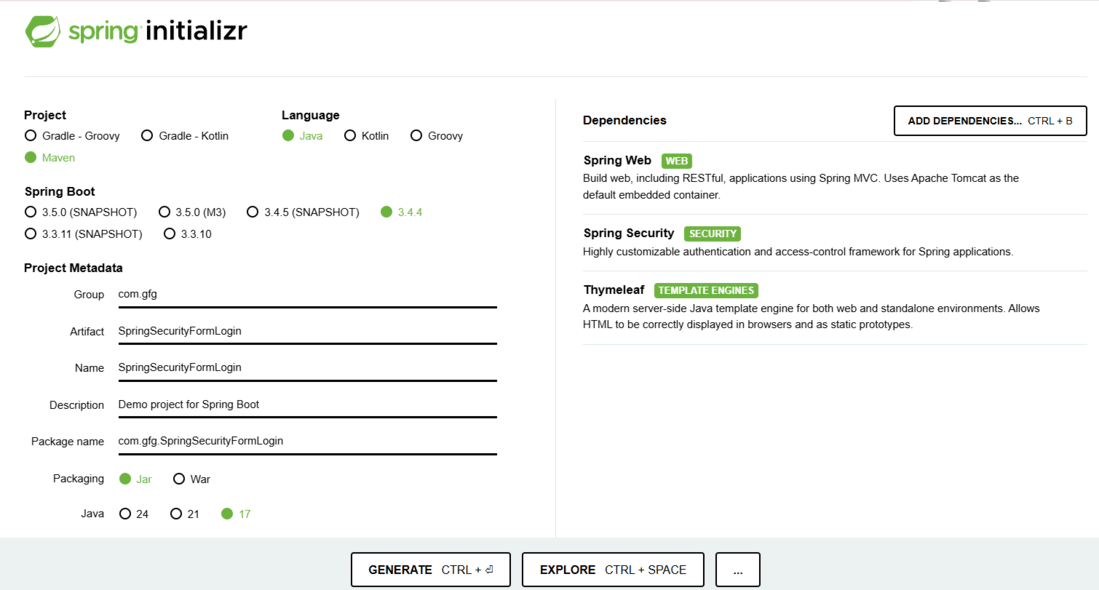
Use Spring Initializr to bootstrap your project with the following dependencies:
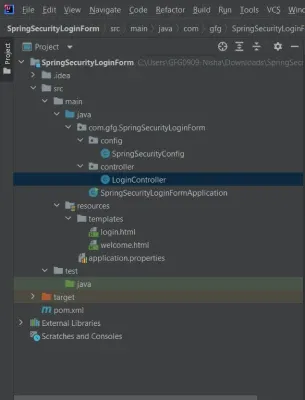
Your folder structure should look like this:
The pom.xml defines the configuration of the dependencies of the project, we don't need to add other dependencies right now as we are using spring boot and most of the things that we need for this project are auto-configured.
pom.xml:
Create a controller to handle requests for login and welcome pages.
Create SpringSecurityConfig.java:
spring.security.user.name=user
spring.security.user.password=pass
spring.thymeleaf.cache=false
spring.thymeleaf.cache=false ensures templates reload automatically during development.
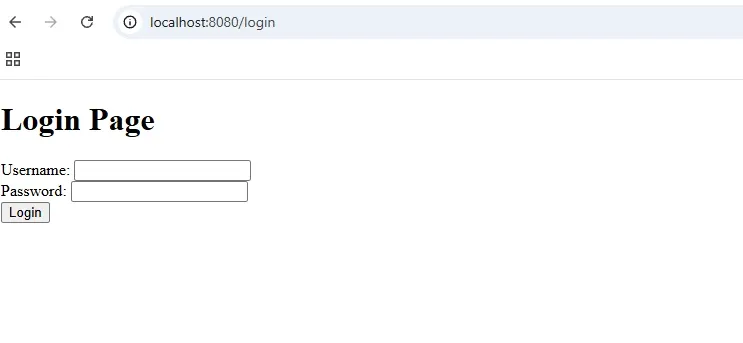
login.html
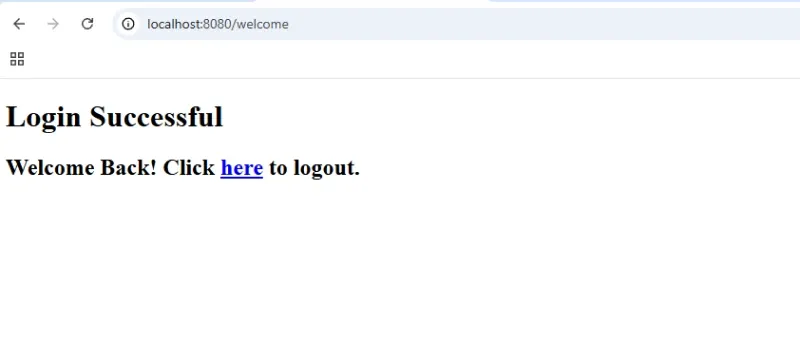
Welcome.html
Now it's time to run your created project, run your program as a Java application,
After successful authentication spring will automatically redirect to the welcome page.
So, we have created a very basic custom Form-Based Authentication using spring security and tested it locally.