 |
VOOZH | about |
|
VOOZH | about |
In this article, we are going to explore the project which is a travel journalling app, where users can log in and register, make journal entries describing the various places they traveled to, and also upload their images. They can search through the various entries they've made and also delete them.
The website enables authentication and authorization i.e. only users who have accounts can explore the app and only authors of entries can view them. It is a great solution for all travel lovers. We are going to make it using the MERN stack (Mongo DB, Express, React, and Node).
Output Preview: Let us have a look at how the final output will look like.
Step 1: Create a server using the following command in your terminal.
npm init -yStep 2: Install the required packages.
npm install bcryptjs cors dotenv express cookie-parser jsonwebtoken mongodb mongoose morgan helmet nodemon
The updated dependencies in package.json file will look like:
"dependencies": {
 "bcryptjs": "^2.4.3",
 "body-parser": "^1.20.2",
 "cookie-parser": "^1.4.6",
 "cors": "^2.8.5",
 "dotenv": "^16.4.5",
 "express": "^4.18.2",
 "helmet": "^7.1.0",
 "jsonwebtoken": "^9.0.2",
 "mongoose": "^8.2.0",
 "morgan": "^1.10.0",
 "nodemon": "^3.1.0"
}
Step 3: Create a MongoDB project and access its connection url. Create a .env file where secret keys are stored. Here add your mongodb connection url and a randomly generate code for JWT.
MONGO = [mongo database connection string can be found at on cloud.mongodb.com > Clusters > Connect button]
JWT = randomly generate code
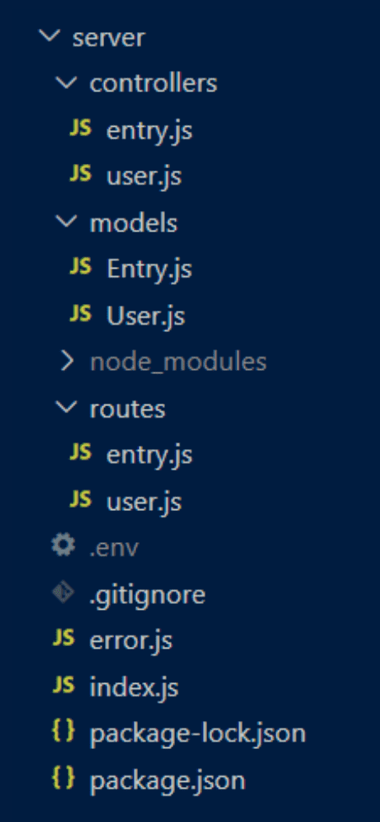
Example: Below is an example of creating a server of Travel Journal App.
Start your server using the following command.
cd server
node index.js
Step 1: Create react application in your project folder using the following command and navigate to the folder.
npx create-react-app client
cd client
Step 2: Install additional packages
npm install axios react-router-dom @fortawesome/free-solid-svg-icons @fortawesome/react-fontawesomeStep 3: In the index.html file add the following google font embeddings so that we can use these particular fonts in our app.
<link rel="preconnect" href="https://fonts.googleapis.com/">
<link rel="preconnect" href="https://fonts.gstatic.com/" crossorigin>
<link href="https://fonts.googleapis.com//css2?family=Caveat:wght@400..700&family=Urbanist:ital,wght@0,100..900;1,100..900&display=swap" rel="stylesheet">
The updated dependencies in package.json file will look like:
"dependencies": {
 "@fortawesome/free-solid-svg-icons": "^6.5.1",
 "@fortawesome/react-fontawesome": "^0.2.0",
 "@testing-library/jest-dom": "^5.17.0",
 "@testing-library/react": "^13.4.0",
 "@testing-library/user-event": "^13.5.0",
 "axios": "^1.6.7",
 "react": "^18.2.0",
 "react-dom": "^18.2.0",
 "react-router-dom": "^6.22.1",
 "react-scripts": "5.0.1",
 "web-vitals": "^2.1.4"
}
Step 4:Set up the backbone of the frontend:
createRoot(), wrapped in AuthContextProvider for authentication data handling. Render App within React strict mode. Define routes in App.js for page mapping. Implement useFetch for data fetching. Use ProtectedRoute to limit access. Establish authentication context with AuthReducer and useReducer, managed by AuthContextProvider.Step 5: Create the required components:
Start your application using the following command in your terminal.
cd client
npm start
Output: