 |
VOOZH | about |
|
VOOZH | about |
Histogram Equalization (HE) is a technique used to improve image contrast by redistributing pixel intensity values across the entire range. It is especially effective in images where the foreground and background have similar brightness, making it hard to distinguish details. By enhancing areas with low contrast, it makes hidden features more visible, showing finer details in both dark and bright regions. OpenCV’s cv2.equalizeHist() function simplifies this process, improving the image’s contrast for clearer, more defined features.
Let's see various steps involved in this process:
OpenCV makes it easy to apply histogram equalization with the cv2.equalizeHist() function. This function works on grayscale images, so we need to convert a color image to grayscale first. Let's see step-by-step process involved in performing Histogram Equalization.
Before using OpenCV, we need to make sure it’s installed in the Colab environment. If OpenCV isn't already installed, we can install it using the following command:
!pip install opencv-python-headless
Here we will be importing OpenCV, Numpy and Matplotlib libraries for the implementation.
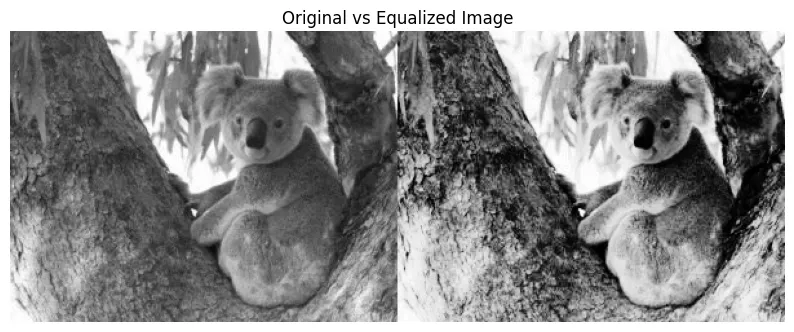
Now first we load the image, for histogram equalization we typically work with grayscale images and then apply histogram equalization to improve its contrast and stack the original and equalized images for comparison. Here we will be using a random sample image which you can download from here, also you can use any image.
Finally, we display the stacked images using matplotlib.
Output:
For related article, refer to Analyze-image-using-histogram