 |
VOOZH | about |
|
VOOZH | about |
Selenium WebDriver is an open-source tool that provides a flexible programming interface, compatible with multiple programming languages, which helps in the automation of web browsers.
Before installation, complete below requirements to install the web driver:
Java Development Kit (JDK) is one of the most important tools for developers who use it to build, compile, and run Java applications. We need java as a programming language to run the Selenium automation scripts.
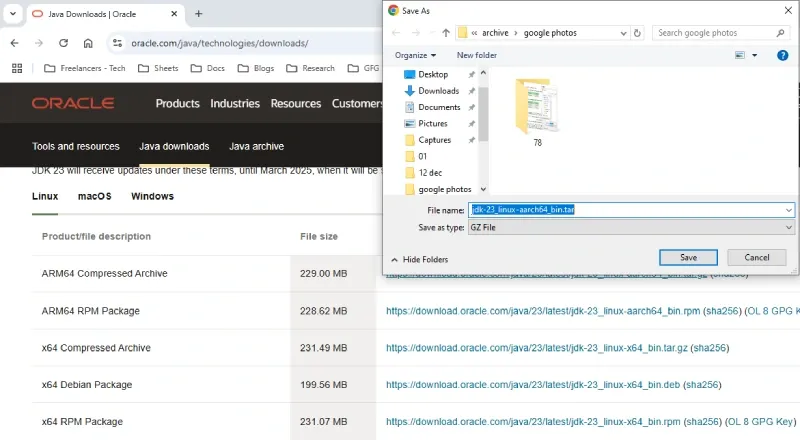
Go to the Official JDK website to download the file.
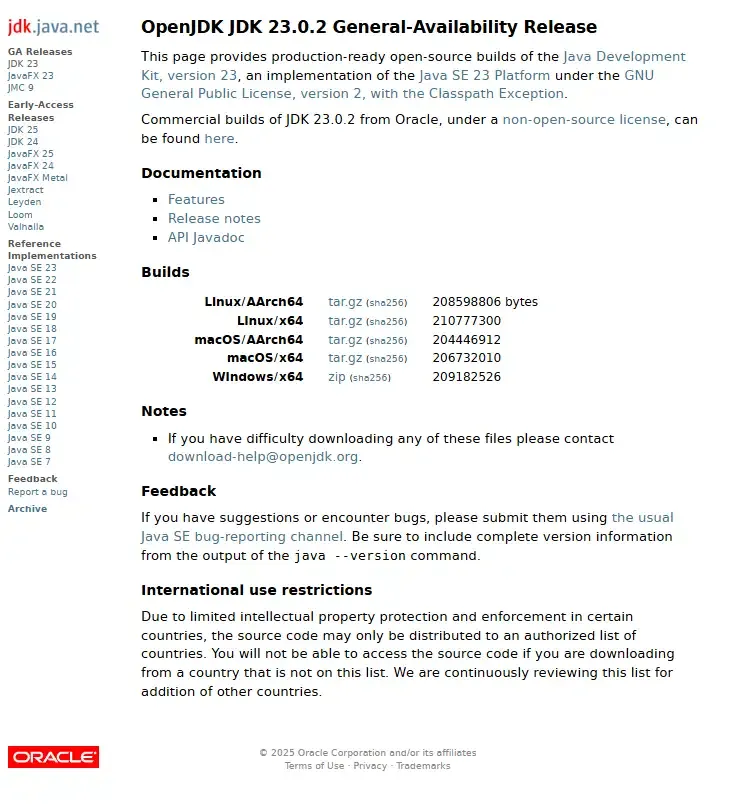
Since JDK is an open-source, so you can get it from OpenJDK in a few clicks.
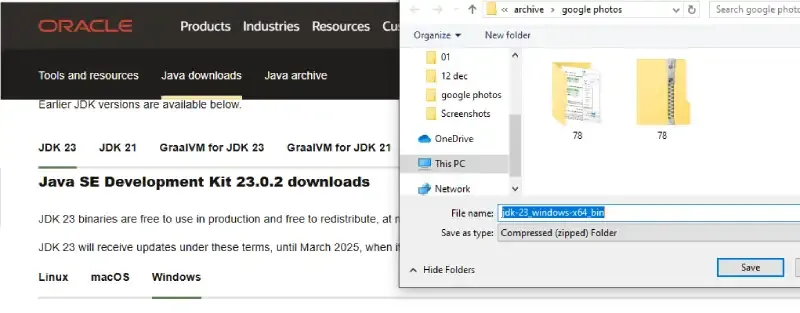
As of 2025, the latest stable versions are JDK 23 (SE) and JDK 21 (LTS). Select the compatible version as per your operating system (Windows, Mac or Linux)
Go through all the License and Agreement before downloading (from Oracle website), it will not ask if you'll download it from OpenJDK website. Follow the below steps to install JDK on Windows environment i.e. Windows 7, Windows 8, Windows 8.1, Windows 10, and Windows 11.
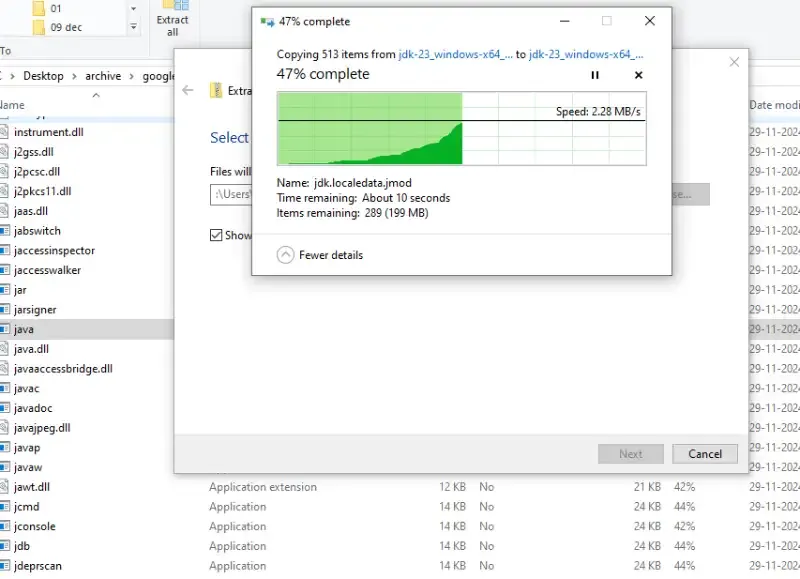
Locate the downloaded .exe file (e.g. jdk-23-windows-x64_bin.exe) and make the double click to begin the Installation process. Follow the installation wizard prompts to complete the installation process.
Once the installation gets completed, you need to configure environment variables to notify the system about the directory in which the JDK files are located.
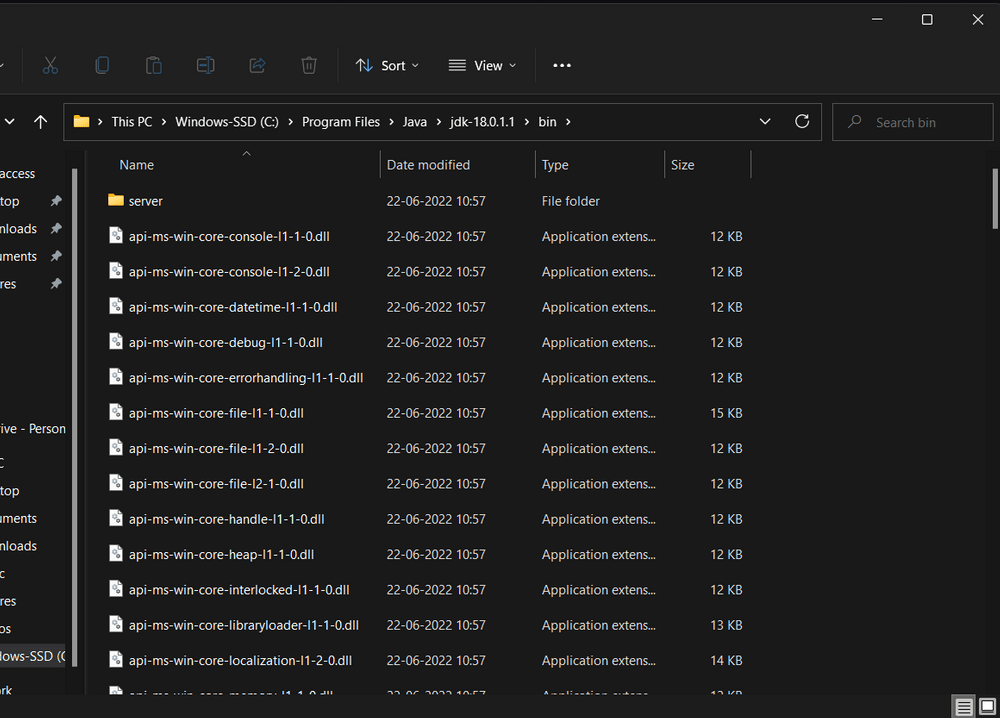
Proceed to C:\Program Files\Java\jdk-{YOUR_JDK_VERSION}\bin (replace {-} with your JDK version)
Step 2.1: To set the Environment Variables, you need to search Environment Variables in the Task Bar and click on “Edit the system environment variables”.
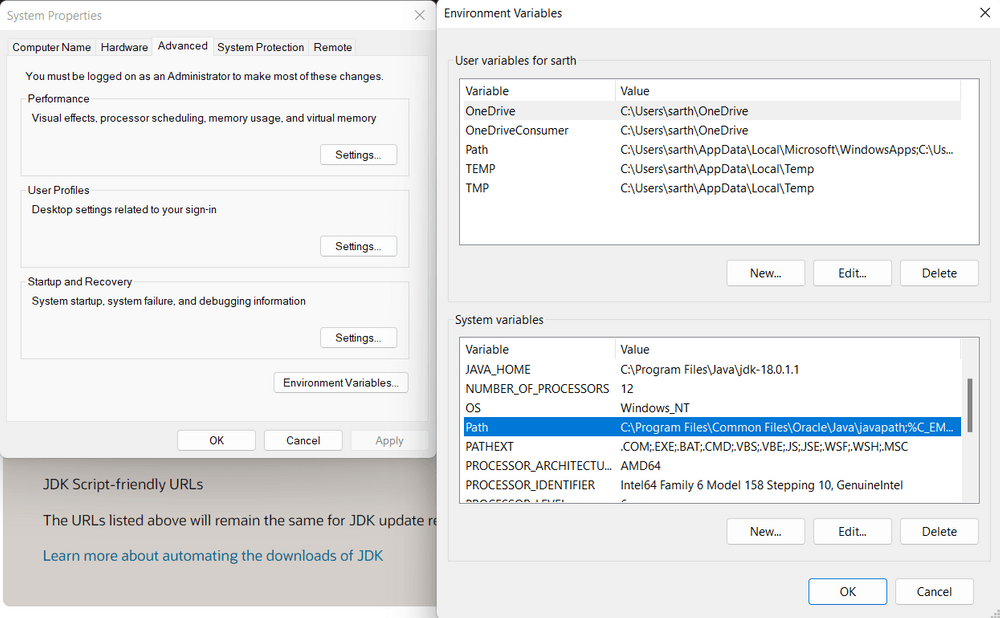
Step 2.2: Under the Advanced section, Click on "Environment Variables".
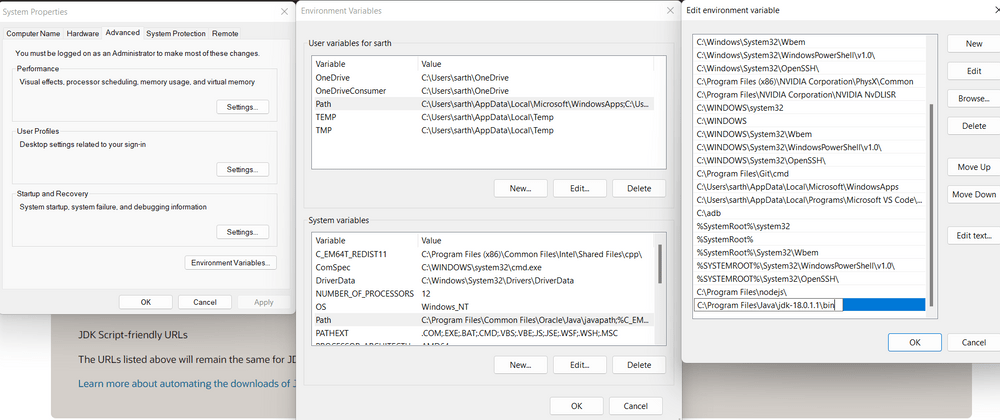
Step 2.3: Under System variables, select the "Path" variable and click on "Edit". Click on "New" then paste the Path Address i.e. C:\Program Files\Java\jdk-{YOUR_JDK_VERSION}\bin. Click on "OK".
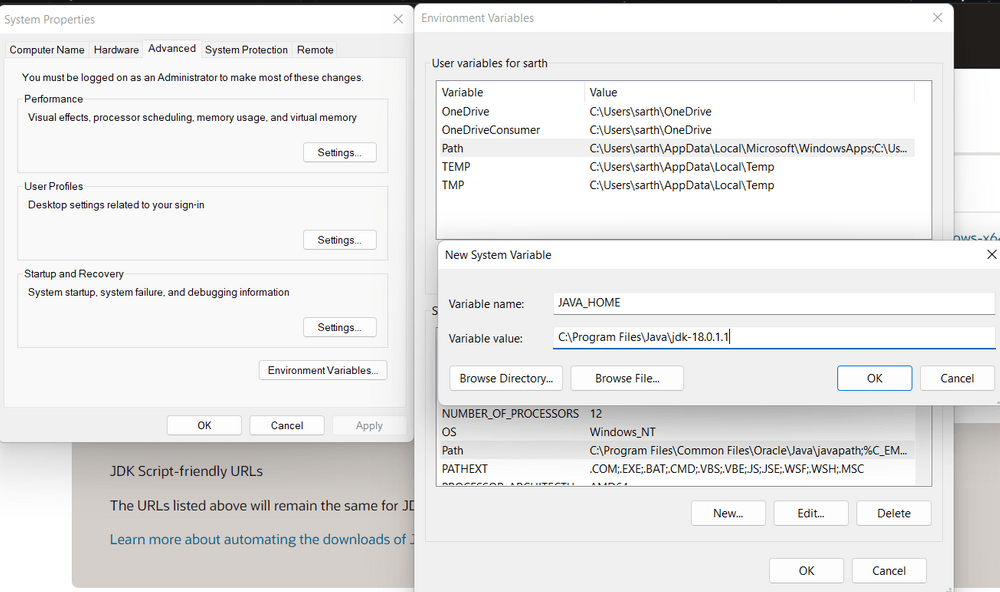
Step 2.4: Now, in the Environment Variables dialogue, under System variables, click on "New" and then under Variable name: JAVA_HOME and Variable value: paste address i.e.
C:\Program Files\Java\jdk-{YOUR_JDK_VERSION}. Click on OK => OK => OK.
Open Command Prompt and enter the following commands:
java -version
javac -version
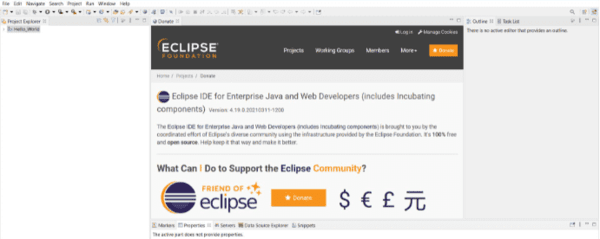
Eclipse is one of the most widely used Integrated Development Environments (IDEs) among developers worldwide. Whether you're programming in Java, Python, C++, or other languages, Eclipse offers a powerful and customizable platform to code, debug, and test applications.
Now let's look at the step-by-step process to download and install Eclipse on Windows:
👁 download-and-install-eclipse-on-windows
👁 download-and-install-eclipse-on-windows
👁 download-and-install-eclipse-on-windows
👁 download-and-install-eclipse-on-windows
👁 download-and-install-eclipse-on-windows
👁 download-and-install-eclipse-on-windows
👁 download-and-install-eclipse-on-windows
👁 download-and-install-eclipse-on-windows
👁 download-and-install-eclipse-on-windows
Now you have successfully installed Eclipse software on your Windows PC. After these we are installing Selenium WebDriver.
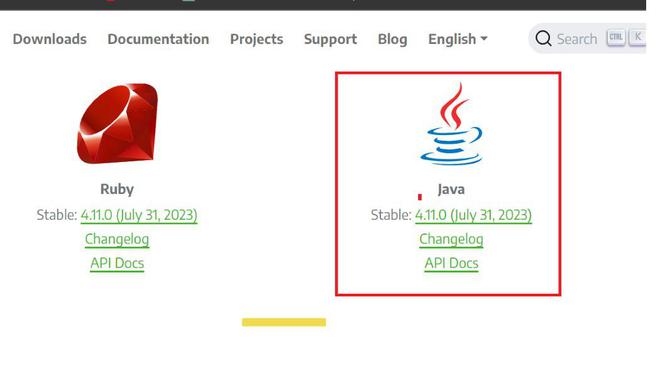
1. Install Selenium WebDriver for Java on your system. Download the latest version of Selenium WebDriver for Java from Selenium Download page. Download the Zip file.
2. Extract the ZIP file to the desired folder and extract the ZIP file to the desired folder.
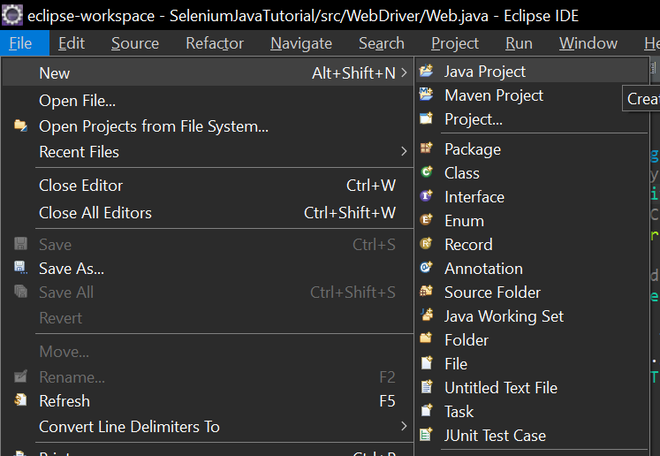
3. Launch Eclipse and select File -> New -> Java Project. Enter a name for your project (e.g., SeleniumTest) and click Finish.
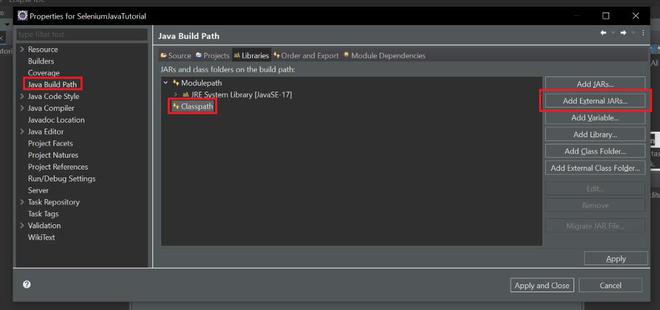
4. Right-click on your project in Package Explorer and select Properties.
5. Select Java Build Path from the left panel and click on the Libraries tab and then select Classpath.
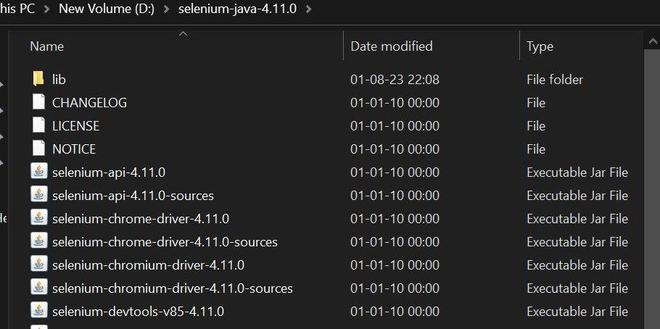
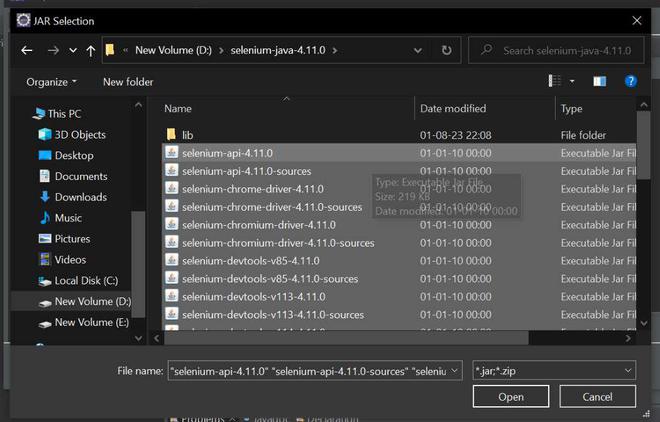
6. Click on Add External JARs and browse to the location where you downloaded and extracted the zip file of the Selenium WebDriver library (e.g., selenium-java-4.1.0).
7. Select all the JAR files inside the zip file and click Open and also all the files inside the lib folder.
(D:\selenium-java-4.11.0, D:\selenium-java-4.11.0\lib). . Click Apply and Close to save the changes.
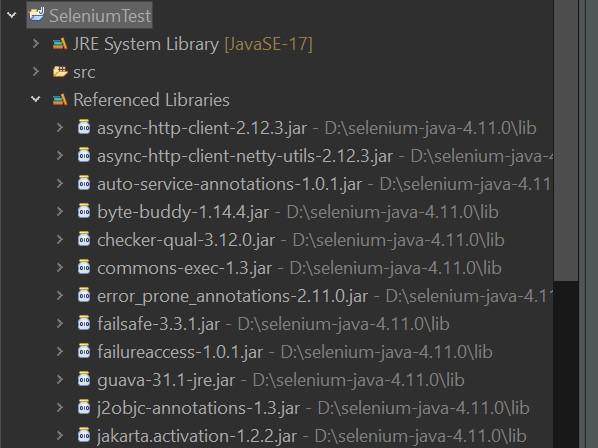
8. Verify that selenium is configured. Click on 'SeleniumTest'->Reference Libraries.
👁 Verify Selenium is configured
Hence, successfully installed Selenium WebDriver and now eclipse is ready to write the test script and automate web applications for testing.