 |
VOOZH | about |
|
VOOZH | about |
With a busy schedule, it is very important to prioritize our health and fitness. In this article, a walkthrough to creating a Workout Planner using MERN (Mongodb, Express, ReactJS, NodeJS) stack is explained. How to create own customized APIs using Mongoose for performing CRUD (Create, Read, Update and Delete) operations has been proposed along with an explanation of installation and setting up of the project.
Output Preview: Let us have a look at how the final output will loo like.
Step 1: Create a project folder using the following command.
mkdir workout planner
cd workout planner
Step 2: In your project folder create a folder by the name server and navigate to it.
mkdir server
cd server
Step 3: Install the required packages
npm install bcryptjs cors dotenv express cookie-parser jsonwebtoken mongodb mongoose morgan helmet nodemon
The updated Dependencies in package.json file of backend will look like:
"dependencies": {
 "bcryptjs": "^2.4.3",
 "cors": "^2.8.5",
 "dotenv": "^16.4.4",
 "express": "^4.18.2",
 "cookie-parser": "^1.4.6",
 "jsonwebtoken": "^9.0.2",
 "mongodb": "^6.3.0",
 "mongoose": "^8.1.3",
 "morgan": "^1.10.0",
 "helmet": "^7.1.0",
 "nodemon": "^3.0.3"
}
Step 4: Create a .env file to store things you don't want to show to others.
MONGO = [mongo database connection string can be found at on cloud.mongodb.com > Clusters > Connect button]
JWT = randomly generate code
Step 5: Create .gitignore file. Here we specify which files or folders need to be ignored while committing to git repositories. We generally add node modules and .env file here
node_modules
.env
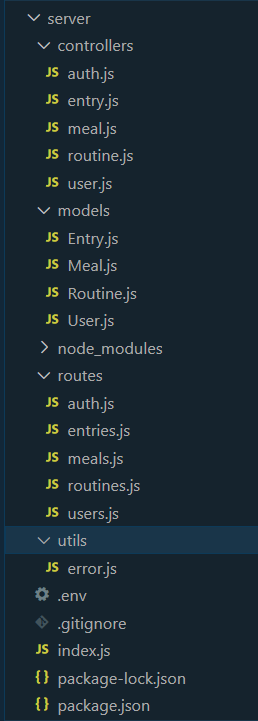
Code Example: Create the required files as shown in folder structure and add the following codes.
Step 6: To start the backend run the following command.
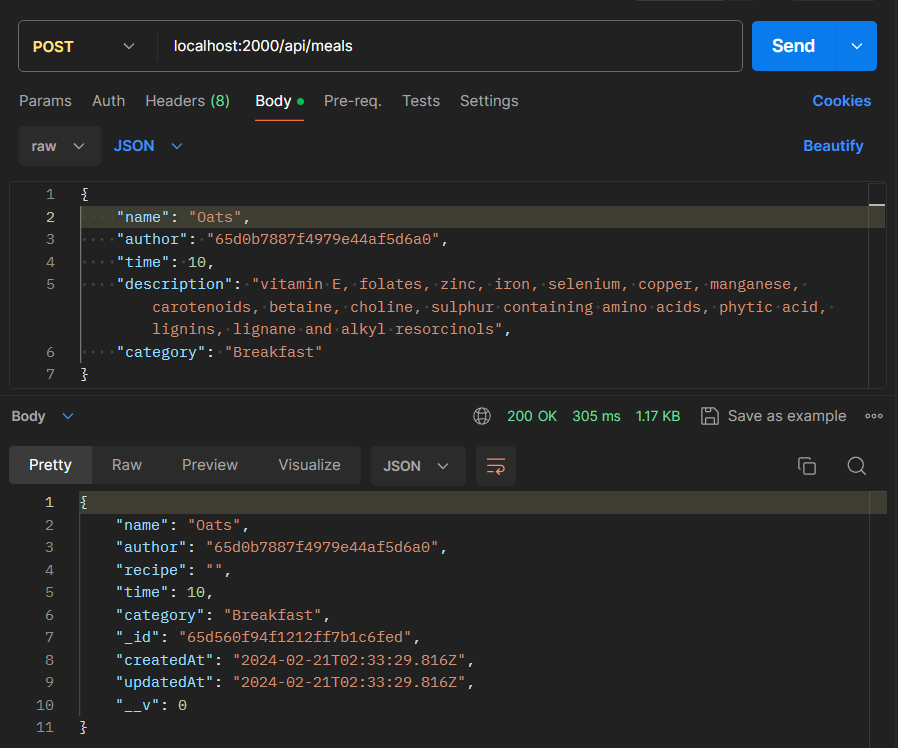
nodemon index.jsStep 7: In order to check whether the API calls to various endpoints are working or not, Postman or Insomnia can be used for the testing.
In the following image, we can see that a create request has been successfully sent to Postman, as the status code indicates "200 OK" and the create document is printed in the console.
Notice how the password is hashed. Also, the meal created in the above Postman example has been injected into the meals array of this particular user. We were able to achieve this by providing the ObjectId of the author.
Step 8: Create react application in your project folder using the following command and navigate to the folder.
npx create-react-app client
cd client
Step 9: Install additional packages
npm install axios react-router-dom @fortawesome/free-solid-svg-icons @fortawesome/react-fontawesome
Frontend Dependencies:
"dependencies": {
 "@fortawesome/free-solid-svg-icons": "^6.5.1",
 "@fortawesome/react-fontawesome": "^0.2.0",
 "@testing-library/jest-dom": "^5.17.0",
 "@testing-library/react": "^13.4.0",
 "@testing-library/user-event": "^13.5.0",
 "axios": "^1.6.7",
 "react": "^18.2.0",
 "react-dom": "^18.2.0",
 "react-router-dom": "^6.22.1",
 "react-scripts": "5.0.1",
 "web-vitals": "^2.1.4"
}
Code Example: Create the required folders as seen on folder structure and add the following codes.
Now add the CSS files to style your application.
Step 10: To start the client, run the following commands in the terminal
npm startOutput: The following gif shows the final website, where user can logic, register as manage their daily workout and meal plans.
-(1).jpg)