The encoder-decoder model is a neural network used for tasks where both input and output are sequences, often of different lengths. It is commonly applied in areas like translation, summarization and speech processing.
The encoder processes the input sequence and converts it into a fixed representation (context vector)
The decoder uses this representation to generate the output sequence step by step
Works well for tasks where input and output lengths are different
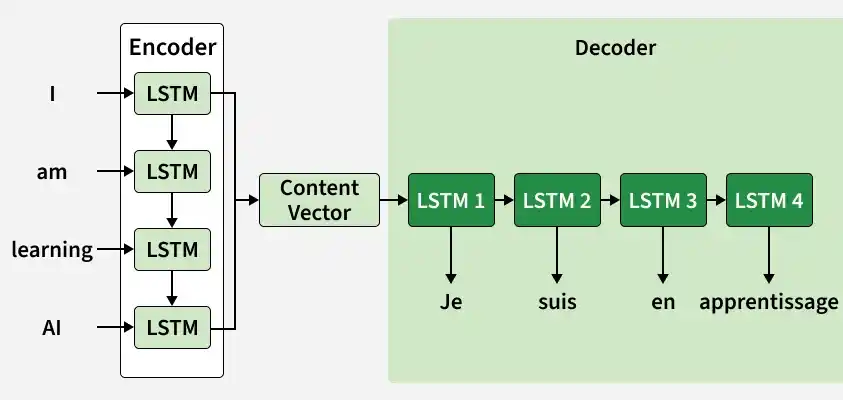
Encoder-Decoder Model Architecture
In an encoder-decoder model both the encoder and decoder are separate networks each one has its own specific task.
The sentence "I am learning AI" is first broken into tokens: ["I", "am", "learning", "AI"].
Each word (token) is converted into a vector that a machine can understand. This process is called embedding.
Step 2: Encoding the Input
The encoder processes these embeddings sequentially using an LSTM network.
At each step, it updates its hidden state based on the current word and previous context. This helps the model understand the sequence order and relationships between words.
After processing the full sentence, the encoder generates a context vector (final hidden and cell states), which represents the meaning of the entire input sentence.
Step 3: Passing the Context to the Decoder
The Context Vector is passed to the Decoder as shown in image.
It acts like a summary of the full input sentence.
Step 4: Decoder Generates Output Step-by-Step
The Decoder uses the context and starts creating the output one word at a time.
First it predicts the first word then uses that to predict the second word and so on.
Step 5: Attention Mechanism
Basic encoder-decoder uses a single context vector, which can limit performance for long sequences.
Attention mechanism helps the decoder focus on different parts of the input at each step.
Improves accuracy by not relying only on one fixed representation.
Step 6: Producing the Final Output
The decoder continues generating until the full translated sentence is produced.
Each output token depends on the previous ones and the input context. You finally see the output tokens generated on the right side of the diagram completing the translation.
Implementation
Step 1: Import Libraries and Load dataset
In this step we import all the necessary libraries like numpy ,pandas , string and Tokenizer, pad_sequencefor preprocessing the text into model-friendly format and load the dataset.
Here it remove punctuation and digits and converts text to lowercase and strips whitespace.
It applies Applies cleaning and adds special tokens to Hindi sentences to mark start and end (start_, _end).
Step 4: Tokenization
Converts text to sequences of integers using word indices. Hindi tokenizer keeps_because of special tokens.
Step 5: Padding
Pads sequences to uniform length
decoder_target is shifted version of decoder_input used for teacher forcing.
Step 6: Define Model Architecture
Encoder: It embeds English input and Passes through LSTM. Keeps hidden (state_h) and cell state (state_c) to pass to decoder.
Decoder: It embeds Hindi input. Uses initial states from encoder and Outputs probability distribution over Hindi vocabulary at each time step.
Step 7. Compile and Train
Trains on source (encoder_input) and target (decoder_input) with shifted targets and uses RMSProp optimizer and cross-entropy loss.
Step 8: Inference Models
To translate new sentences after training:
Encoder Inference: Returns hidden/cell states given an English sentence.
Decoder Inference:
Step 9: Reverse Lookup
Used to convert indices back to words during decoding.
Step 10: Translate Function
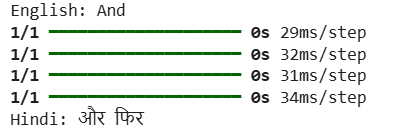
It prepares input sentence. Starts decoding with <start> token and Iteratively predicts next word and feeds it back until <end> is predicted. and the test the model with example
