 |
VOOZH | about |
|
VOOZH | about |
WordPress generally uses Content Management Systems (CMS) for creating blogs and websites. It is also known for its simplicity, and dynamic features. Whether you are making a blog, creating a business website, or creating an online portfolio. WordPress provides a user-friendly platform that helps to publish content easily. One main feature that WordPress gives is its embedded text editor. we will help beginners to understand the WordPress text editor, and how to use WordPress text editor, and we will discuss its basic to advanced features too.
These are the following topics that we are going to discuss:
Table of Content
The WordPress Text Editor, Which is also known as the Classic Editor. It is a text-based editor that facilitates users to write or design their content using HTML and basic styling options. This is varied from the Block Editor, the Text Editor shows content in raw HTML, which gives users more control over how their content seems. It is a required tool for users who prefer a code-first approach and need the flexibility to modify their content over what the Block Editor gives.
The Text Editor in WordPress is an easy, code-focused interface that permits users to write and design content by using basic HTML. Text Editor is good for users who need full access to the content structure and are comfortable using code. On the other hand, The Block Editor is a visual, drag-and-drop interface introduced with Gutenberg. This will break content into blocks, like paragraphs, images, and videos, permitting users to design complex layouts without needing coding knowledge. Hence, The Text Editor gives consistency and flexibility to users, and the Block Editor provides a more user-friendly and clear experience for non-technical users.
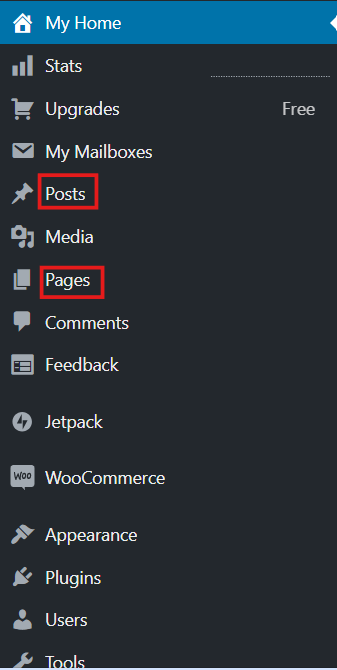
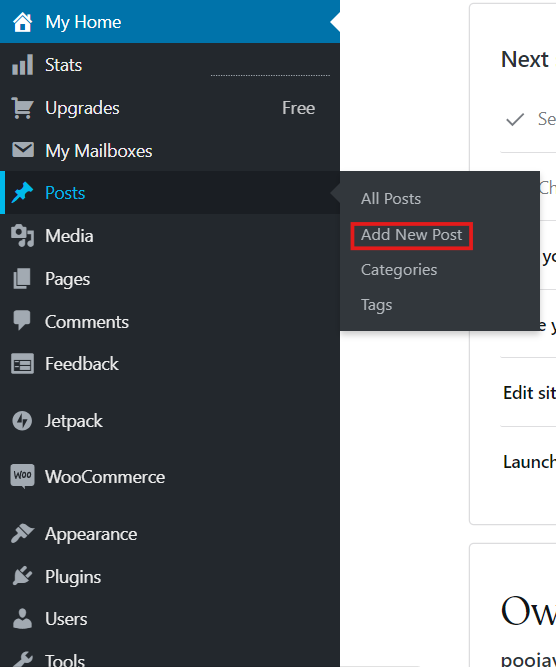
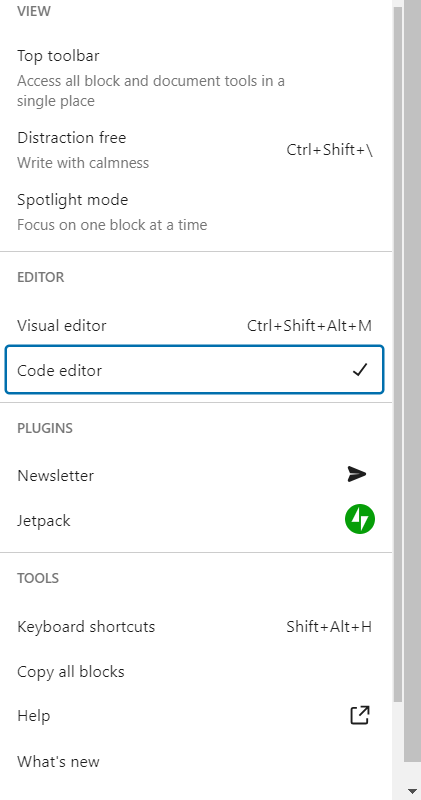
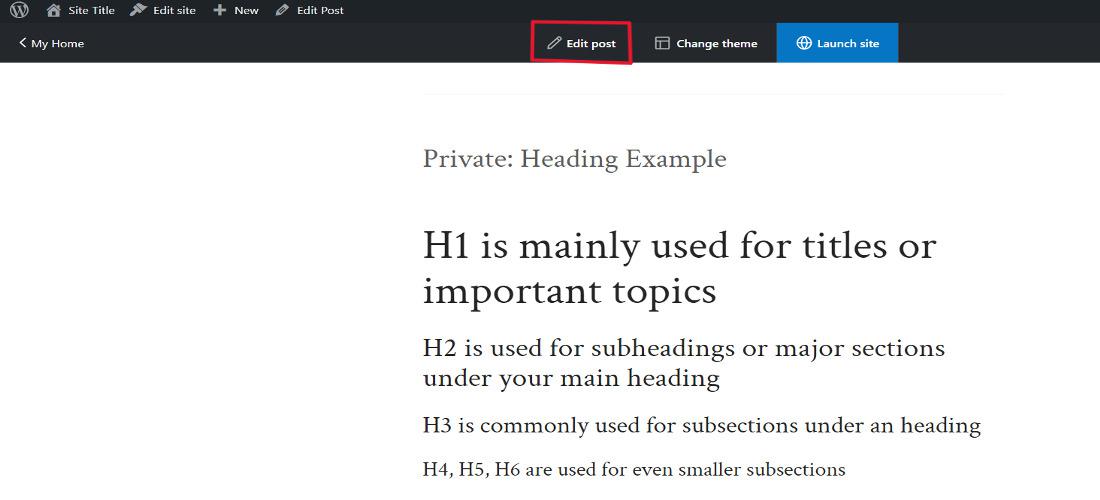
By default, WordPress now uses the Block Editor, but you can still reach the Text Editor. Here are the basic steps which will show you how to access the text editor:
While the WordPress Visual Editor is easy to use and simple for beginners, the WordPress Text Editor gives many benefits that make it a useful tool for more skilled users or those who are looking for specific feature:
When working with the WordPress Text Editor, knowing basic HTML is important for designing a content more capably. Unlike the Visual Editor, which allows for a more drag-and-drop experience, the WordPress Text Editor depends on HTML to structure, format, and show a posts and pages. By knowing basic HTML tags, you will be able to adjust how your content displays on the front end of your website.
HTML (HyperText Markup Language), is the core structure for web content, which uses HTML “tags” to describe elements like headings, paragraphs, links, and images. When you switch to the WordPress Text Editor, you are mainly working directly with HTML to handle the layout and style of your content. Below are the some fundamental HTML tags you should be familiar with.
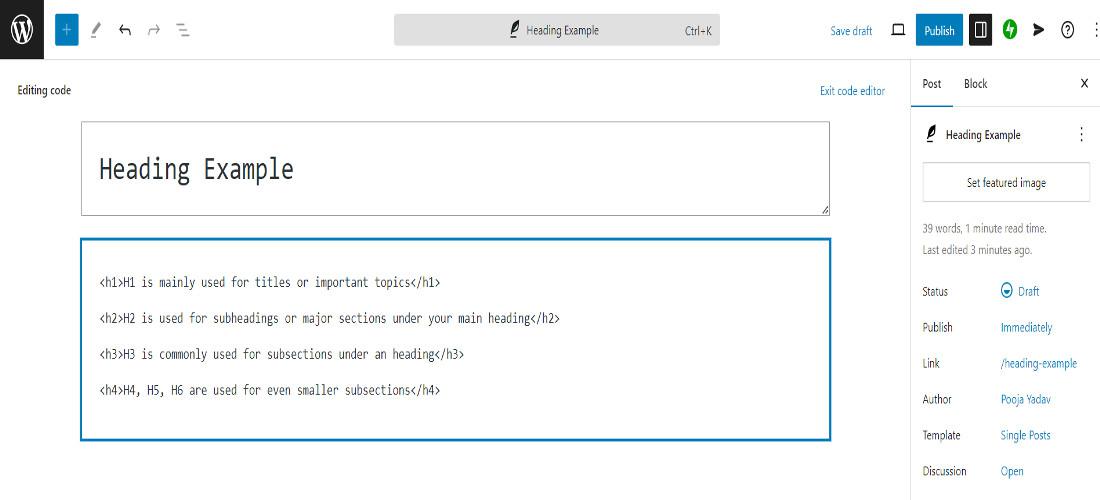
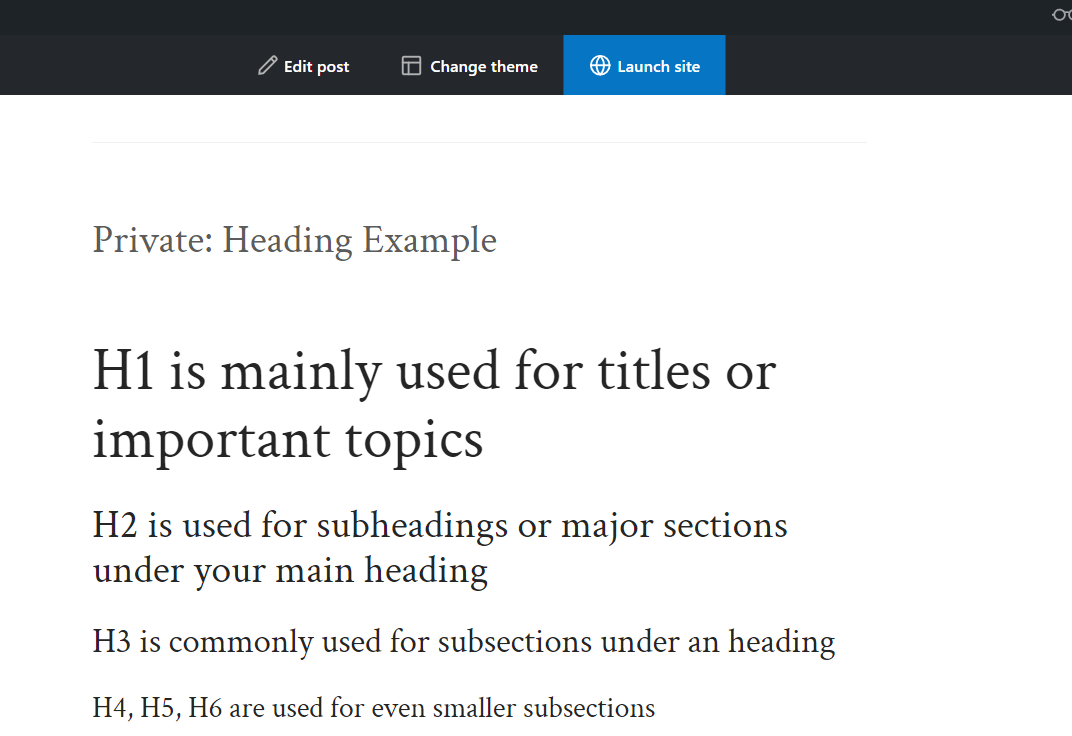
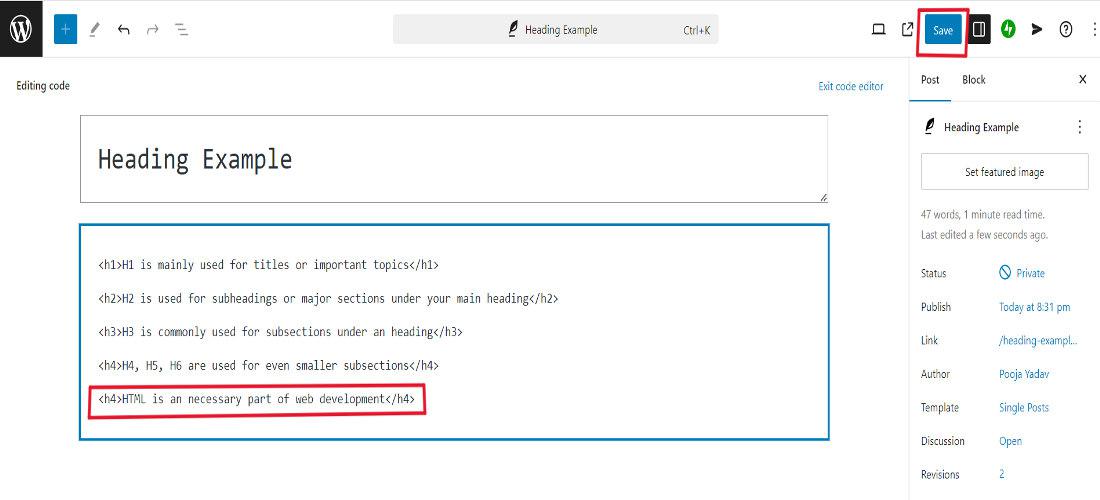
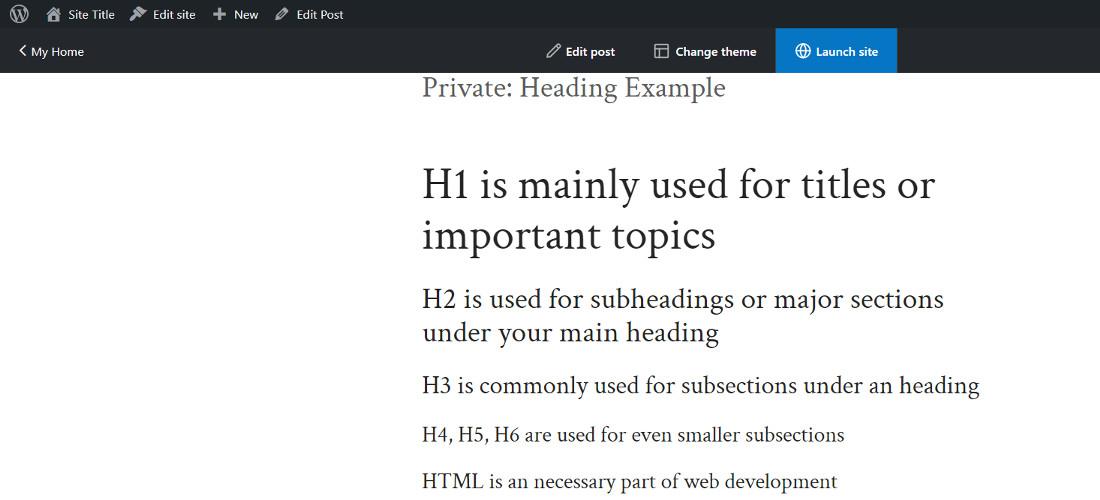
In HTML, headings are the key component in organizing the content for both clarity and upgrading SEO (Search Engine Optimization). Heading tags in HTML are of six types from <h1> tags to <h6> tags, where <h1> tag being the highest and most important level and <h6> tags is the least.
<h1>This is mainly used for titles or important topics</h1> <h2>This is used for subheadings or major sections under your main heading</h2> <h3>This is commonly used for subsections under an <h2> heading</h3> <h4>typically used for even smaller subsections</h4>
Note: You have to follow the same steps as you followed previous to access the WordPress Text Editor.
Output:
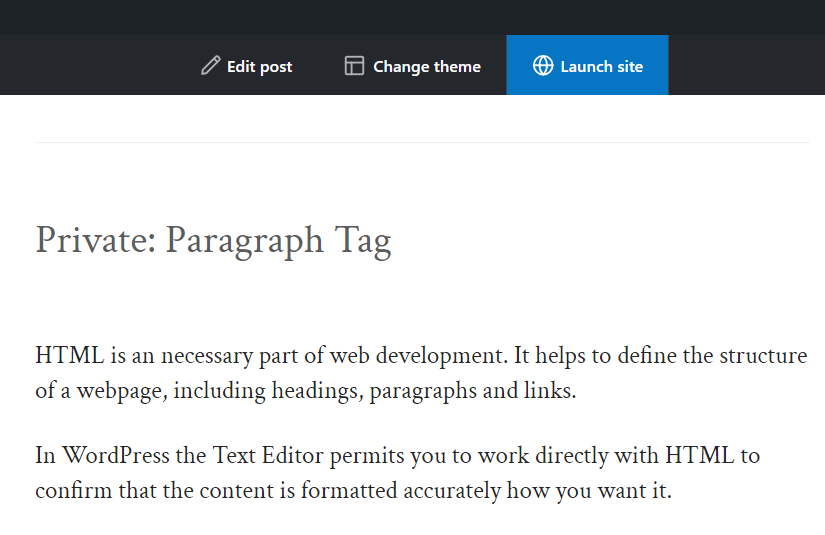
In HTML, paragraphs are showed by the <p> tag. Each block of text that you need to shown as a paragraph will be covered in a <p> tag. They are required for segregating chunks of text, which makes it simpler for users to read and for search engines to get the flow of content.
<p>HTML is an necessary part of web development. It helps to define the structure of a webpage, including headings, paragraphs and links.</p>
<p>In WordPress the Text Editor permits you to work directly with HTML to confirm that the content is formatted accurately how you want it.</p>
Output:
The WordPress Text Editor does not come with the drag-and-drop features of the Block Editor, but it is good for those who prefer to keep content simple and clean.
Here is how to write and design text in the editor:
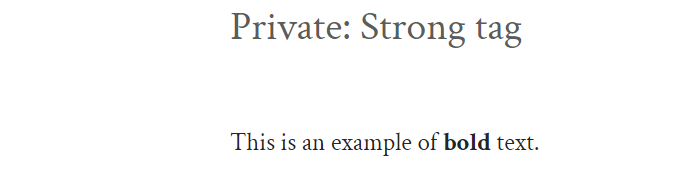
Bold Text: To make text bold, we use the <strong> tag or the <b> tag. Hence both the tags gives the similar output.
<p>This is an example of <strong>bold</strong> text.</p>Output:
Emphasis Text: It is used to italicize text, which adds emphasis, you use the <em> tag or the <i> tag
<p>This is an example of <em>italicized</em> text.</p>Output:
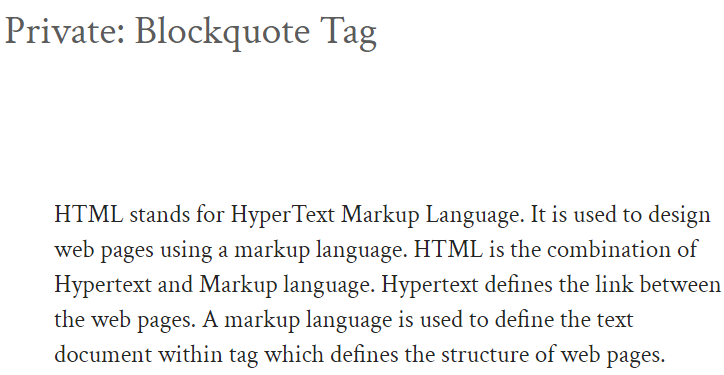
Blockquotes: To highlight quotations, we use the <blockquote> tag:
<blockquote>
 <p>HTML stands for HyperText Markup Language. It is used to design web pages using a markup
 language. HTML is the combination of Hypertext and Markup language. Hypertext defines the
 link between the web pages. A markup language is used to define the text document within tag
 which defines the structure of web pages.</p>
 </blockquote>
Output:
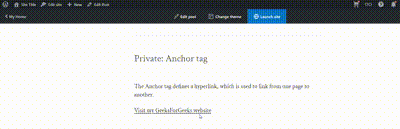
Adding links in the WordPress Text Editor is simple by using the <a> tag you can add links in WordPress. Here is an basic example:
<p>The Anchor tag defines a hyperlink, which is used to link from one page to another.<p>
<a href="https://www.geeksforgeeks.org/" target="_blank">Visit my GeeksForGeeks website</a>
Output:
The Text Editor permits you to add media such as images, videos, and audio files with greater control over their attributes.
In the WordPress Text Editor, you will be able to include images by using the WordPress media uploader or by manually adding HTML code.
By Using the WordPress Media Uploader
By Using HTML Code
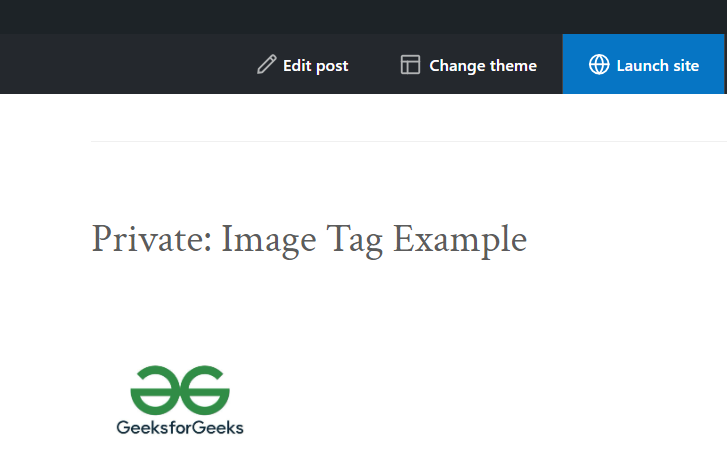
Example:
<img src="https://media.geeksforgeeks.org/wp-content/uploads/20240905154658/gfglogo.jpg" alt="gfg image" />Output:
Adding videos enhances content by providing visual and auditory information. You can insert videos into your posts or pages using HTML. while audio files can be a valuable addition to your content, especially for podcasts or music files.
For adding a video:
<video width="320" height="240" controls>
 <source src="https://example.com/video.mp4" type="video/mp4">
</video>
For adding an audio file:
<audio controls>
 <source src="https://media.geeksforgeeks.org/wp-content/uploads/20241009180552641558/sample-12s.mp3" type="audio/mpeg">
</audio>
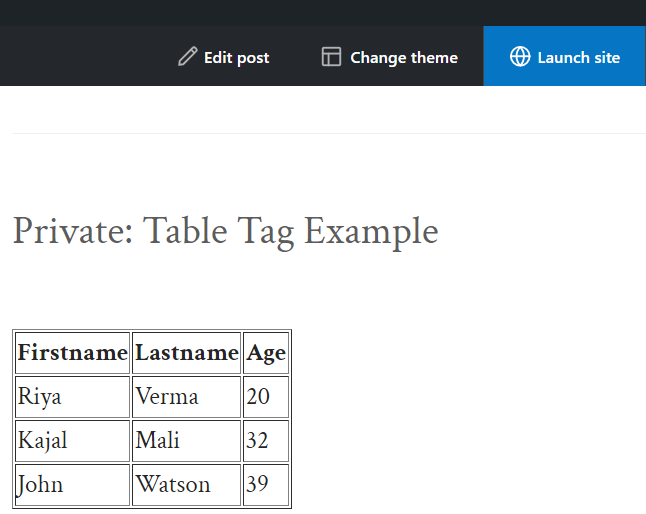
Tables will be help in organize data and present it in a structured format. The WordPress Visual Editor does not contain a built-in table editor, but you can create tables using HTML in the Text Editor. Here is an basic example of table:
Output:
The WordPress Text Editor gives upgraded features that permit users to boost their content with the help of advanced HTML techniques. These advanced features are mainly useful for users who are comfortable with basic HTML and want to have more control over their content's design, layout, and interaction.
One of the most useful advanced features of the WordPress Text Editor is the ability to apply custom HTML styling directly to the content. These feature allows you to control the look and feel of your posts or pages beyond what is provided by the standard editor or theme settings.
In CSS You can add inline CSS to HTML elements, which permits you to style specific parts of your content without modifying the global CSS file.
<div style="background-color: #f0f0f0; padding: 20px;">
 <p>This div has custom styling applied using the Inline CSS.</p>
</div>
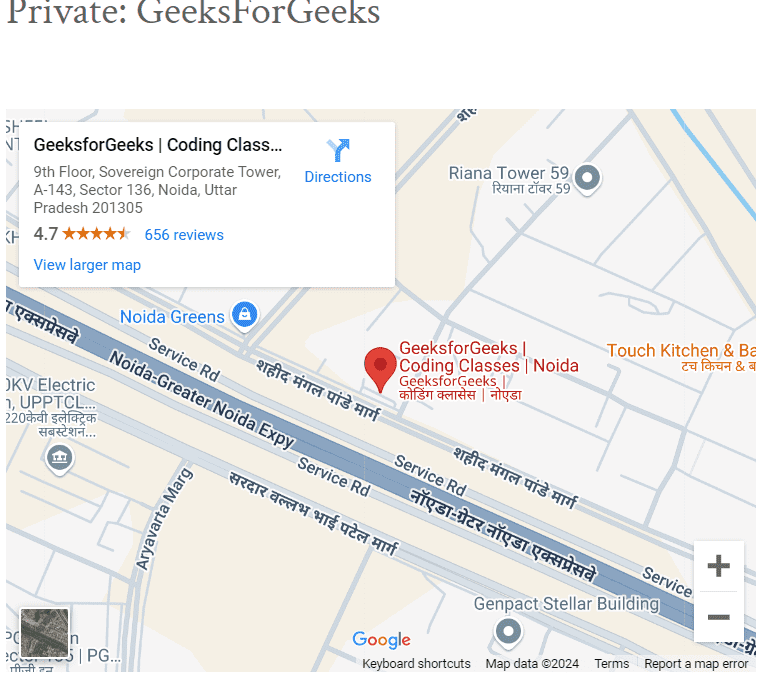
This is the another advanced feature of the WordPress Text Editor that boost the richness and interactivity of the posts. The WordPress Text Editor allows you to add embed codes from multiple external sources, like social media platforms, Google Maps, videos, forms, and more.
For an example, integrating a Google Map:
<iframe src="//paste the google map link" width="600" height="450" allowfullscreen></iframe>Example:
<iframe src="https://www.google.com/maps/embed?pb=!1m18!1m12!1m3!1d3506.160282351004!2d77.39407938093537!3d28.504825%5C
01316835!2m3!1f0!2f0!3f0!3m2!1i1024!2i768!4f13.1!3m3!1m2!1s0x390ce626851f7009%3A0x621185133cfd1ad1!2s
GeeksforGeeks%20%7C%20Coding%20Classes%20%7C%20Noida!5e0!3m2!1sen!2sin!4v1727241170256!5m2!1sen!2sin"
 width="600" height="450" style="border:0;" allowfullscreen="" loading="lazy" referrerpolicy="no-referrer-when-downgrade"></iframe>
Output:
The WordPress Text Editor permits users to embed JavaScript within their content, giving them the ability to add interactive elements like animations, sliders, or custom form validation. JavaScript is a programming language used to create dynamic interactions on websites, and having the ability to add it directly in the editor which provides a wide range of chances for upgrading user experience.
Example: This is an simple JavaScript function to perform an action when a button is clicked:
<button onclick="showAlert()">Click me</button>

<script>
 function showAlert() {
 alert("Button Pressed!");
 }
</script>
One of the most key best practices when using the WordPress text editor is to divide your content into sections by using headings. This provide structure, making your content simpler for readers to navigate. They also signal the order of your content to search engines, boosting search engine optimization (SEO). Proper heading usage not only upgrades readability but it also plays an vital role in boosting your SEO performance. Search engines uses headings to know the main topics and keywords of your content.
Before hitting upon the "Publish" button, it is strictly recommended to review your content. The WordPress Text Editor provides a "Preview" button that lets you see how your post will be appear on your website.
The WordPress Text Editor supports shortcodes, which are the simple pieces of code that permit you to add advanced features to your post or page without touching the source code. For an example, shortcodes can be used to embed galleries, contact forms, or social media feeds.
Common shortcodes include:
Example:
[gallery ids="1,2,3,4,5"]Example:
[audio src="https://example.com/audio.mp3"]Example:
[video src="https://example.com/video.mp4" width="640" height="360"]One of the most important best practices when working in the WordPress Text Editor is to save your work in regular basis. WordPress automatically saves drafts at regular intervals, but it is a good approach to click the "Save Draft" button as you work. This confirms that your content is preserved, even if you accidentally close the browser or experience a technical issue. Additionally, WordPress keeps revision histories, so you can always restore to a previous version of your post if it is required.
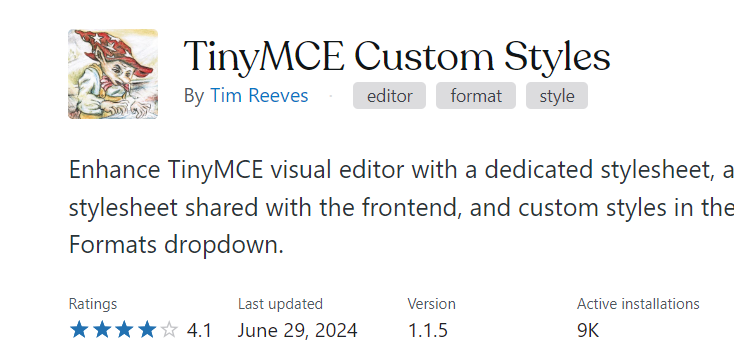
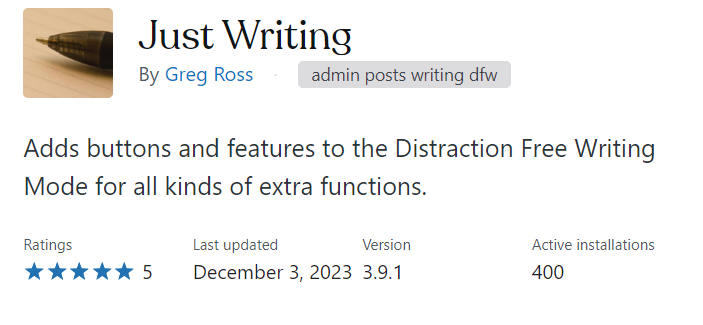
Below are the top 3 WordPress text editor plugins through which you can improve your content creation experience.
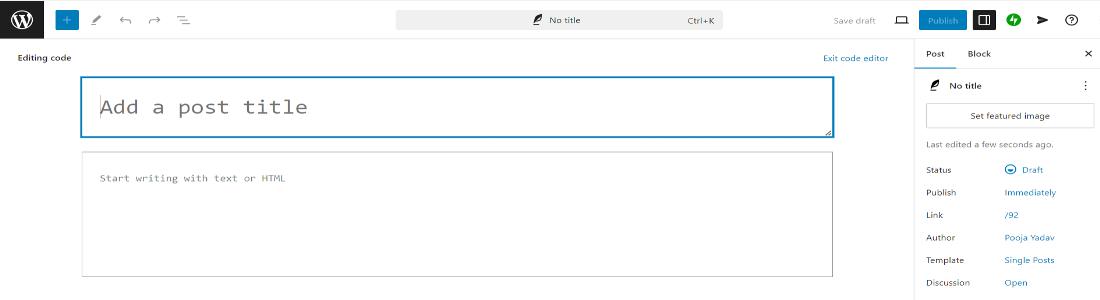
Step 1 : First Login to your WordPress account.
Step 2: Select a Post option then click on Add new Post option.
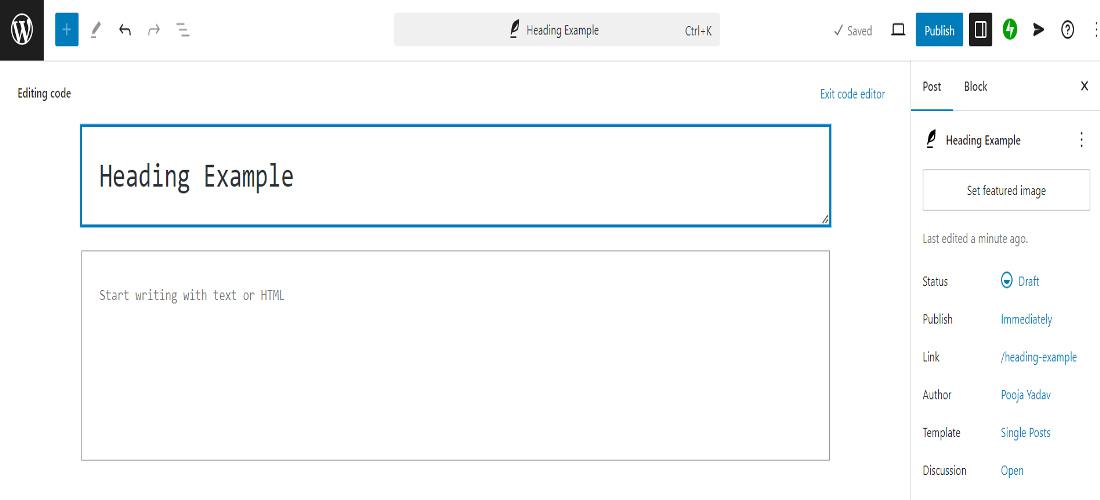
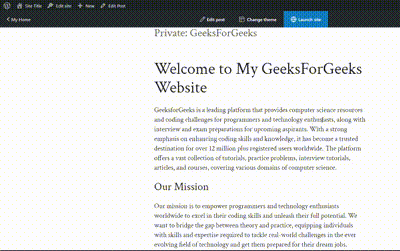
Step 3: Add a Post title. For an example: GeeksForGeeks
Step 4: Write this given code on your WordPress code editor.
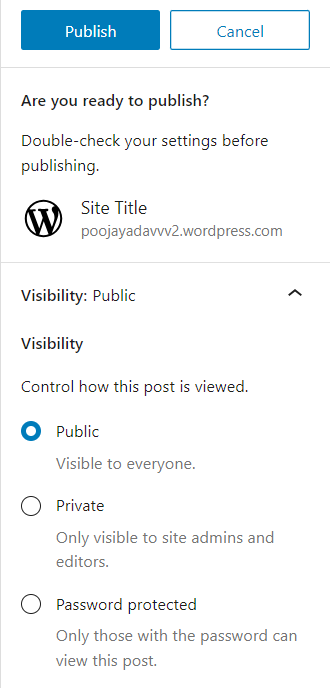
Step 5: Now its time to publish your WordPress post, click on publish icon.
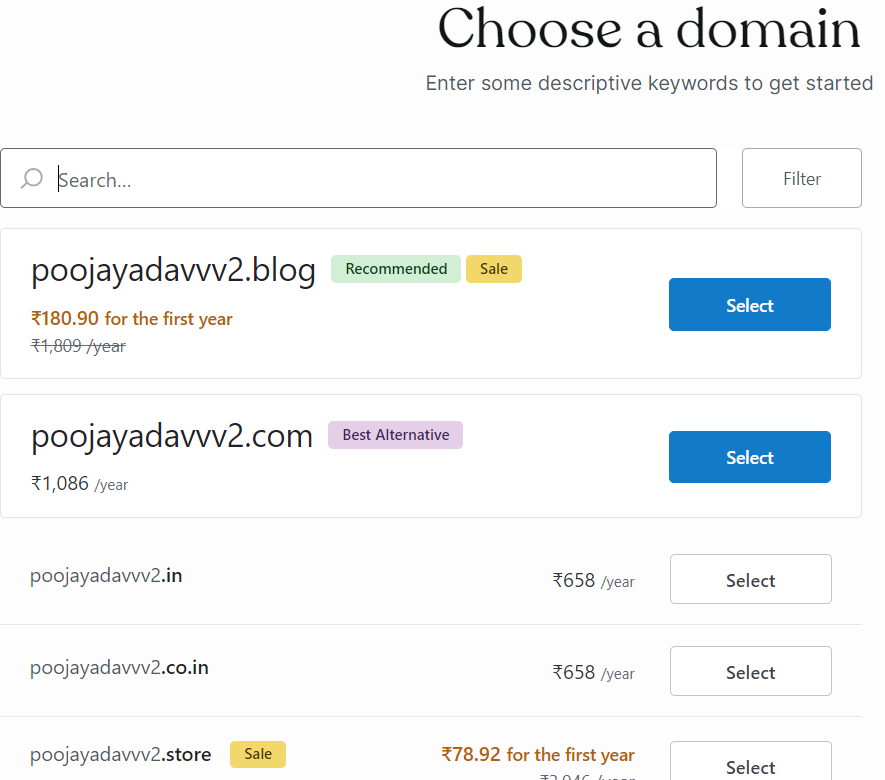
Step 6: In last , if you want to launch your post click on "Launch your site" option and than select a domain.
Output:
The WordPress Text Editor is a dynamic tool that approves you to create and layout content with basicness. By perfecting in basic HTML and learning the text editor complex features, now you will be create user-friendly and systematic content on your WordPress site. This article has encompassed all thing from basic text formatting to more augmented features including shortcodes, tables, and custom HTML. By pursuing these core steps and best practices, now you will be able to fine-tune your use of the WordPress text editor and augment your content design process.