 |
VOOZH | about |
|
VOOZH | about |
Ensuring your WordPress website is regularly backed up and can be easily restored is crucial for maintaining the integrity and continuity of your online presence. This article will walk you through the importance of backups, how to back up your site, and the steps to restore it.
To backup a WordPress website we need to install a Plugin. You may install any relevant plugin you want that has the functionality to backup websites. We're going to install a plugin called Updraft. Let's see the steps:
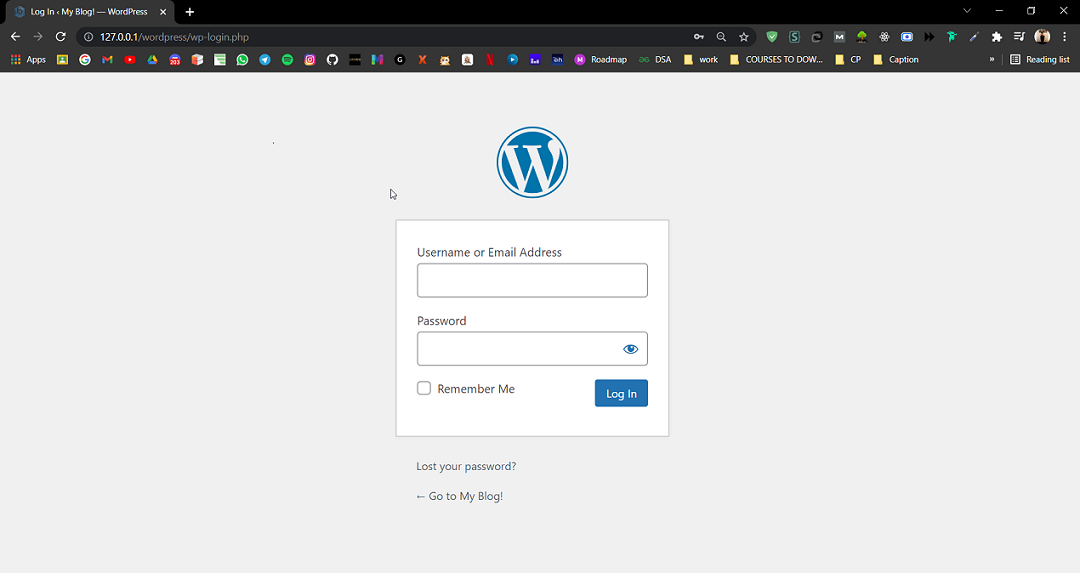
Step 1. Go to the WordPress login panel and enter the username and password to log in to the WordPress Dashboard. You can access the login panel by adding /wp-login.php at the end of your website URL. In my case, it is - http://127.0.0.1/wordpress/wp-login.php
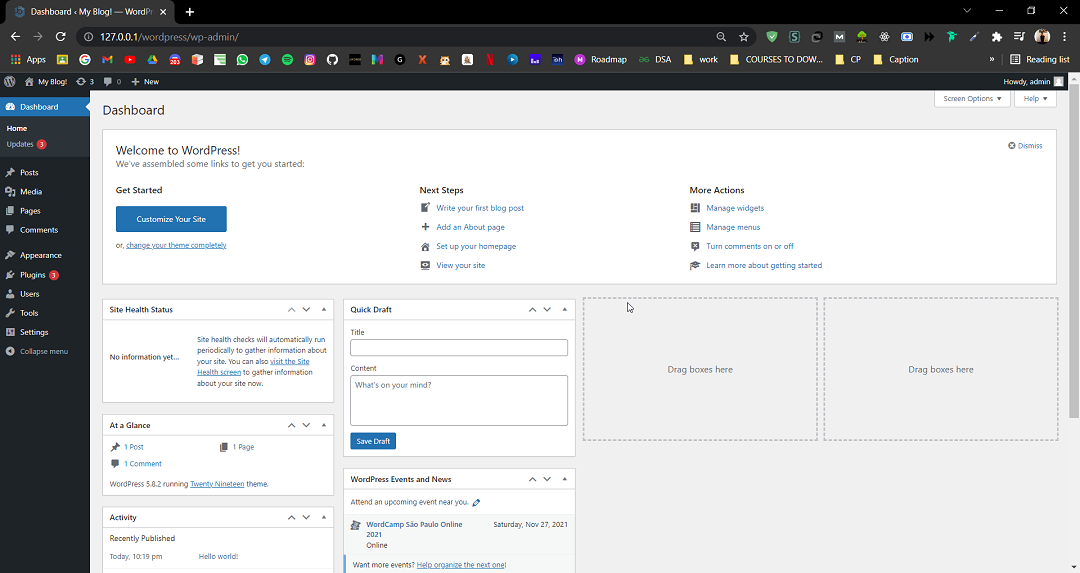
After login, you'll see a similar dashboard like this:
Step 2. We have to search for the plugin called Updraft and Install it. For that:
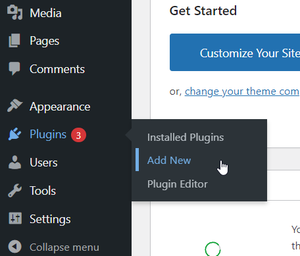
On the left side, you'll see many options. Go to the Plugins>> Add New.
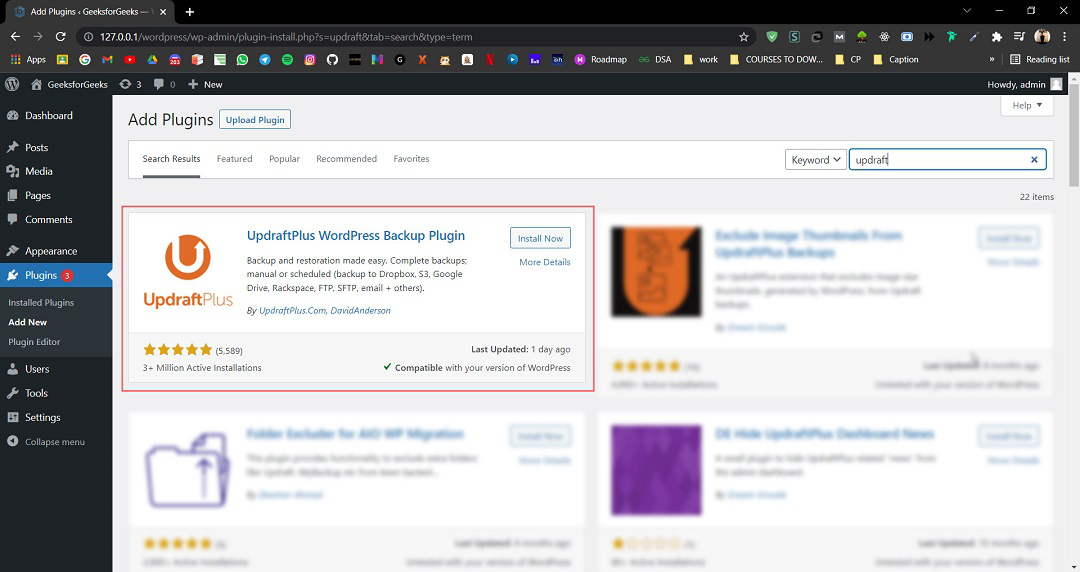
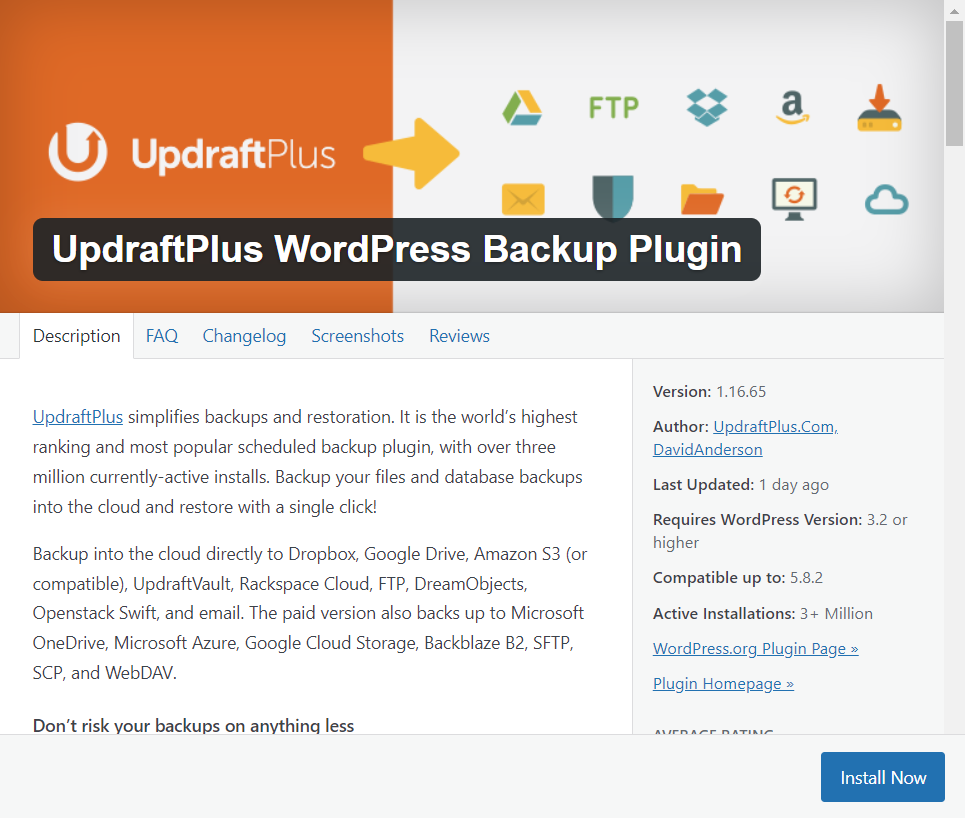
Search for a plugin called Updraft. This is the Plugin that we are going to use to Backup our WordPress website.
The plugin should look like the image below. Click on Install Now. It may take a few seconds to install according to your system configuration.
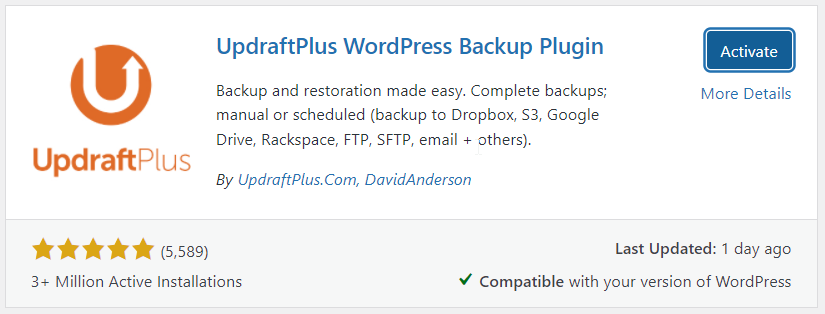
Activate the Plugin after it gets installed.
You have installed the required Plugin to take Backup of the WordPress website. Now see the next Step.
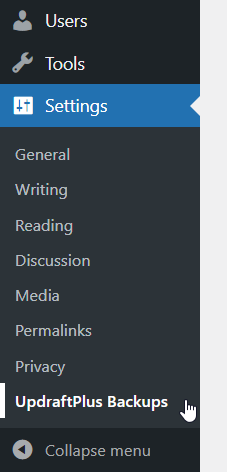
Step 3: After successfully installing and activating the plugin, you'll find a new option in the Settings on the left side called UpdraftPlus Backups. Click on that.
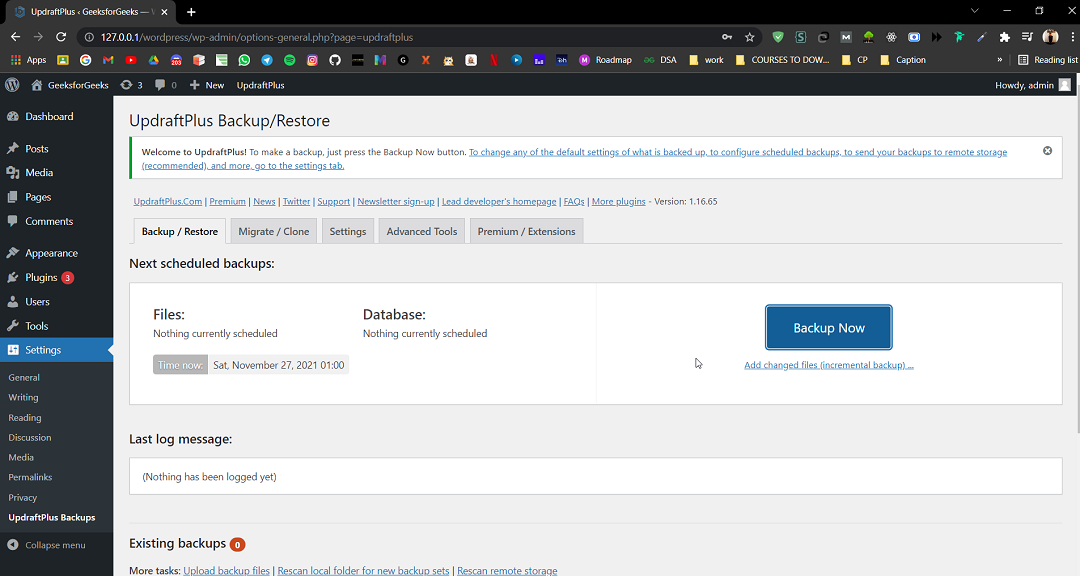
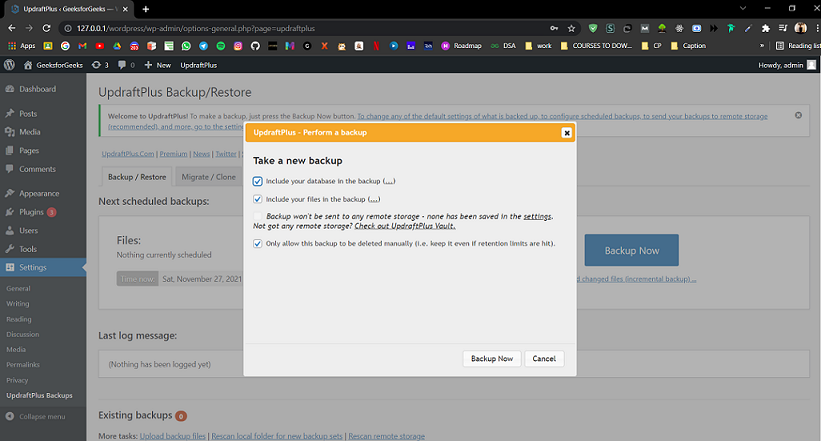
Step 4: Click on Backup Now. You'll get a popup window.
Make sure all the options are selected, then click Backup Now again:
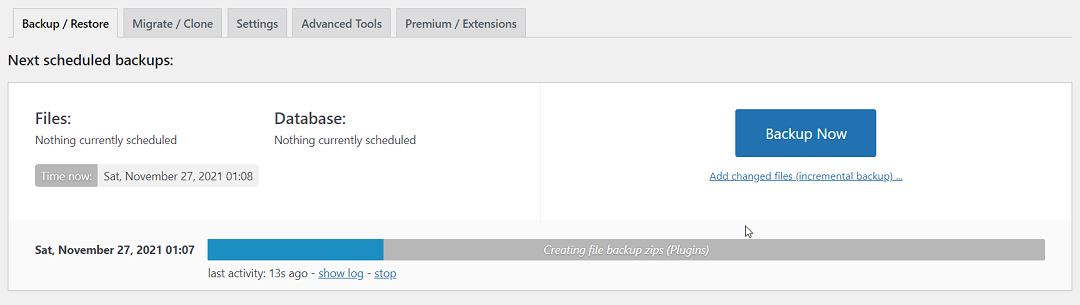
It'll start taking up backup. The process will take a while according to the size of your website and the server configuration:
That's it, you have now taken a Backup successfully of your WordPress website.
Suppose you have got yourself into a situation where you can't be able to access pages, functionality, or maybe the whole website and you want to restore the website now:
Step 1: Click on the Settings >> UpdraftPlus Backups from the left side menu bar.
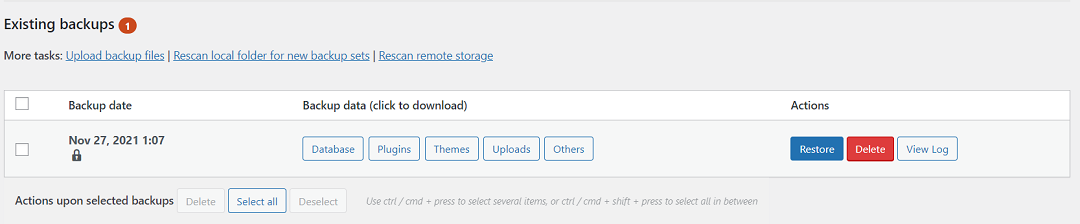
Step 2: Go to the Existing backups section, there you'll find the list of all the backups that you had made so far.
Select the Backup among them (if you have more than one), on which you want to restore, and simply click on Restore Button.
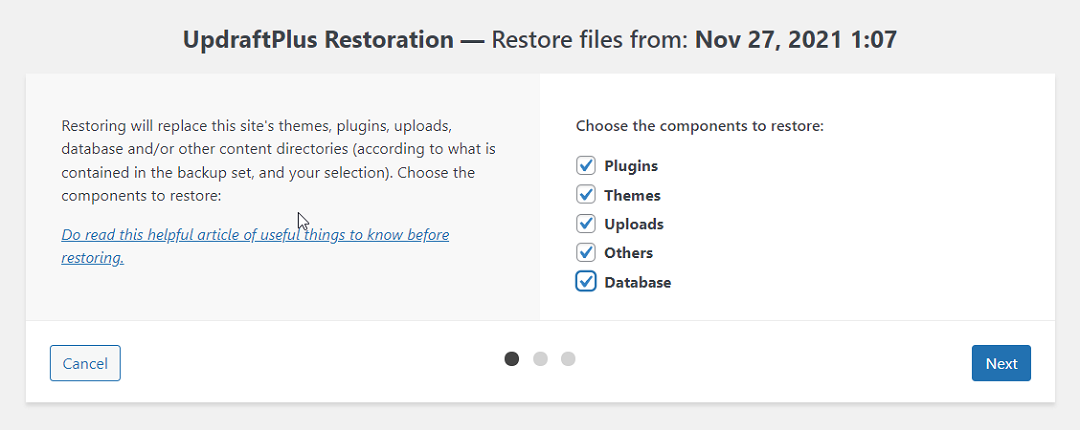
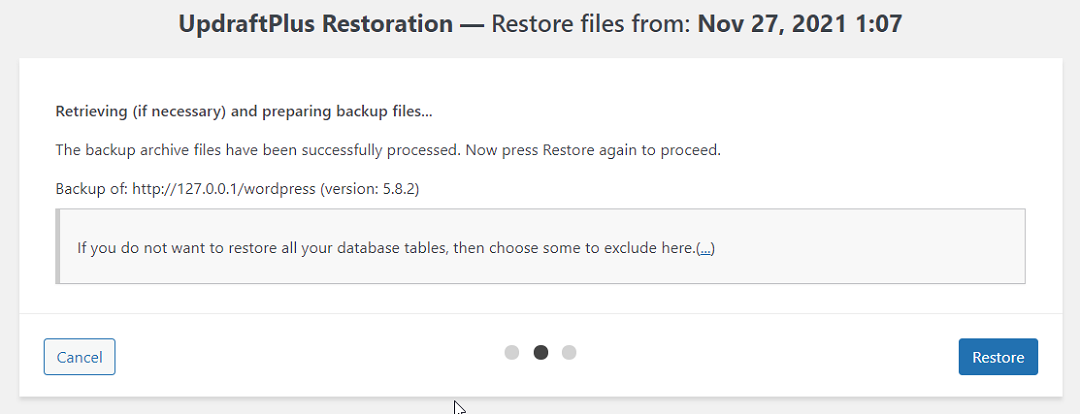
Step 3: You will go to the next page, where you'll get to choose the components to restore and then click Next, it is recommended to select all the options:
Click on the Restore button:
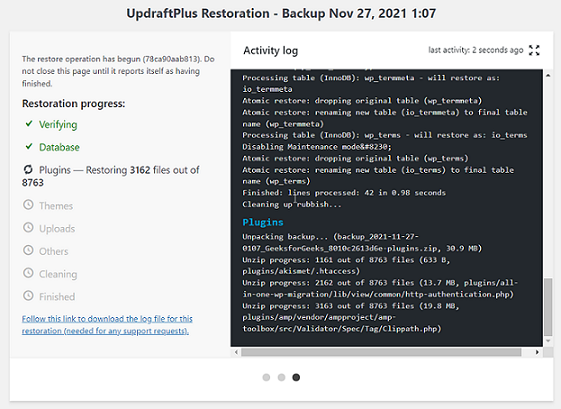
Your Restore will be in progress. The process will take a while according to the size of your website and the server configuration:
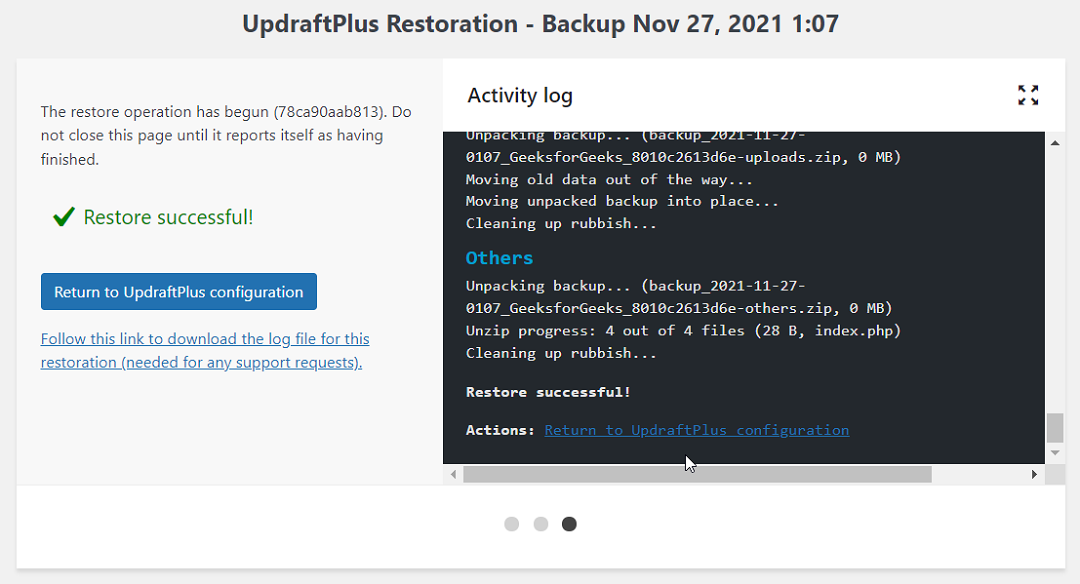
You a while, you'll get to see the message of Restore Successful!
That's it, you have now successfully restored your WordPress website.
People Also Read:
Backing up your WordPress site is a critical task that should not be managed. Whether you opt for manual backups or use a plugin, the peace of mind that comes with knowing your data is safe is invaluable.
Equally important is having a reliable restoration process to quickly get your site back up and running in case of data loss. By following the best practices outlined in this guide, you can ensure your WordPress site remains secure and resilient against unforeseen events.