 |
VOOZH | about |
|
VOOZH | about |
Managing your WordPress website's categories efficiently is crucial for maintaining a well-organized site. Sometimes, you may need to delete a category that is no longer relevant. This guide will guide you through the process of removing a category in WordPress, ensuring that you can maintain a clean and user-friendly site.
Before we dive into the steps, let's understand why you might want to delete a category:
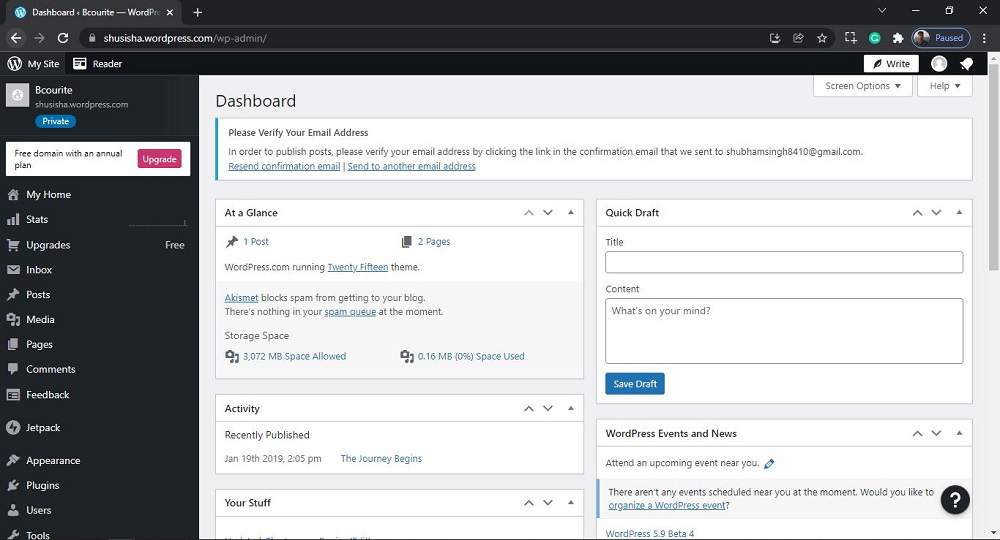
To get started, log in to your WordPress dashboard. This is where you can manage all aspects of your site.
After login into WordPress, you will be able to see a dashboard like this:
On the left-hand sidebar, hover over Posts and click on Categories. This will take you to the Categories management page.
After clicking on Category, you will see a similar Page like this:
You will see a list of all your categories. Find the category you want to delete. You can use the search bar to quickly locate it if you have many categories.
👁 ImageStep 4. Delete the Category
Hover over the category you wish to delete. You will see a few options appear under the category name. Click on the Delete link.
👁 ImageAfter clicking on delete, you will see a similar editor as shown in the following screenshot:
👁 ImageA confirmation prompt will appear asking if you're sure you want to delete the category. Confirm that you do.
👁 ImageThat’s it, you have now successfully learned how to Delete Category from WordPress Posts from your WordPress website.
When you delete a category, WordPress will automatically move all posts from the deleted category to the Uncategorized category. You can reassign these posts to other relevant categories if needed.
Deleting a category in WordPress is a simple process that can help you maintain a well-organized site. By following the steps outlined in this article, you can ensure a smooth deletion process while keeping your site’s SEO intact. Regularly review and manage your categories to provide the best user experience and improve your site's overall performance.