 |
VOOZH | about |
|
VOOZH | about |
We will learn how to create a beautiful Hero Section using Next.js and Tailwind CSS. A Hero Section is the first visual element a user sees on a website and it is very important for making a good first impression. It contains a bold headline, a call to action (CTA), and sometimes an image or video. We'll focus on developing a modern, responsive, and clean Hero Section to enhance the user experience.
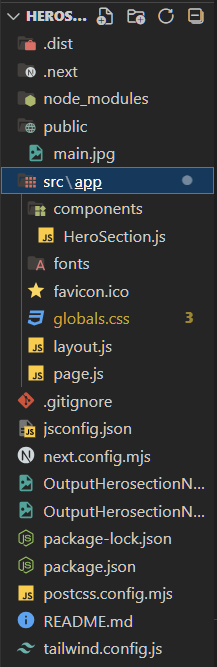
Set up a new Next.js project by running these commands Build a responsive Feeds UI with custom colors (primary: green, secondary: navy blue). Then we will write all the necessary components and styles. we will create only one component that will render on the screen as a Hero component that will consist of an image and some content with proper alignment.
Run the following command to create a new Next.js project:
npx create-next-app feeds-ui-nextjs
cd feeds-ui-nextjs
Need to install the following packages:
create-next-app@14.2.15
Ok to proceed? (y) y
√ Would you like to use TypeScript? ... No / Yes
√ Would you like to use ESLint? ... No / Yes
√ Would you like to use Tailwind CSS? ... No / Yes
√ Would you like to use `src/` directory? ... No / Yes
√ Would you like to use App Router? (recommended) ... No / Yes
√ Would you like to customize the default import alias (@/*)? ... No / Yes
Create a globals.css file inside the styles folder and include Tailwind directives:
@tailwind base;
@tailwind components;
@tailwind utilities;
"dependencies": {
 "next": "14.2.14",
 "react": "^18",
 "react-dom": "^18"
 },
 "devDependencies": {
 "autoprefixer": "^10.4.20",
 "postcss": "^8.4.47",
 "tailwindcss": "^3.4.13"
 }
Example: This example shows the creation of the Hero section for a website.
Now, type the below command to run the application.
npm run devOutput: To see output, open localhost:3000 in your system.