A popular web-based tool for the DevOps lifecycle, GitLab offers a Git repository manager. It integrates CI/CD pipelines, version control, and collaboration tools, making it a powerful tool for developers and companies. Creating a project is one of the first things you do while using GitLab. This article will walk you through the GitL process of starting a new project.
Steps to Create a Project in GitLab
Step 1: Sign In to GitLab
To create a project, you need to sign in to your GitLab account. If you don’t have an account, you can sign up for free at GitLab.
Step 2: Navigate to the "New Project" Page
Once logged in, follow these steps to create a project:
Go to the dashboard: After logging in, you'll be directed to the dashboard.
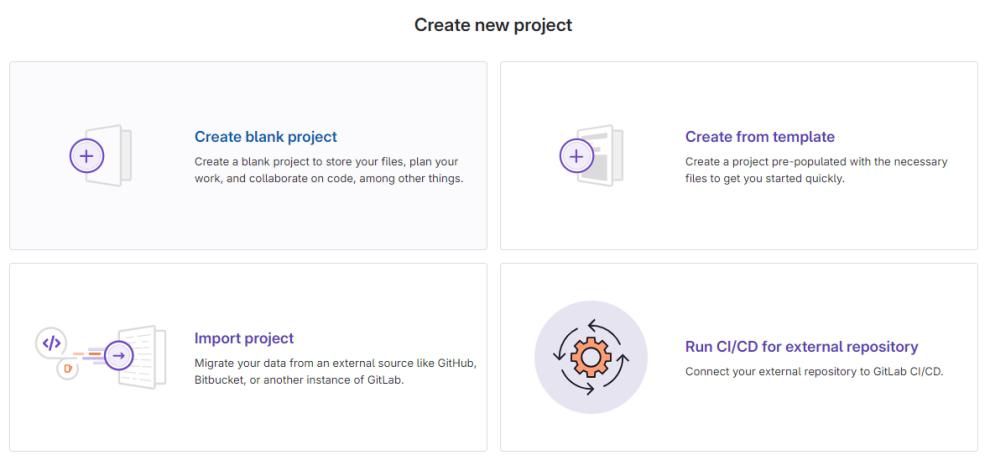
Click on "New Project": On the left sidebar, click on the "Projects" dropdown, then select "New Project.".
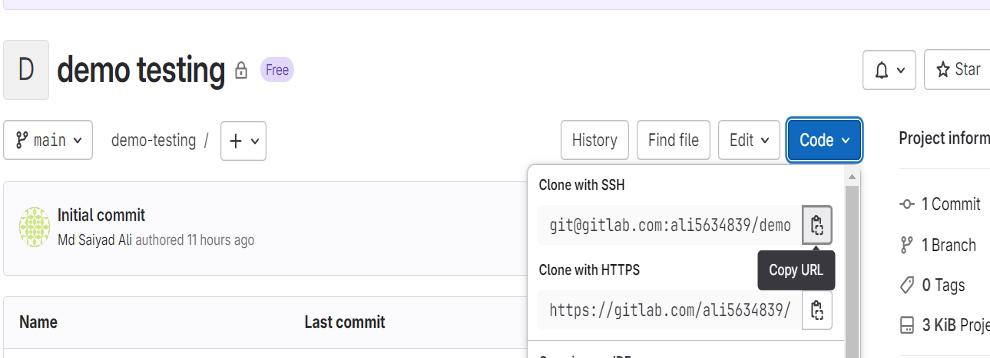
In GitLab, starting a project is as simple as selecting your project type, adding necessary information, and initializing your repository. After you're set up, GitLab provides a plethora of tools to manage your code, work with your team, and automate activities with CI/CD pipelines. GitLab streamlines and eases the process of creating new projects as well as importing ones that already exist.
