 |
VOOZH | about |
|
VOOZH | about |
When you fork a repository on GitHub, you basically make a copy of the original repository and keep it under your own account. As time goes on, the original repository (known as the "upstream" repository) might receive updates, and it's important to keep your fork up to date with these changes. This way, you can contribute effectively and avoid any conflicts.
Table of Content
This is the simplest method, involving just a few clicks on the GitHub website.
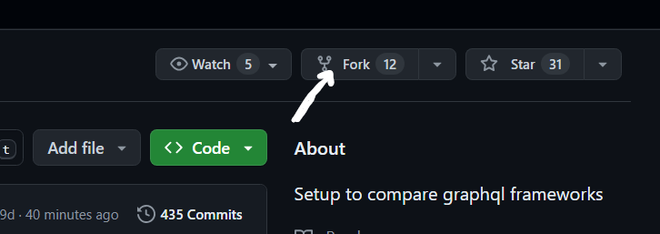
Step 1: Go to your GitHub account and open the forked repository.
Step 2: On GitHub, navigate to the main page of the forked repository that you want to sync with the upstream repository.
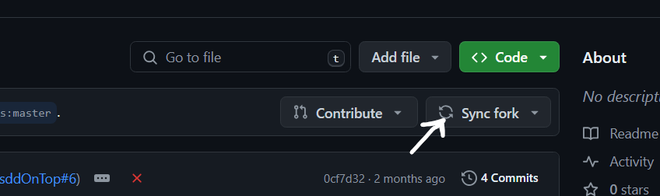
Step 3: Above the list of files, select the Sync fork dropdown menu.
This approach provides more control and is preferred by developers comfortable with the command line.
Step 1: Clone Your Forked Repository (if not already cloned)
 git clone https://github.com/your-username/your-fork
 cd your-fork
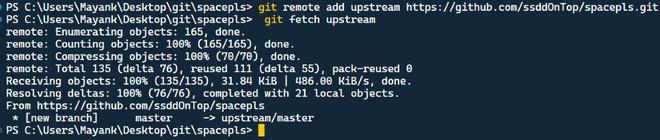
Step 2: Add the original repository as a remote called `upstream`
git remote add upstream https://github.com/original-owner/original-repoStep 3: Fetch Upstream Changes
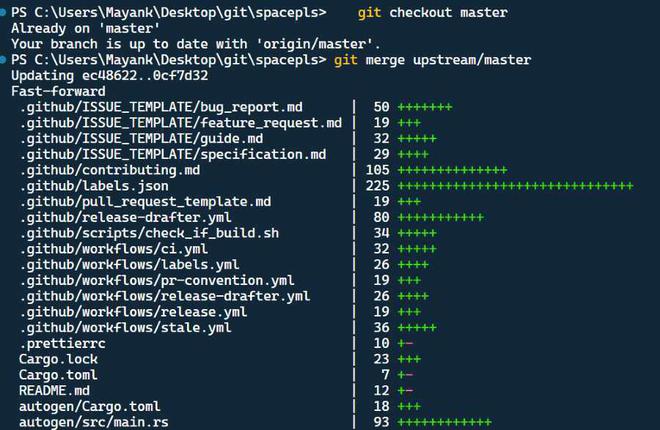
git fetch upstreamStep 4: Merge Upstream Changes into Your Fork
git checkout master git merge upstream/masterStep 5: Push the Updates to Your GitHub Fork
git push origin mainFor those who prefer a graphical user interface, GitHub Desktop offers an intuitive way to manage repositories.
Step 1: Open GitHub Desktop and Clone Your Repository (if not already cloned).
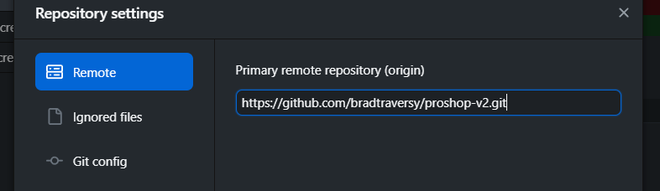
Step 2: Add the Upstream Repository :
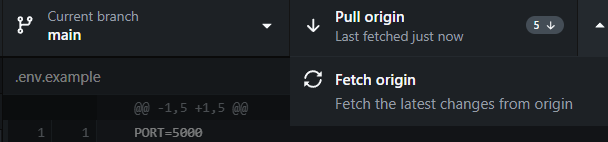
Step 3: Fetch and Merge Upstream Changes :
By following these methods, you can easily keep your forked repository up-to-date with the upstream repository. Choose the approach that best fits your workflow and comfort level.