 |
VOOZH | about |
|
VOOZH | about |
Creating branches in Git is a fundamental skill for any developer. Branches allow you to work on different features, bug fixes, or experiments in isolation from the main codebase. This way, you can keep your main branch stable while making changes on separate branches. In this article, we’ll guide you through the process of creating and managing branches in Git.
A Git branch is a movable pointer to one of your commits. The default branch name in Git is main. When you start making commits, you're working on the main branch. Branches in Git are lightweight, making branching operations nearly instantaneous and switching back and forth between branches easy.
This approach involves using the command line interface to create a new branch in your local Git repository. It's a straightforward method preferred by many developers for its simplicity and efficiency.
Syntax:
git checkout -b <branch-name>Example:Creating a New Feature Branch
In this example, we'll create a new branch named "feature-new" to work on a new feature for our project.
git checkout -b <branch-name>, which creates a new branch and switches to it in one step.git checkout -b feature-new👁 Screenshot-2024-04-18-185444
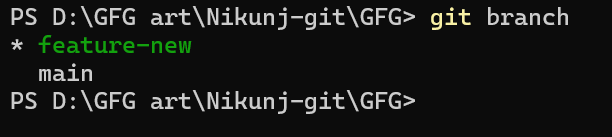
git branch👁 Screenshot-2024-04-18-185607
Creating branches in Git offers flexibility and organization to your development workflow. Whether you prefer the command line or graphical interfaces, Git provides various methods to create branches according to your preferences and workflow.