 |
VOOZH | about |
|
VOOZH | about |
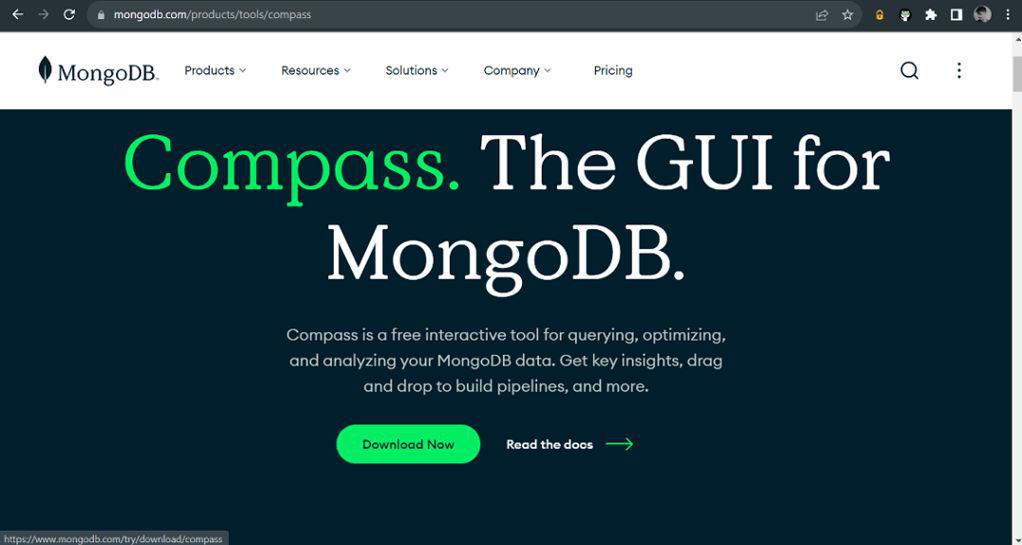
MongoDB Compass is a free GUI for MongoDB. We might want to connect MongoDB Atlas Cluster to MongoDB Compass to take benefit of the GUI model for database administration. By connecting MongoDB Atlas, the fully managed cloud database service, to MongoDB Compass, developers can easily interact with their cloud-based MongoDB databases without relying on the command line
This guide explains how to connect MongoDB Atlas Cluster to MongoDB Compass. The connection process involves obtaining a connection string from MongoDB Atlas, configuring MongoDB Compass settings, and establishing a connection for efficient database management.
Connecting MongoDB Atlas to MongoDB Compass allows developers to take advantage of MongoDB's graphical user interface (GUI) for efficient database administration, offering several benefits:
Follow the steps mentioned below to connect the MongoDB Atlas cluster to the MongoDB Compass:
Before establishing a connection to MongoDB Atlas, we need to have MongoDB Compass installed on our machine. Follow these steps:
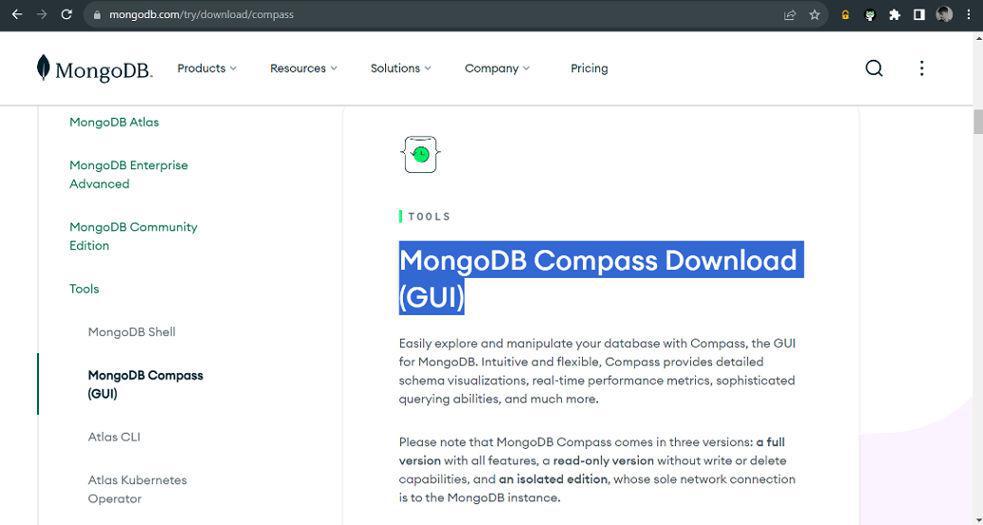
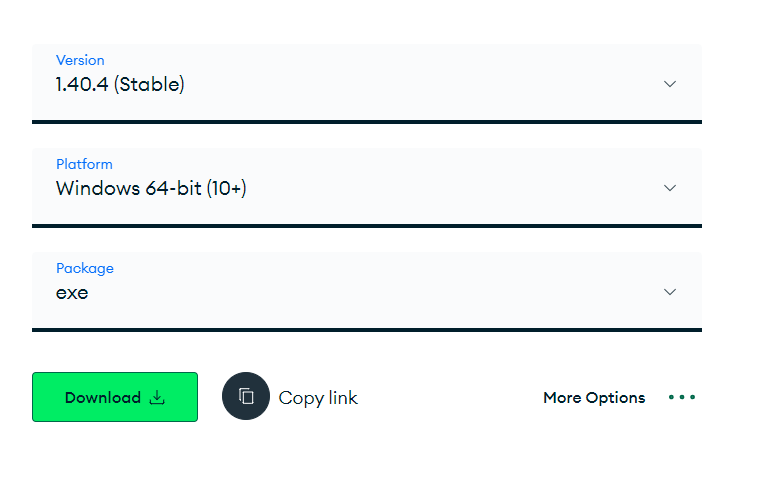
1. Download MongoDB Compass:
2. Install MongoDB Compass:
Once downloaded then install the MongoDB compass. Search and execute the downloaded exe and the MongoDB compass will be installed automatically.
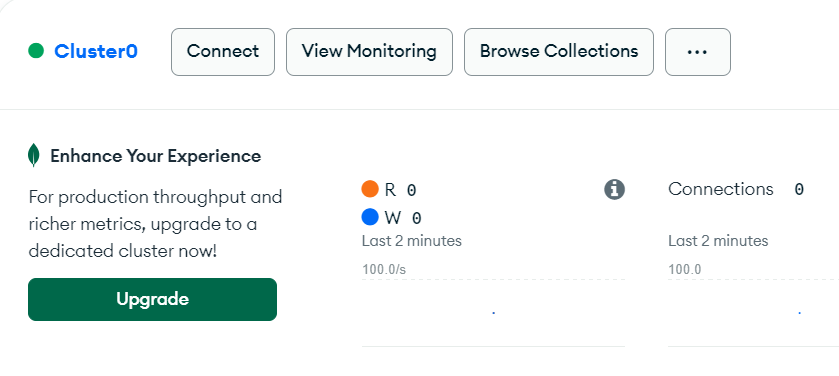
After logging in, you’ll be redirected to the MongoDB Atlas Dashboard, where you can manage clusters, databases, and users.
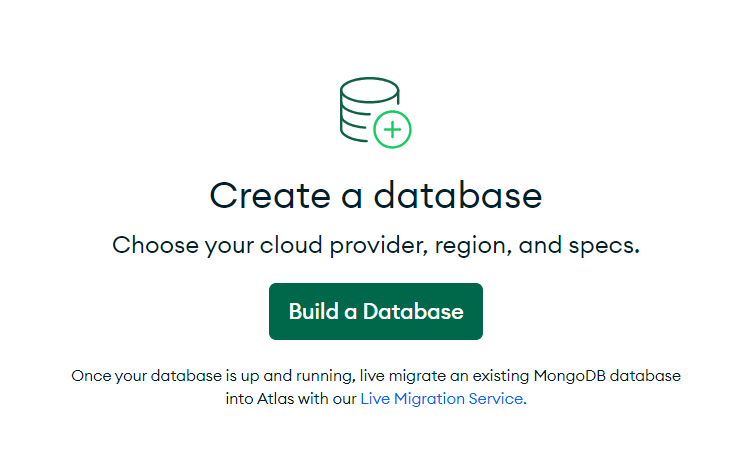
As a beginner, we will use the free services. Let's create a cluster by clicking the option "create a database".
The list of services, regions, and providers (AWS, Google Cloud, Azure) will be displayed. If a large number of users access your database then you can go either higher computing or storage services but for now, we will use free service.
Select the M0 free and then click on Create to create a free cluster. Next step you have to complete the Captcha. After that you will be redirected to the database dashboard and the new cluster will be created.
Next, go to the security section in the left sidebar and there you will find the option to create a user for the database you will create. This user will have read and write operations and the permissions also can be changed. Ensure the username and password are not the same as the Atlas account password.
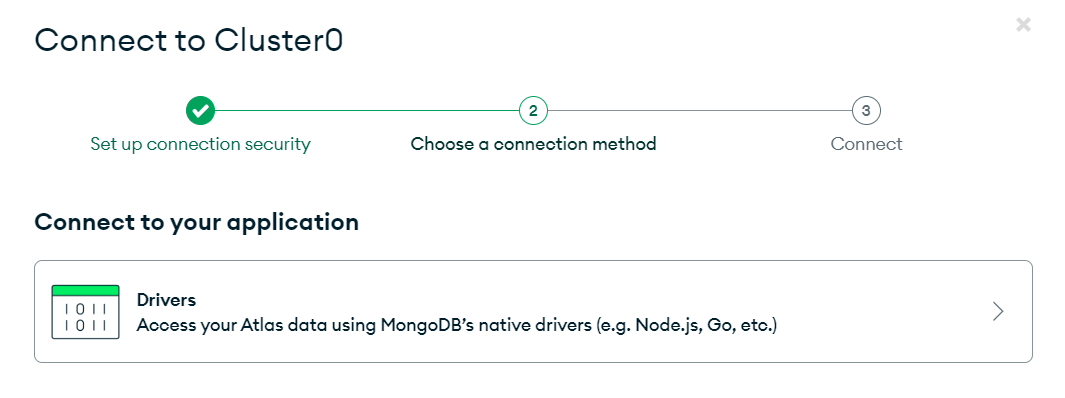
Next, a window will open. Click on the Drivers option.
Choose the appropriate driver (point 1) and copy the connection string (point 3).
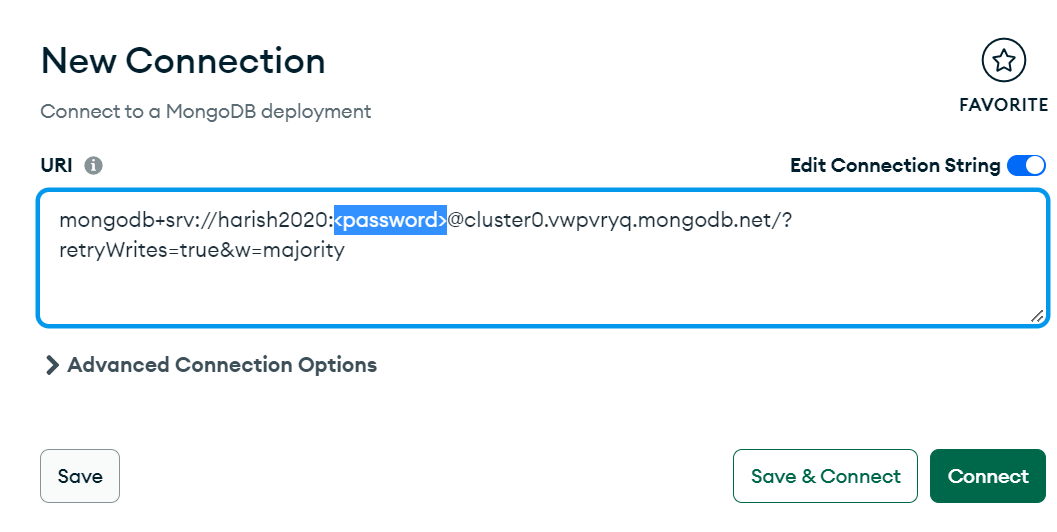
With MongoDB Compass installed and the connection string copied, it's time to connect to your MongoDB Atlas cluster.
Next, paste the copied connection string into the new connection String field, replace the password with the actual database user password that you have created in step 3, and then click connect.
After that, you will be connected to your MongoDB Atlas. You can create or modify a database through MongoDB Compass Dashboard.
In conclusion, utilizing MongoDB Compass and integrating it with the MongoDB Atlas dashboard will simplify database interaction. Without the need for complicated command-line procedures, users can create, update, and query data in databases with ease when using a graphical user interface (GUI). Having MongoDB Compass connected to the MongoDB Atlas dashboard improves database administration in general. By following the simple steps outlined above, you can quickly set up MongoDB Atlas and MongoDB Compass to enhance your database management experience.