 |
VOOZH | about |
|
VOOZH | about |
MongoDB is a highly scalable NoSQL database, renowned for its ability to manage vast amounts of complex and unstructured data. Unlike traditional databases that use a tabular format, MongoDB employs a document-oriented approach, storing data in a flexible, JSON-like format. This makes MongoDB highly scalable and suitable for various modern applications.
In this article, We will learn about How to Connect to MongoDB Atlas Using Shell in detail, step by step, including cluster creation, connection setup, and basic queries.
MongoDB Atlas is a fully managed multi-cloud database. It handles all the complexity of deploying and managing on cloud service providers like AWS, Google Cloud Platform and Microsoft Azure. Atlas is a good way to deploy, run and scale MongoDB in the cloud. Atlas offers a free tier (M0) which makes it an excellent choice for small projects, testing, and learning MongoDB in the cloud without incurring any cost.
The MongoDB Shell (also called mongosh) is a JavaScript-based interface that allows you to interact with MongoDB databases from the command line. It enables data manipulation, querying, and performing administrative tasks on the MongoDB database. MongoDB Shell is a powerful tool for developers working with MongoDB in local or cloud-based environments like MongoDB Atlas.
We need to follow the following steps to create a connection with MongoDB Atlas using Shell,
First, install MongoDB on your local system. If you haven't already, download and install MongoDB from the official MongoDB download page.
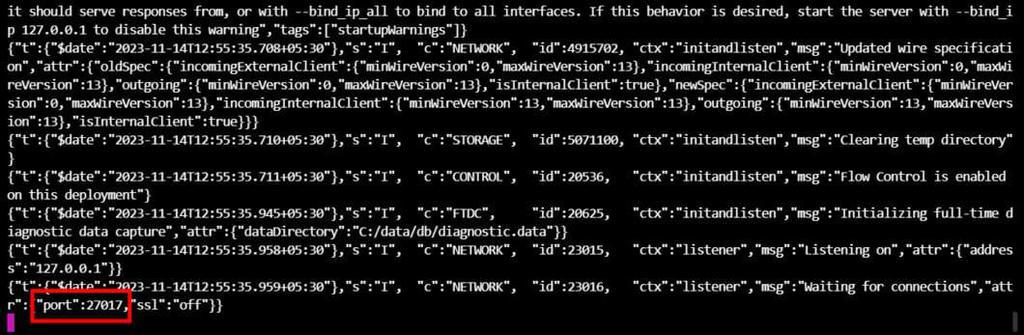
After installing MongoDB. Now open any terminal and write the following command and check whether it is installed properly in our system or not.
mongodIt starts the MongoDB server on the port 27017.
Now, keep this MongoDB Mongo window and open a new tab to run the Mongo shell that will connect to the MongoDB. Write the following command.
mongoThis connects your Mongo Shell to the local MongoDB server. Next, we'll connect the Mongo Shell to MongoDB Atlas.
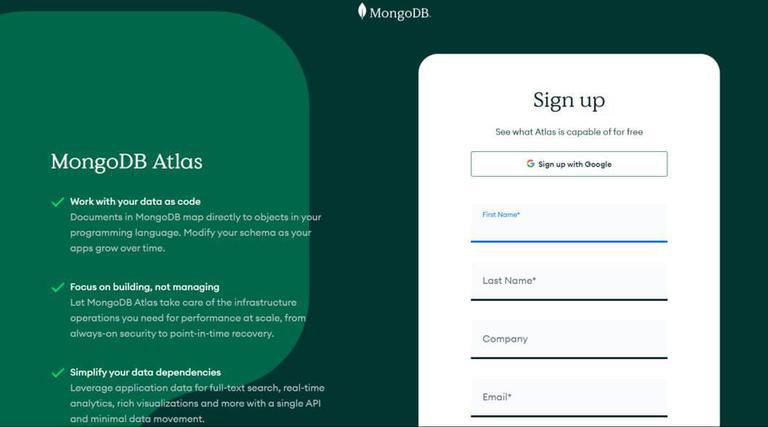
Go to the MongoDB Atlas website and sign up for an account, We can sign up using your email or directly with Google.
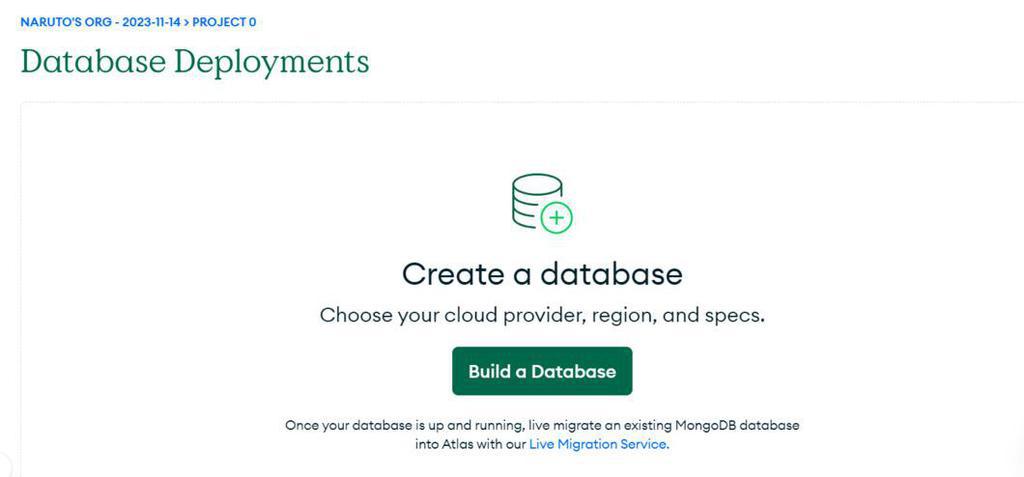
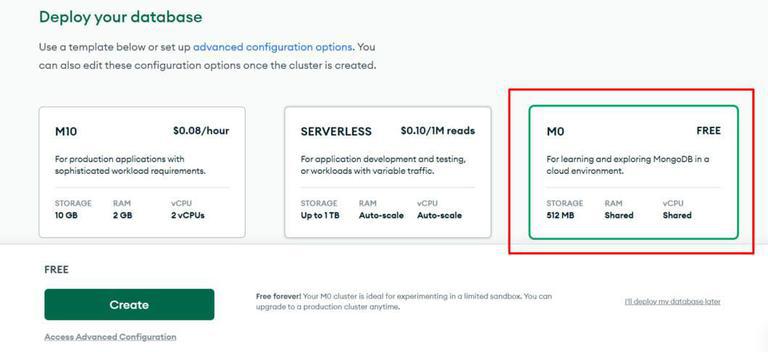
👁 CreateS1Now, go to the database option and click on the "Build a Database" button.
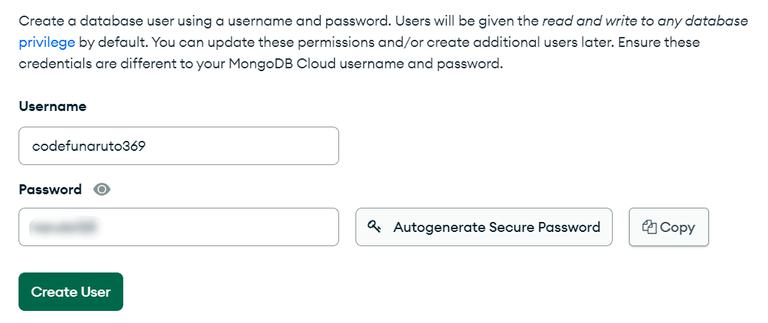
Create a username and password for the MongoDB user and configure network access settings, allowing you to connect from any IP address. These credentials will be used to connect to MongoDB Atlas.
Copy the connection string and run the command in our terminal, Then we can enter the password that we have set earlier with the username and password.
You are successfully connected with the MongoDB Atlas using Mongo shell. You are ready to write queries in the Mongo Shell and that will be reflected in the MongoDB Atlas cluster.
After successfully connecting to MongoDB Atlas, you can start writing queries to interact with your data. Here are some basic examples to get started
This command lists all the databases in your MongoDB cluster:
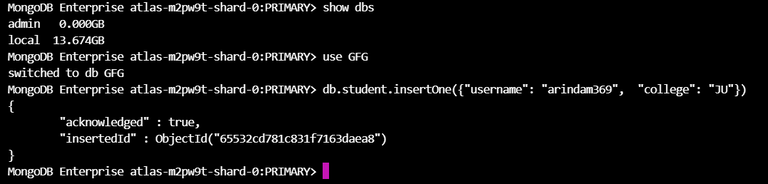
show dbsCreate a new database (if it doesn’t exist) and switch to it:
use GFGIt will create a collection "student" in the "GFG" database and insert a new JSON document in the "student" collection.
db. student.insertOne({"username": "arindam369", "college": "JU"})Output:
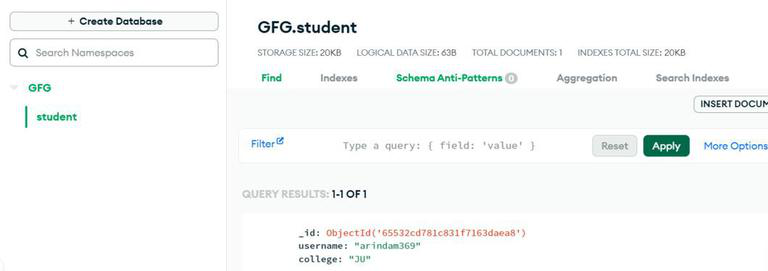
After executing the queries in the Mongo Shell, open the Collections in the MongoDB Atlas Cluster. We get the output given below.
Connecting to MongoDB Atlas using the Mongo Shell provides an efficient way to manage our databases in the cloud. This guide walked us through the steps of setting up a MongoDB Atlas cluster, configuring access, and establishing a Mongo Shell connection. We also covered basic queries to interact with our data. MongoDB Atlas, paired with the Mongo Shell, offers a robust environment for managing and scaling databases across multiple cloud providers.