 |
VOOZH | about |
|
VOOZH | about |
Android Application Development can be done using Android Studio as well as Eclipse IDE. We can create android applications in Eclipse IDE using the ADT plugin. Eclipse is preferred for creating small android applications. Eclipse IDE is an open-source software used by developers, it contains a variety of plugins to develop software in different programming languages. We will be using Eclipse IDE to set up Android App Development. First, we need to install Eclipse IDE, and then we will be setting it up for Android App Development.
Step 1: Open Eclipse IDE.
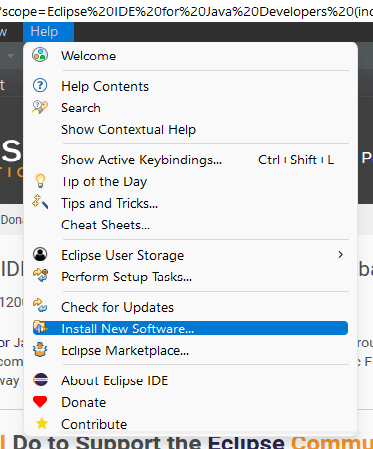
Step 2: Select Help, Click on "Install New Software"
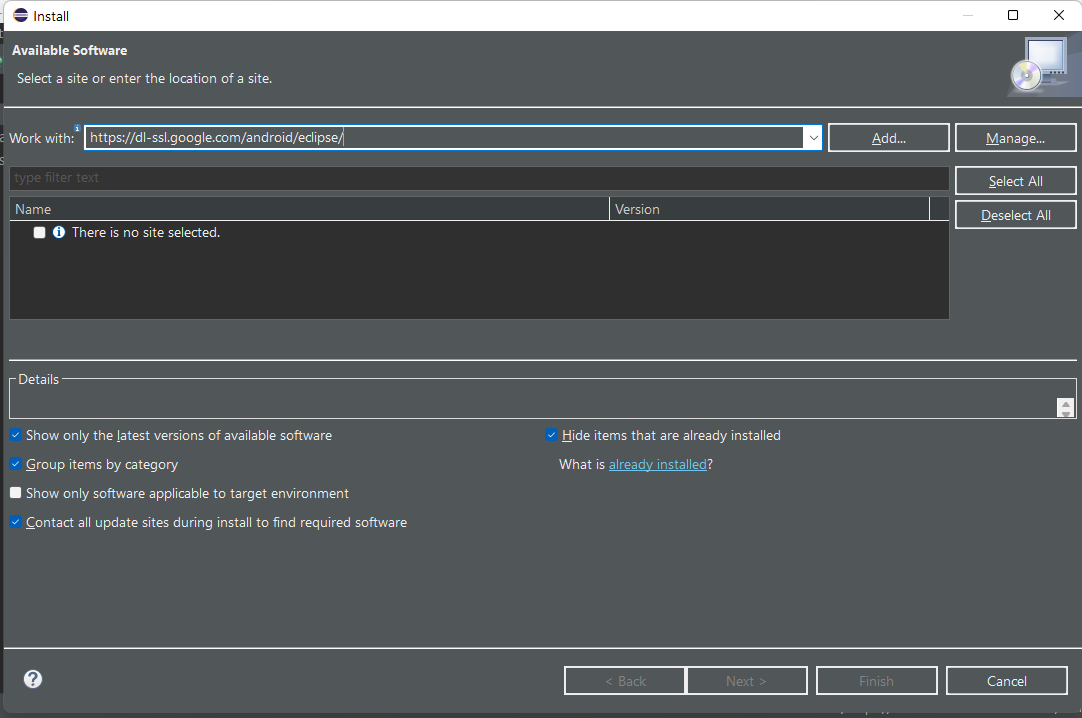
Step 3: Type "https://dl-ssl.google.com/android/eclipse/" in the "Work With" section and click on Add. Further, a new Dialog box will appear, type Name - ADT Repository and Click on Add.
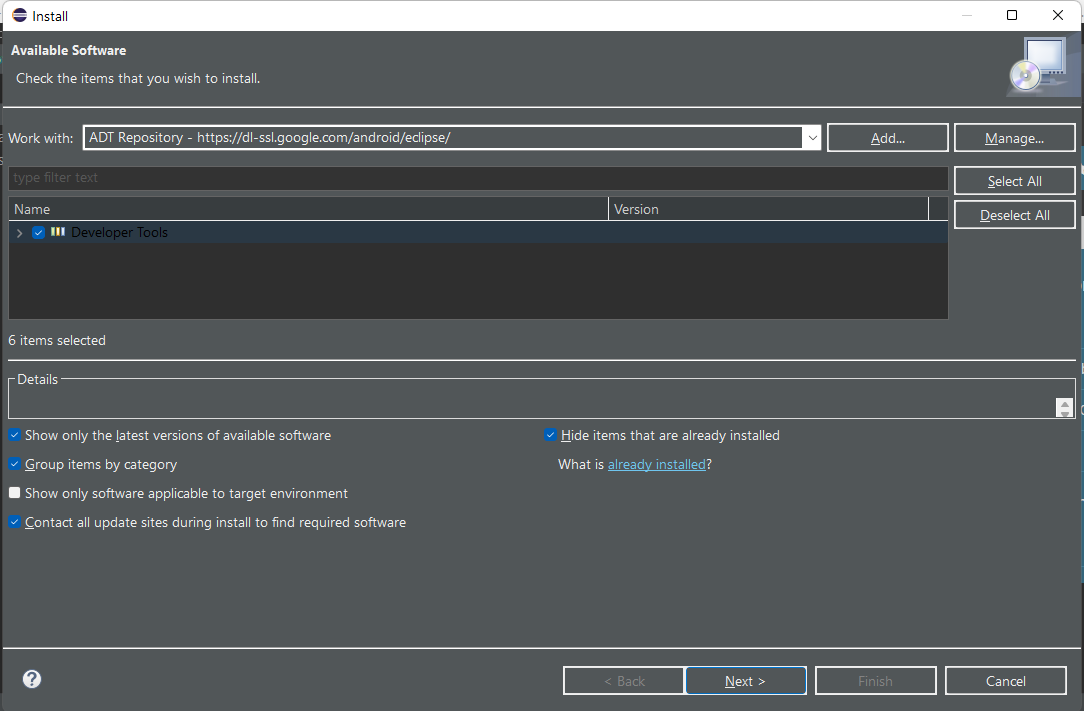
Step 4: You can see Developer Tools under Name - tick the box, then click Next. A dialog box will appear, click on Next and then click on Finish. After that, Installation will begin.
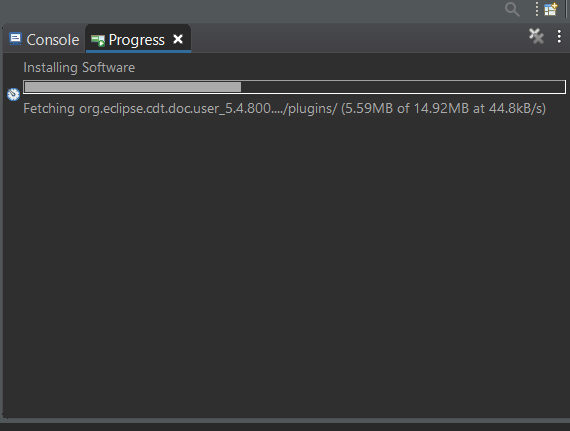
The installation will take some time:
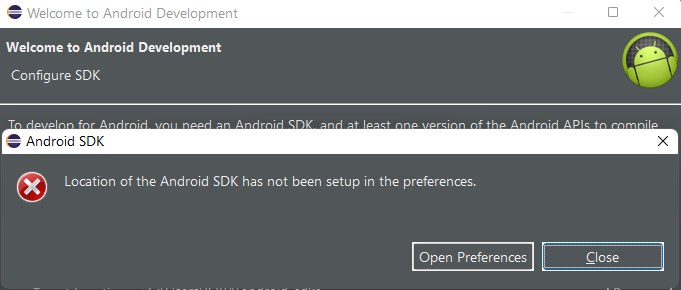
Step 5: After the installation is completed, Eclipse will be restarted. After the restart, a dialog box will appear for setting up the Preferences. Click on Open Preferences then Click on Proceed. If the dialog box does not appear then go to Eclipse -> Window -> Preferences.
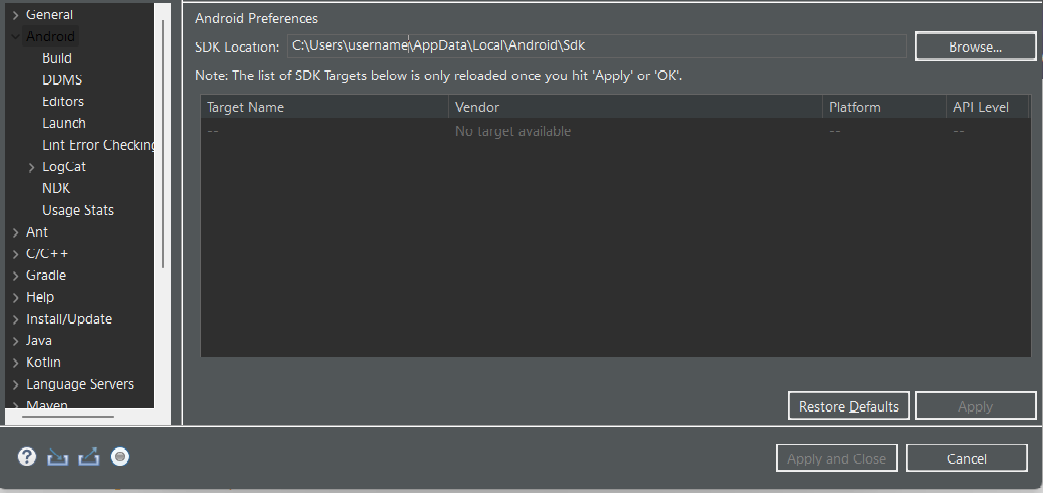
Step 6: Browse the SDK Location of Android (C:\Program Files\Android\android-sdk) and Click Apply.
Note 1: SDK Path is also present in Android Studio -> Tools -> SDK Manager -> Copy the Android SDK Location path and paste it here.
Note 2: If in case after Step 6, if you are facing this issue "Could not find folder 'tools' inside SDK" please refer to this article How to fix Could not find folder ‘tools’ inside SDK in Android?
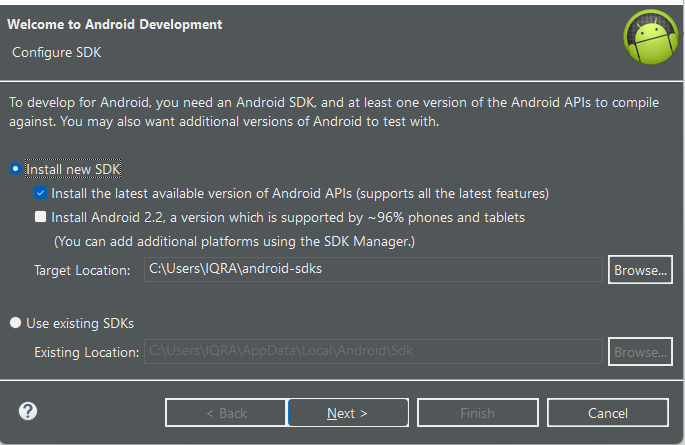
Step 7: Click on Install new SDK then Next. Another dialog box will appear, Accept all three packages and Click on Install.
After installation of packages, SDK Manager will appear for API Level Build Tools and System Images installation. Click on Install.
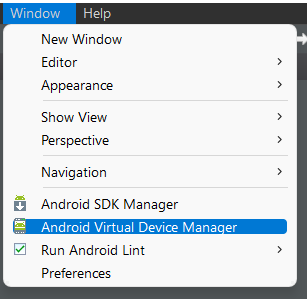
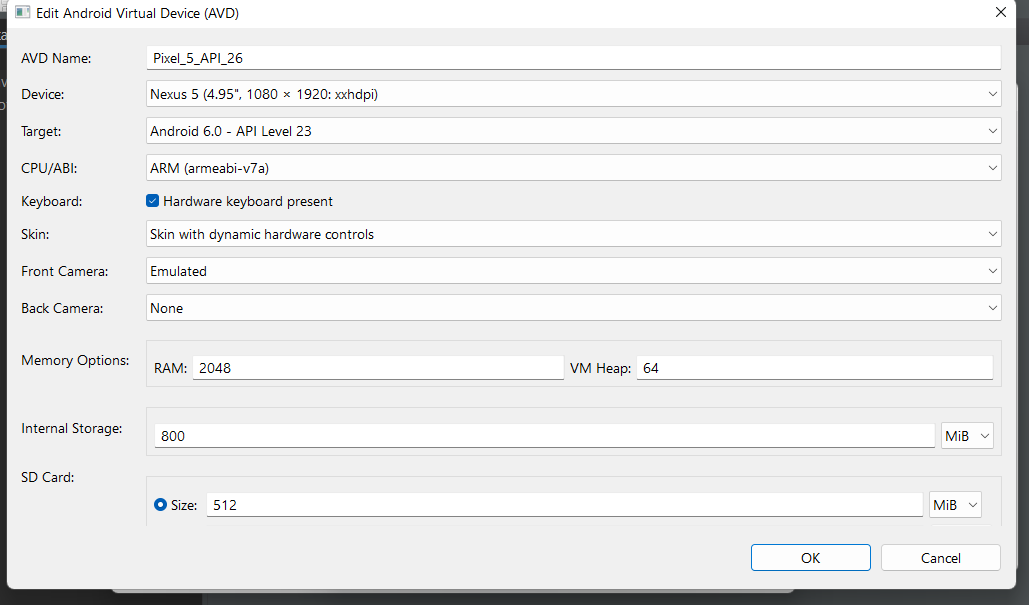
Step 8: After installation is completed, Go to Eclipse then Select Window then Click on Android Virtual Device Manager. A dialog box will appear, Select existing AVD and Click on Edit.
Fill in all the details as per the below image. Click OK.
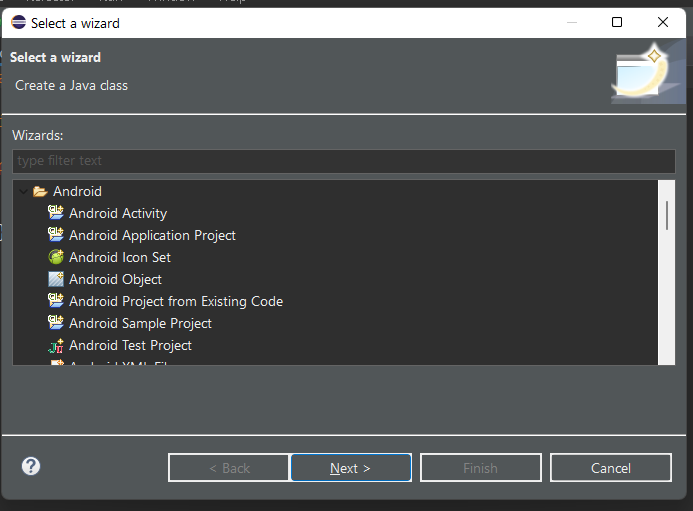
Step 9: To create an android application, Select File -> New -> Other, and then the below dialog box will appear Select Android -> Android Application Project then Click on Next. Follow the steps and then click on Finish.
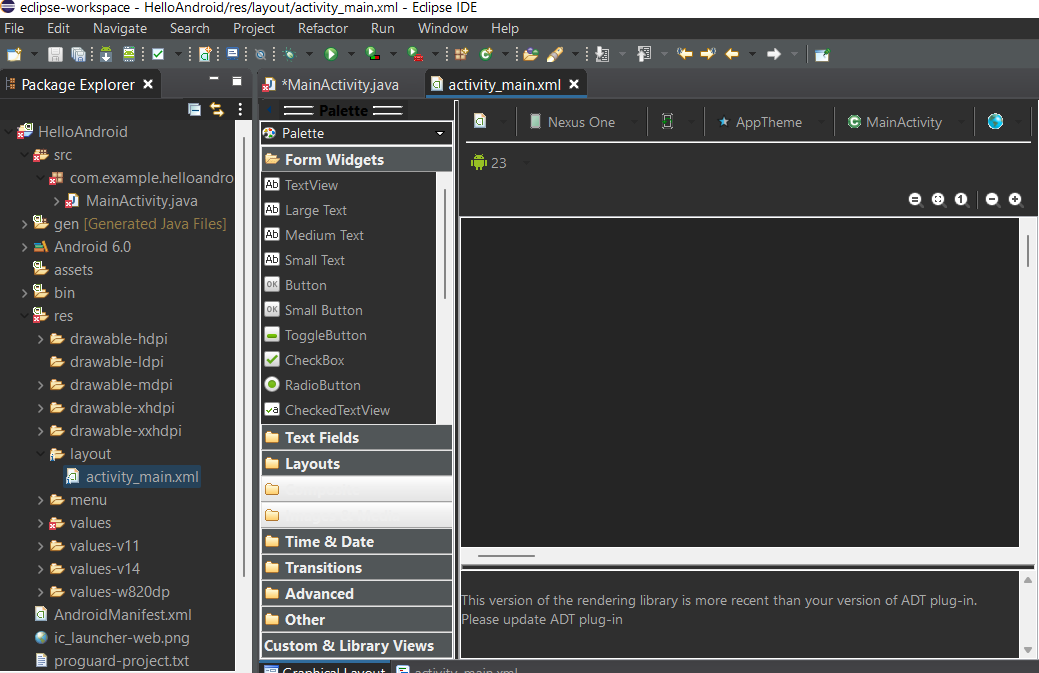
Step 10: Eclipse IDE setup is completed for Android Application Development.