 |
VOOZH | about |
|
VOOZH | about |
Retrofit is a type-safe HTTP client for Android, developed by Square. It simplifies network operations by allowing developers to define REST API interactions using Java/Kotlin interfaces. It supports various request methods like GET, POST, PUT, DELETE, and PATCH while enabling seamless integration with JSON parsing libraries like Gson and Moshi.
The advantages that Retrofit has over traditional network handling methods like HttpURLConnection and Volley are:
In this article, we will be implementing the GET request method. To know more about the other request methods refer to
For using Retrofit in our Android project firstly we have to add dependency in the gradle file. For adding dependency open app/build.gradle file in your Android project and add the following lines inside it. Add these lines inside dependencies{}
dependencies {
 implementation ("com.google.code.gson:gson:2.9.1")
 implementation ("com.squareup.retrofit2:retrofit:2.9.0")
 implementation ("com.squareup.retrofit2:converter-gson:2.9.0")
}
We should now add Internet Permission inside Manifest file. Open the AndroidManifest.xml file and add the following line.
<uses-permission android:name="android.permission.INTERNET"/>For retrieving data from the server using retrofit 2 we require a model class. We are going to make a model class to retrieve data from the server. Set the name of the class ResponseData.
ResponseData Class:
Create an retrofit instance to define API base url.
RetrofitInstance Class:
Create an interface to define API endpoints and their request types.
ApiInterface Class:
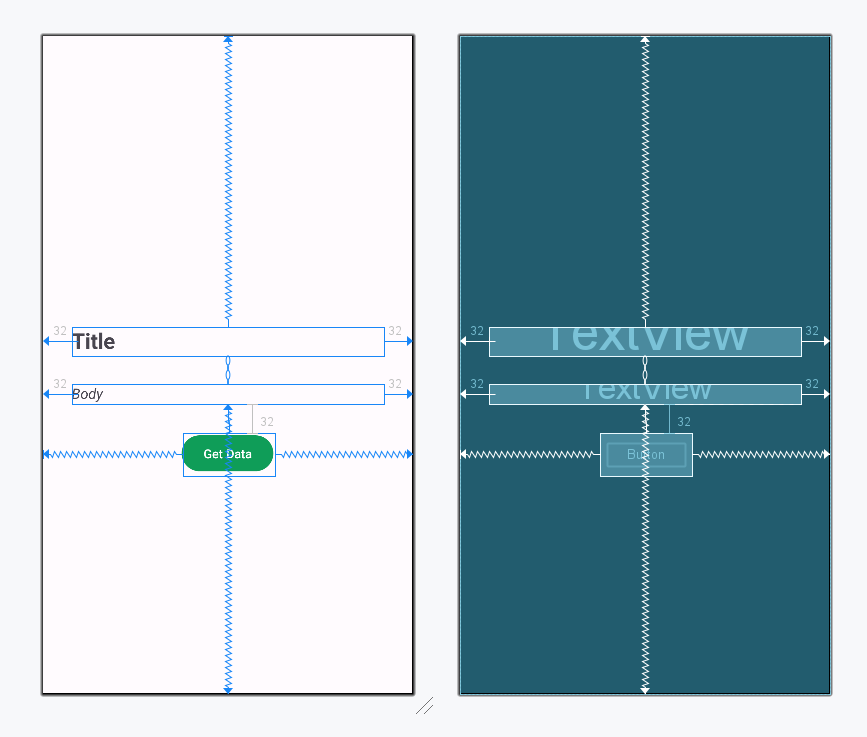
Navigate to app > res > layout > activity_main.xml and make the below changes. We will be adding 2 textviews and a button to fetch the data.
activity_main.xml:
In this file, we will call the Retrofit Instance to get the data and bind it to the view. Navigate to app > kotlin+java > {package-name} > MainActivity.java/MainActivity.kt and make the necessary changes given below.
MainActivity File: