 |
VOOZH | about |
|
VOOZH | about |
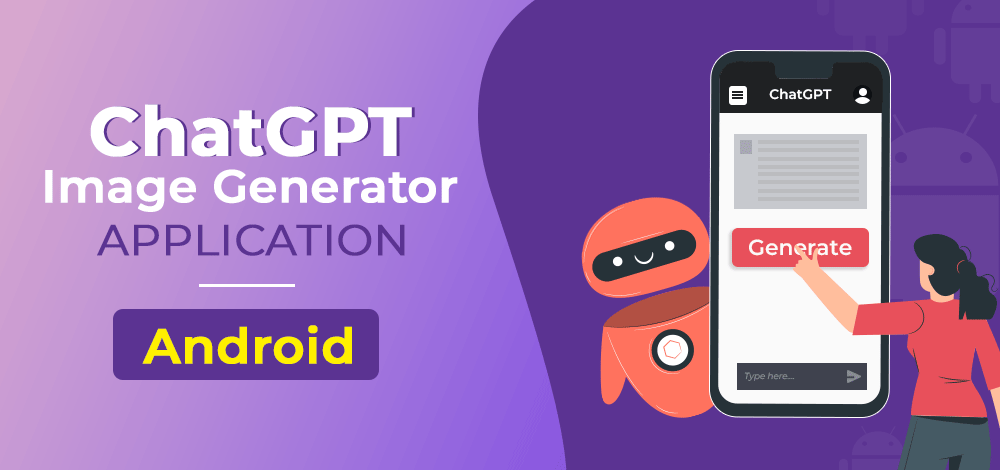
Chat GPT is nowadays one of the famous AI tools which are like a chatbot. This chatbot answers all the queries which are sent to it. In this article, we will be building a simple ChatGPT-like android application in which we will be able to ask any question and from that question, we will be able to get an appropriate response in the form of images within our application.
👁 How-to-Build-a-ChatGPT-Image-Generator-Application-in-AndroidWe have created a sample application we will take a look at its output of it and then we will proceed further to create a new project in android studio.
To create a new project in Android Studio please refer to How to Create/Start a New Project in Android Studio. Note that select Kotlin as the programming language.
Below is the dependency for Volley which we will be using to get the data from API. For adding this dependency navigate to the app > Gradle Scripts > build.gradle(app) and add the below dependency in the dependencies section. We have used the Picasso dependency for image loading from the URL.
// below line is used for volley library and picasso
implementation ‘com.android.volley:volley:1.2.0’
implementation 'com.squareup.picasso:picasso:2.8'
After adding this dependency sync your project and now move toward the AndroidManifest.xml part.
Navigate to the app > AndroidManifest.xml and add the below code to it.
<!-- permissions for INTERNET -->
<uses-permission android:name="android.permission.INTERNET"/>
Navigate to the app > res > layout > activity_main.xml and add the below code to that file. Below is the code for the activity_main.xml file.
Navigate to the below URL and simply sign up with your email and password. On this screen click on Create a new secret key to generate your new key. Once your key is generated that we have to use it as a token for making our API key.
Navigate to app > java > your app's package name > MainActivity.kt file and add the below code to it. Comments are added in the code to get to know it in detail.