 |
VOOZH | about |
|
VOOZH | about |
We as humans tend to forget some small but important things, and to resolve this we try to write those things up and paste them somewhere, we often have eyes on. And in this digital era, the things we are most likely to see are laptop, computer, or mobile phone screens. For this, we all have once used the Sticky Notes on Windows or Stickies on Mac, today in this article we would be discussing how we can build such an application for Android.
Approach :
Now, if we think of something that is sticky i.e. which sticks to the screen, in Android, the component which comes to our mind is the Home screen Widgets. Home Screen Widgets are the best interactive components that stick to the screen and can be resized in any manner. We would be creating an application that also has its own widget. We will first write some text in the main application and save that into a file in memory. At the very moment, we will update the widget with text that the user just saved. And Hurray! Our Sticky note is ready.
Here one thing to note is that in Android views are also called Widgets, so to avoid confusion we use the term Home Screen Widgets. These are the broadcast receivers that provide interactive components. They usually show some sort of information and encourage the user to interact with it.
For example, it may display time, weather, or emails and once you click on them the main application hosting them would start. Widgets use RemoteViews to build its user interface. With the same permissions as the original application, a RemoteView may be run by another method. As a consequence, the widget runs with the permissions of the application that created it. A Widget's user interface is determined by a broadcast receiver. This receiver inflates its layout into a RemoteView object.
To create a new project in Android Studio please refer to How to Create/Start a New Project in Android Studio.
Note that select Java/Kotlin as the programming language.
Navigate to app > manifests > AndroidManifest.xml and add the user permissions for reading and write the file from storage.
<uses-permission
 android:name="android.permission.WRITE_EXTERNAL_STORAGE"
 android:maxSdkVersion="32" />
<uses-permission
 android:name="android.permission.READ_EXTERNAL_STORAGE"
android:maxSdkVersion="32" />Follow the steps mentioned in this article Create a Basic Widget of an Android App to add the Widget to your project. Name the file as AppWidget and leave the other settings as it is. The file app_widget_info.xml contains code that determines the look of our widget as it would appear in the Widgets list.
This class will be formed in the previous step. Go to the AppWidget.java/.kt file and refer to the following code. Below is the code for the AppWidget file. Comments are added inside the code to understand the code in more detail.
AppWidget File:
This is a helper class that provides the functionality of saving, updating, and retrieving the contents to and from the file. Go to the StickyNote file and refer to the following code. Below is the code for the StickyNote file. Comments are added inside the code to understand the code in more detail.
StickyNote File:
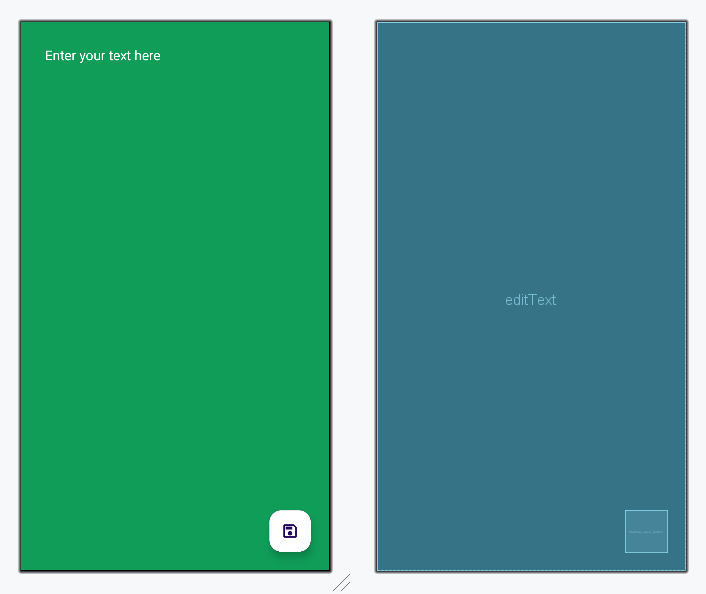
Navigate to app > res > layout > activity_main.xml and add the following code. Also remember to create a new drawable file for the save button and copy the code from below for ic_save.xml.
Design UI:
Go to the MainActivity file and refer to the following code. Below is the code for the MainActivity file. Comments are added inside the code to understand the code in more detail.
MainActivity File:
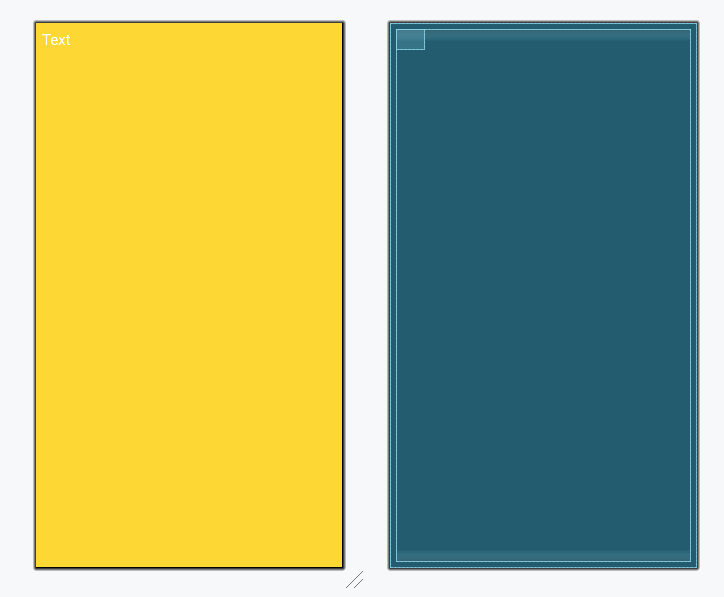
Navigate to app > res > layout > app_widget.xml. Since we only want our widget to hold the text, we just add the TextView in the layout resource file which would be updated from time to time.
app_widget.xml:
Design UI:
Refer to the github repo to get the entire code:Sticky_Notes_Android_Application