 |
VOOZH | about |
|
VOOZH | about |
Intro Slider in many apps is mostly used to educate the users about the app, the features of the app, and the services that our app will provide to us. In this article, we will take a look at the implementation of Custom Intro Slider in our app.
We will be building a simple application in which we will be displaying an intro slider in which we will show slider in our app. This slider contains a simple image and two TextView. Note that we are going to implement this project using the Java and Kotlin language.
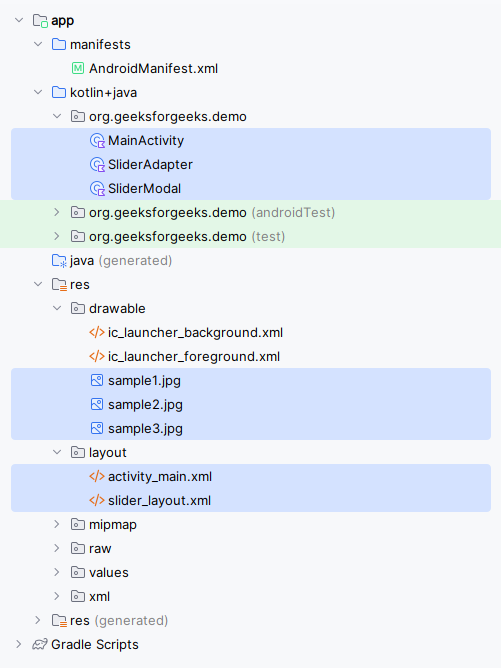
Below is the File Structure of the Application:
To create a new project in Android Studio please refer to How to Create/Start a New Project in Android Studio.
As we will be loading all our images from online sources so we will be using Glide for loading images from URLs inside our application. So for using the images from the URL we have to add the below dependency in our build.gradle.kts (Module :app) file.
dependencies {
 ...
 implementation("com.github.bumptech.glide:glide:4.16.0")
}Navigate to the app > res > layout > activity_main.xml and add the below code to that file.
Note: activity_main.xml is the XML file for the main activity window.
activity_main.xml:
Now we will create an item that we will be displaying in our slider. So for creating a new layout navigate to the app > res > layout > Right-click on it > Click on New > layout resource file and name it as slider_layout and add below code to it.
Note: slider_layout.xml is the fragment used for the sliders.
For creating a new Modal class navigate to the app > java > your app's package name > Right-click on it and click on New > Java/Kotlin class and name it as SliderModal.
For creating a new Adapter class navigate to the app > java > your app's package name > Right-click on it > New Java/Kotlin class and name it as SliderAdapter and add the below code to it.
Go to the MainActivity file and refer to the following code. Below is the code for the MainActivity file. Comments are added inside the code to understand the code in more detail.
Note :To access the full Slider in an Android App check this repository: Click Here to Access the Whole Project