 |
VOOZH | about |
|
VOOZH | about |
We have seen the new Google Lens application in which we can capture images of any product and from that image, we can get to see the search results of that product which we will display inside our application.
We will be building a simple application in which we will be capturing an image from our device camera and after that, we will click on the Button to get the results for that product. A sample video is given below to get an idea about what we are going to do in this article. Note that we are going to implement this project using Java programming language.
To create a new project in Android Studio please refer to How to Create/Start a New Project in Android Studio.
Navigate to the app > Gradle Scripts > build.gradle.kts file and add the following dependencies. We have added the dependencies for Firebase ML kit for image labelling, Volley for API Calls and Glide for image loading.
dependencies {
 ...
 implementation ("com.google.mlkit:image-labeling:17.0.9")
 implementation ("com.android.volley:volley:1.2.1")
 implementation ("com.github.bumptech.glide:glide:4.16.0")
}
Add View Binding support by adding the following code anywhere under the android{} scope
buildFeatures {
 viewBinding = true
}Navigate to the app > AndroidManifest.xml file and add the below code to it.
<uses-feature
 android:name="android.hardware.camera"
 android:required="true" />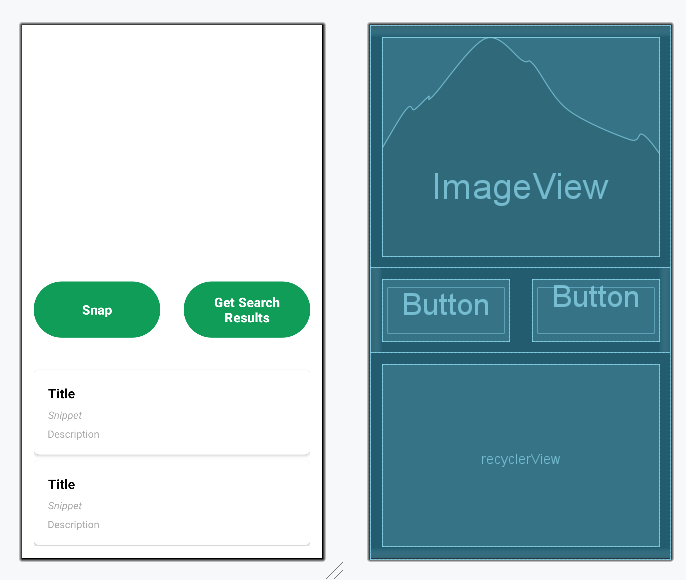
<uses-permission android:name="android.permission.INTERNET" />Navigate to the app > res > layout > activity_main.xml and add the below code to that file. Below is the code for the activity_main.xml file.
activity_main.xml:
Design UI:
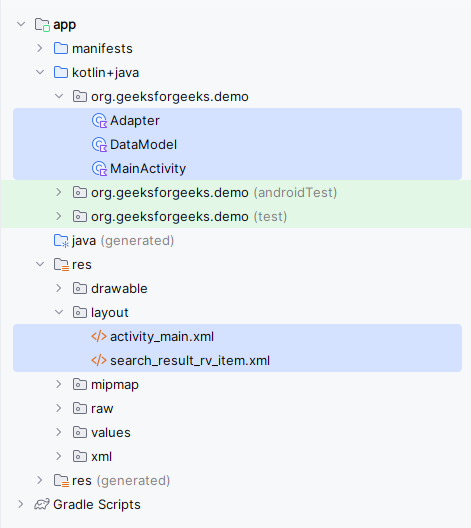
Navigate to the app > java > {package-name}, Right-click on it, New > Java/Kotlin class and name your class as DataModel and add the below code to it. Comments are added inside the code to understand the code in more detail.
DataModel File:
Navigate to the app > res > layout, Right-click on it, New > Layout Resource File and name it as search_result_rv_item and add the below code to it.
search_result_rv_item:
Navigate to the app > java > your app's package name > Right-click on it > New > Java class and name it as Adapter and add the below code to it.
Adapter File:
Go to the site https://serpapi.com/search-api and create your account with your Google account. This is a similar process as you signup on GeeksforGeeks. While generating your API key make sure to select the free trial option and proceed further. After going to the site shown above you will get to see the below screen. Simply sign in with your credentials and proceed further.
After proceeding further you have to simply Navigate to the My Account > Dashboard option to open the below screen. On this screen, you will get to see your API key.
Go to the MainActivity file and refer to the following code. Below is the code for the MainActivity file. Comments are added inside the code to understand the code in more detail.
Now run your app and see the output of the app. Make sure to change your API key before running the app.
Note: The search results might not be accurate upto an extent.Note :To access the full android application this repository:Google Lens Application in Android