 |
VOOZH | about |
|
VOOZH | about |
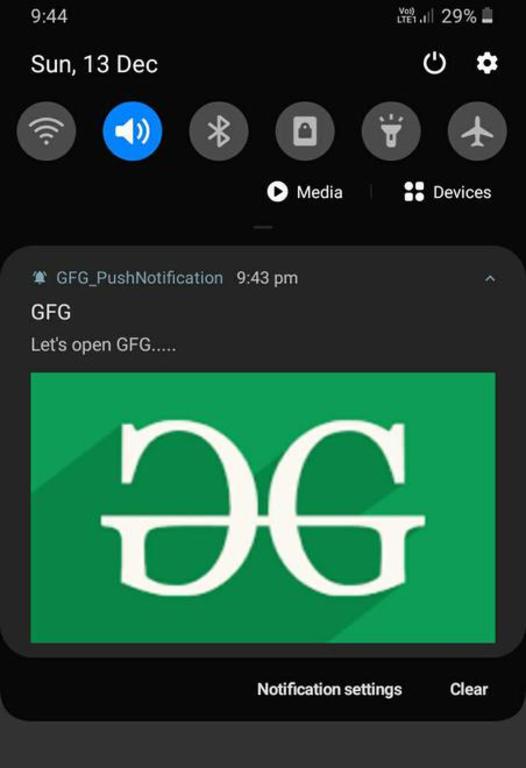
A notification is a message that appears outside of our Application's normal UI. A notification can appear in different formats and locations such as an icon in the status bar, a more detailed entry in the notification drawer, etc. Through the notification, we can notify users about any important updates, events of our application. By clicking the notification user can open any activity of our application or can do some action like opening any webpage etc.
Let's see the basic design of a notification template that appears in the navigation drawer.
👁 How Does Notification LookPart of a Notification | Method for defining contents | Type of argument needs to pass into the method |
|---|---|---|
| Small Icon | setSmallIcon() | Drawable file |
| App Name | By default, App Name is provided by the System and we can't override it. | |
| Timestamp | By default, timeStamp is provided by the System but we can override it by setWhen() method. | Long (in milliseconds) |
| Title | setContentTitle() | String |
| Text | setContentText() | String |
| Large Icon | setLargeIcon() | Bitmap image |
We shall discuss all the concepts mentioned below step by step,
Tocreate a basic notification at first we need to build a notification. Now to build notification, we must use NotificationCompat.Builder() class where we need to pass a context of activity and a channel id as an argument while making an instance of the class. Please note here we are not using Notification.Builder(). NotificationCompat gives compatibility to upper versions (Android 8.0 and above) with lower versions (below Android 8.0).
Please note, here we need to set the priority of the notification accordingly by the setPriority() method.
Now to deliver the notification we need an object of NotificationManagerCompat class and then we notify it.
Please note that, in this method, we can deliver notification only in the android versions below 8.0 but in the android versions 8.0 and upper, no notification will appear by only this block of code.
Now to deliver notifications on android version 8.0 and above versions, we need to create a notification channel. This Notification Channel concept comes from android 8.0. Here every application may have multiple channels for different types of notifications and each channel has some type of notification. Before you can deliver the notification on Android 8.0 and above versions, you must register your app's notification channel with the system by passing an instance of NotificationChannel to createNotificationChannel().
Please note that here we must provide a unique CHANNEL_ID for each channel and also we must give a CHANNEL_NAME and CHANNEL_DESCRIPTION, and channel importance level.
To set a large icon we use the setLargeIcon() method which is applied to the instance of the NotificationCompat.Builder() class. In this method, we need to pass a Icon or Bitmap form of an image. Now to convert an image file (e.g. jpg, jpeg, png, etc.) of the drawable folder into a Bitmap or an Icon, we use the following code in Kotlin
In the short template of the notification, large information can't be shown. Therefore we need to make the notification expandable like this:
to make such an expandable notification we use the setStyle() method on the notification builder (nBuilder) object. In this expanded area we can display an image, any text, different messages, etc. In our Application, we have added an image by passing the instance of the NotificationCompat.BigPictureStyle class to setStyle() method.
We need to make our notification clickable to perform some action by clicking the notification such as open an activity or system setting or any webpage etc. Now to perform such actions intent is needed (e.g. explicit or implicit intent). In our Application, we are making an Implicit intent to open the GFG official home page.
Now it is not necessary that whenever the notification will appear then the user will click it instantly, user can click it whenever he /she wants and therefore we also need to make an instance of PendingIntent which basically makes the intent action pending for future purpose.
Sometimes there exists some action button at our notification template that is used to perform some action.
Here we also need an Intent and a PendingIntent. Then we need to pass the instance of the PendingIntent to addAction() method at the time of building the notification.
Let discuss all the concepts by making an basic application. A sample GIF is given below to get an idea about what we are going to do in this article. Note that we are going to implement this project using the Kotlin/Java language.
To create a new project in Android Studio please refer to How to Create/Start a New Project in Android Studio. Note that select Kotlin/Java as the programming language. Choose the API level according to your choice( Here we have chosen API Level 26).
Note: After creating the project successfully, please paste some pictures into the drawable folder in the res directory. Please follow this article if you don't know how to add image assets in your android project: How to add images in the android project?
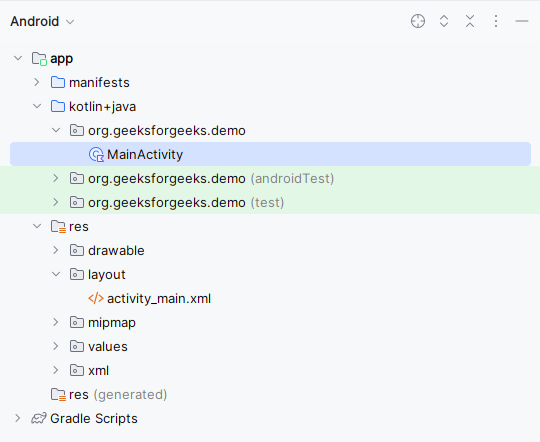
This is what the folder structure should look like:
Android 13 (API level 33) and higher need a permission for posting notifications from an app. For this, declare permission in the manifest file. Please manually make sure that the permission for notifications is provided for this app on phone.
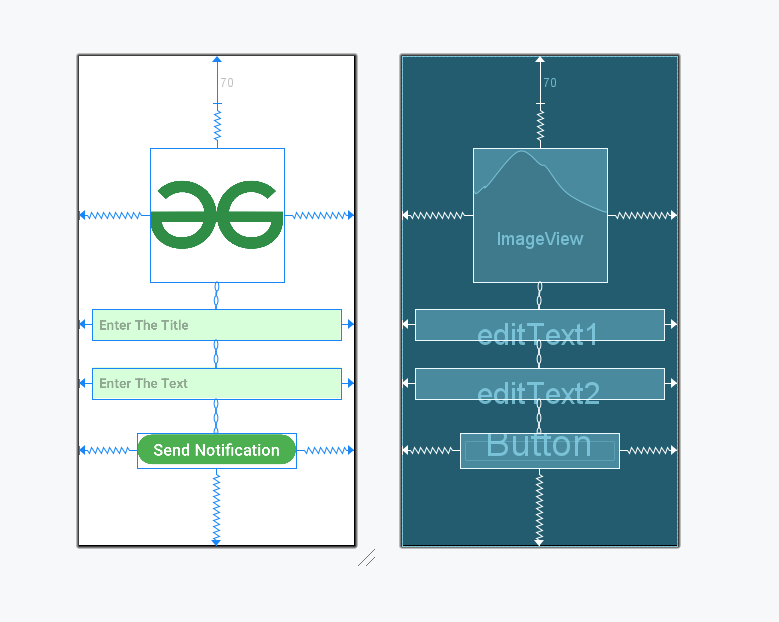
<uses-permission android:name="android.permission.POST_NOTIFICATIONS"/>Go to the activity_main.xml file and refer to the following code.
activity_main.xml:
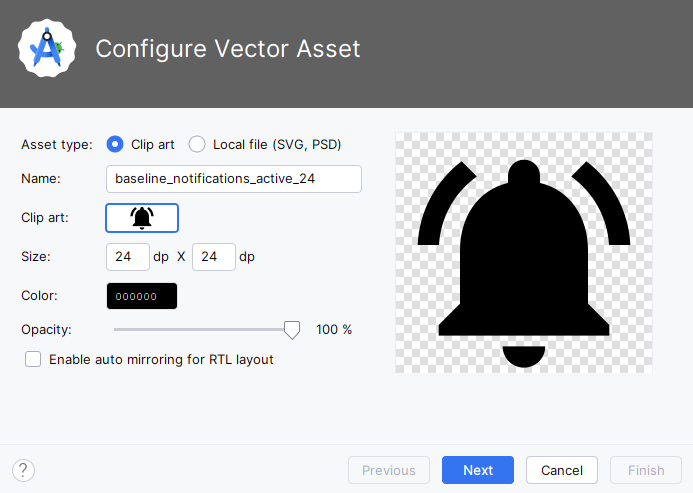
Right-click on the drawable folder → New → Vector Asset → select appropriate Clip Art → give appropriate Name and adjust Size accordingly→ Next then click on the finish button as shown in the below image.
Go to the MainActivity.kt file and refer to the following code. Below is the code for the MainActivity.kt file. Comments are added inside the code to understand the code in more detail.
MainActivity File: