 |
VOOZH | about |
|
VOOZH | about |
Zxing stands for Zebra Crossing, it is one of the most popular open-source API for integrating QR(Quick Response) Code processing. It is a barcode image processing library implemented in Java, with ports to other languages. It has support for the 1D product, 1D industrial, and 2D barcodes. Google uses ZXing by web search to obtain millions of barcodes on the web indexable. It also creates the foundation of Android’s Barcode Scanner app and is combined into Google Product and Book Search.
Note: To read QR code using CAMView Library you may refer to How to Read QR Code using CAMView Library in Android?
It is an abbreviation for Quick Response Code. It is a combination of white and black squares and can be read easily with a QR Scanner. It generally uses four encoding modes
It is used for authentication and online payments. A sample GIF is given below to get an idea about what we are going to do in this article. Note that we are going to implement this project using the Java language.
In this project, we are creating a basic QR Scanner application which is used to scan a QR Code and display the result over the screen.
To create a new project in Android Studio please refer to How to Create/Start a New Project in Android Studio. Note that select Java as the programming language.
Note: Choose API 24 and onwards as Minimum SDK.
In order to use the Zxing library in our application we need to add it's dependency in our application's gradle file. For adding the dependency Go to Gradle Scripts > build.gradle(Module: app) and add the following dependencies. After adding the dependency you need to click on Sync Now.
For build.gradle Groovy
dependencies {
implementation 'com.journeyapps:zxing-android-embedded:4.1.0'
}
For build.gradle.kts
dependencies {
implementation("com.journeyapps:zxing-android-embedded:4.1.0")
}
Before moving further let’s add some color attributes in order to enhance the app bar. Go to app > res > values > colors.xml and add the following color attributes.
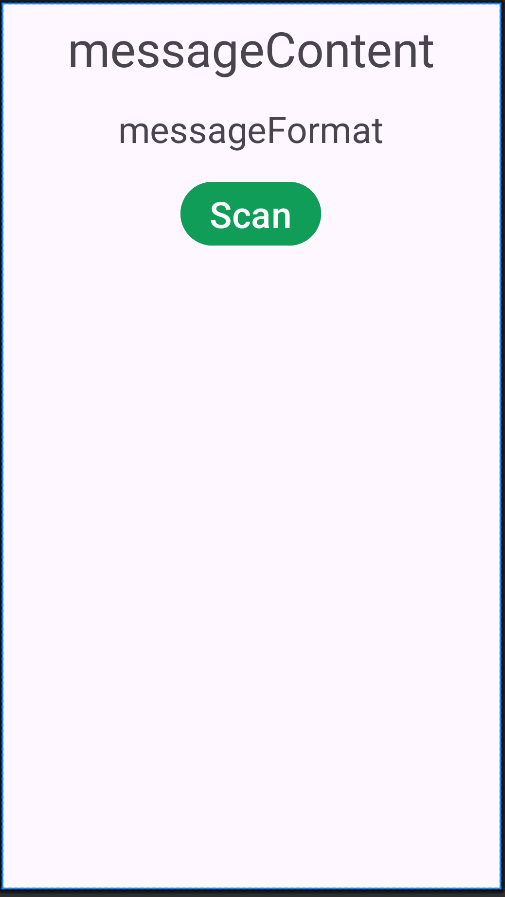
In this step, we will create the layout of our application, which is having a Button for scan and two TextView one is for the message content of QR Code, and the second one is for the format of the scanned message. Go to app > res > layout > activity_main.xml and add the following code snippet.
In this step, we will work with the MainActivity.java file where we first initialize the button and the two TextViews. In onClick() behavior of the button we create the object of IntentIntegrator class which is used to call initiateScan() method for scan process. After that in the onActivityResult() method, we'll check if the scanned message is null then toast a message as "Cancelled" otherwise we'll set the scanned message and its format over the TextViews.