 |
VOOZH | about |
|
VOOZH | about |
Notification is a kind of message, alert, or status of an application (probably running in the background) that is visible or available in the Android's UI elements. This application could be running in the background but not in use by the user. The purpose of a notification is to notify the user about a process that was initiated in the application either by the user or the system. This article could help someone who's trying hard to create a notification for developmental purposes.
Notifications could be of various formats and designs depending upon the developer. In General, one must have witnessed these four types of notifications:
In this article, we will be discussing how to produce notifications in both Java and Kotlin.
To create a new project in Android Studio please refer to How to Create/Start a New Project in Android Studio.
Note that select Java/Kotlin as the programming language.
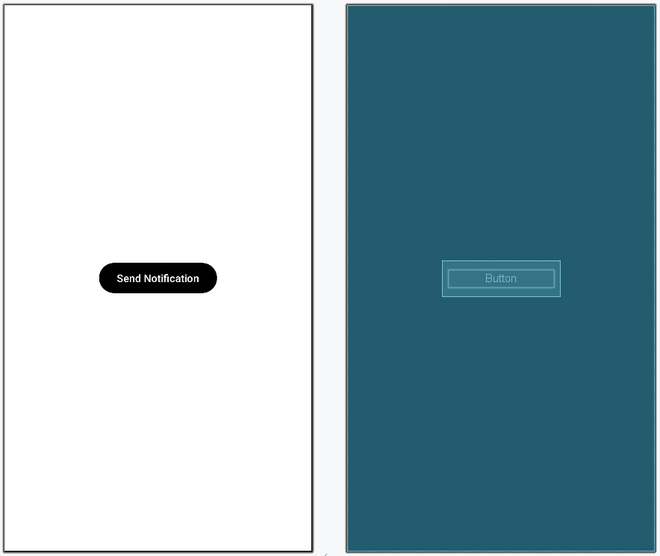
Go to the activity_main.xml file and refer to the following code. In this step, we are going to design our layout page. Here, we will use the RelativeLayout to get the Scroll View from the Kotlin file. Below is the code for the activity_main.xml file.
activity_main.xml:
Reference article:How to Create Constructor, Getter/Setter Methods and New Activity in Android Studio using Shortcuts?
Name the activity as afterNotification. When someone clicks on the notification, this activity will open up in our app that is the user will be redirected to this page. Below is the code for the activity_after_notification.xml file.
activity_after_notification.xml:
Note: Without configuring Notification Channels, you cannot build notification for applications with Android API >=26. For them generating a notification channel is mandatory. Apps with API<26 don't need notification channels they just need notification builder. Each channel is supposed to have a particular behavior that will be applicable to all the notifications which are a part of it. Every channel will, therefore, have a Channel ID which basically will act as a unique identifier for this Channel which will be useful if the user wants to differentiate a particular notification channel. In contrast, the Notification builder provides a convenient way to set the various fields of a Notification and generate content views using the platform's notification layout template but is not able to target a particular notification channel.
Go to the MainActivity.kt file and refer to the following code. Below is the code for the MainActivity.kt file. Comments are added inside the code to understand the code in more detail.
MainActivity File:
With this, we have now successfully created a "Notification" for our application. Note that the parameters listed in the above code are required and the absence of any single parameter could result in crashing or not starting the application. The content title, content text, small icon are customizable parameters but are mandatory also. One can change their values according to the requirement.
For learning more about the topic refer to these articles: