 |
VOOZH | about |
|
VOOZH | about |
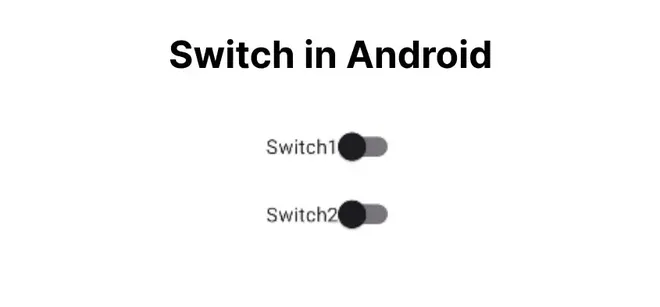
A Switch is a widget used in Android applications to perform two-state operations, such as turning something on or off. It allows users to toggle settings between on and off with a simple switch. In this article, we will learn how to implement a Switch in Android. This Android article covered in both Java and Kotlin languages.
To create a new project in Android Studio please refer to How to Create/Start a New Project in Android Studio.
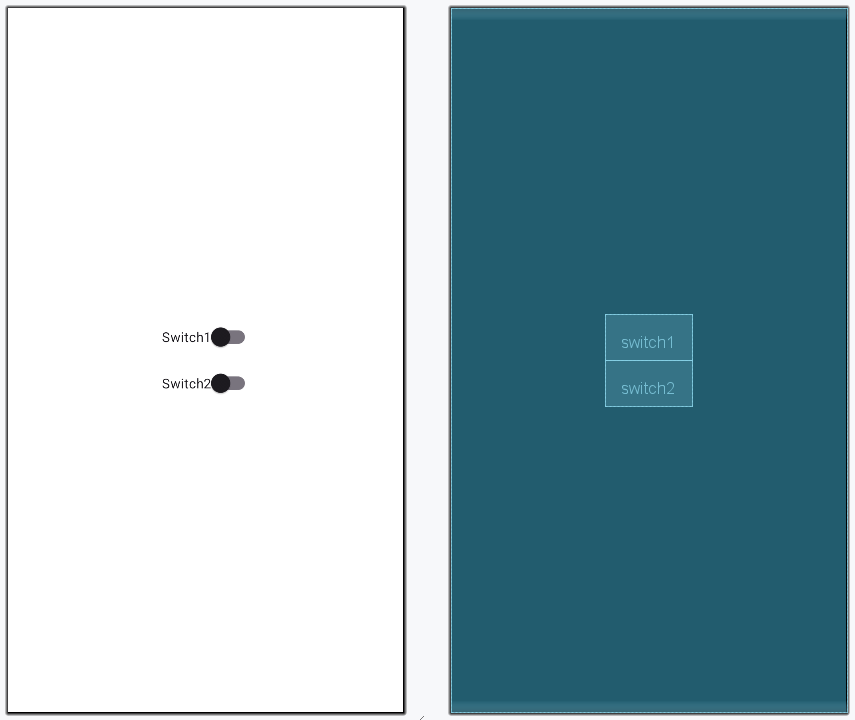
In this file, we will use the LinearLayout and two switches inside it. Set the attributes of each switch like switch id, text etc.
Here, we will access the switches by using their respective ids and set onClickListener and Toast message if a switch is checked(ON) state.
First of all, declare a variable to get the switch using it's id.
val switch: SwitchCompat = findViewById(R.id.switch)Note: We will be using SwitchCompat in this article. You can also choose to use SwitchMaterial.
then, set OnClick listener on the switch and use if condition to check the state of the button.
switch.setOnCheckedChangeListener({ _ , isChecked ->
 val message = if (isChecked) "Switch:ON" else "Switch:OFF"
 Toast.makeText(this, message,Toast.LENGTH_SHORT).show()
})
Repeat the process for another switch in the MainActivity file.
MainActivity File:
Here, two switches are shown in the emulator when we run the above code. We can change the state of the switches independently.