 |
VOOZH | about |
|
VOOZH | about |
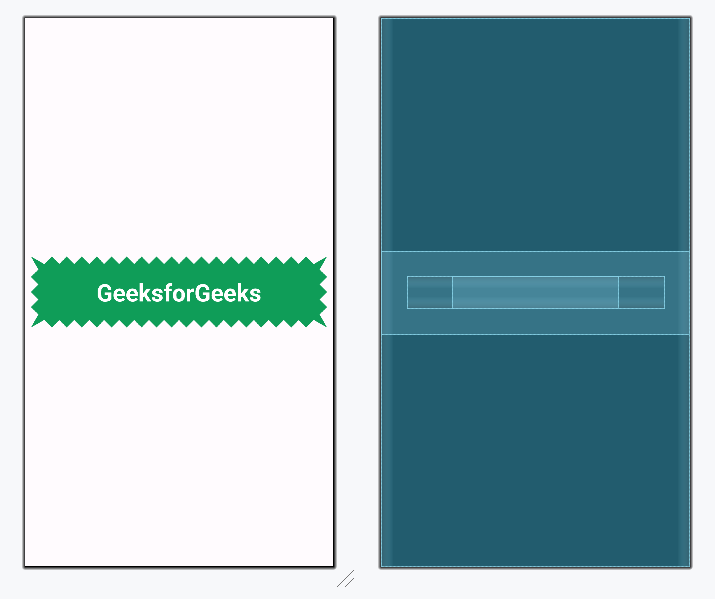
Zigzag View is a unique UI element that enhances the user experience in Android applications. You can often find this design element in eCommerce apps, where it makes the existing interface unique. The main purpose of Zigzag View is to create eye-catching banner ads or to display images and text in an zigzag layout. In this article, we will learn how to implement Zigzag View in an Android app. A sample image is given below to get an idea about what we are going to do in this article.
Attributes | Description |
|---|---|
| zigzagBackgroundColor | To give background color. |
| zigzagPadding | To give padding from all sides. |
| zigzagPaddingRight | Give padding from the right. |
| zigzagPaddingLeft | Give Padding from Left. |
| zigzagPaddingTop | Give Padding from Top. |
| zigzagPaddingBottom | Give Padding from Bottom. |
| zigzagSides | To give Zig zag pattern from sides (left, right, top, bottom). |
| zigzagHeight | height of zigzag jags |
| zigzagElevation | side of shadow |
To create a new project in Android Studio please refer to How to Create/Start a New Project in Android Studio.
First Navigate to Gradle Scripts > settings.gradle.kts. Add the line given below under repositories{} section.
...
dependencyResolutionManagement {
 ...
 repositories {
 ...
 maven { url = uri("https://jitpack.io/") }
 }
}
...
Then Navigate to Gradle Scripts >build.gradle.kts (Module :app) level. Add below line under the dependencies{} section.
...
dependencies {
 ...
 implementation ("ir.beigirad:ZigzagView:1.2.1")
}
After adding dependency click on the “syncnow” option on the top right corner to sync the project.
Step 3: Create a new Zigzag View in your activity_main.xml
Go to the activity_main.xml file and refer to the following code. Below is the code for the activity_main.xml file.
activity_main.xml: